Local Terminal Configuration
Using the Main Menu
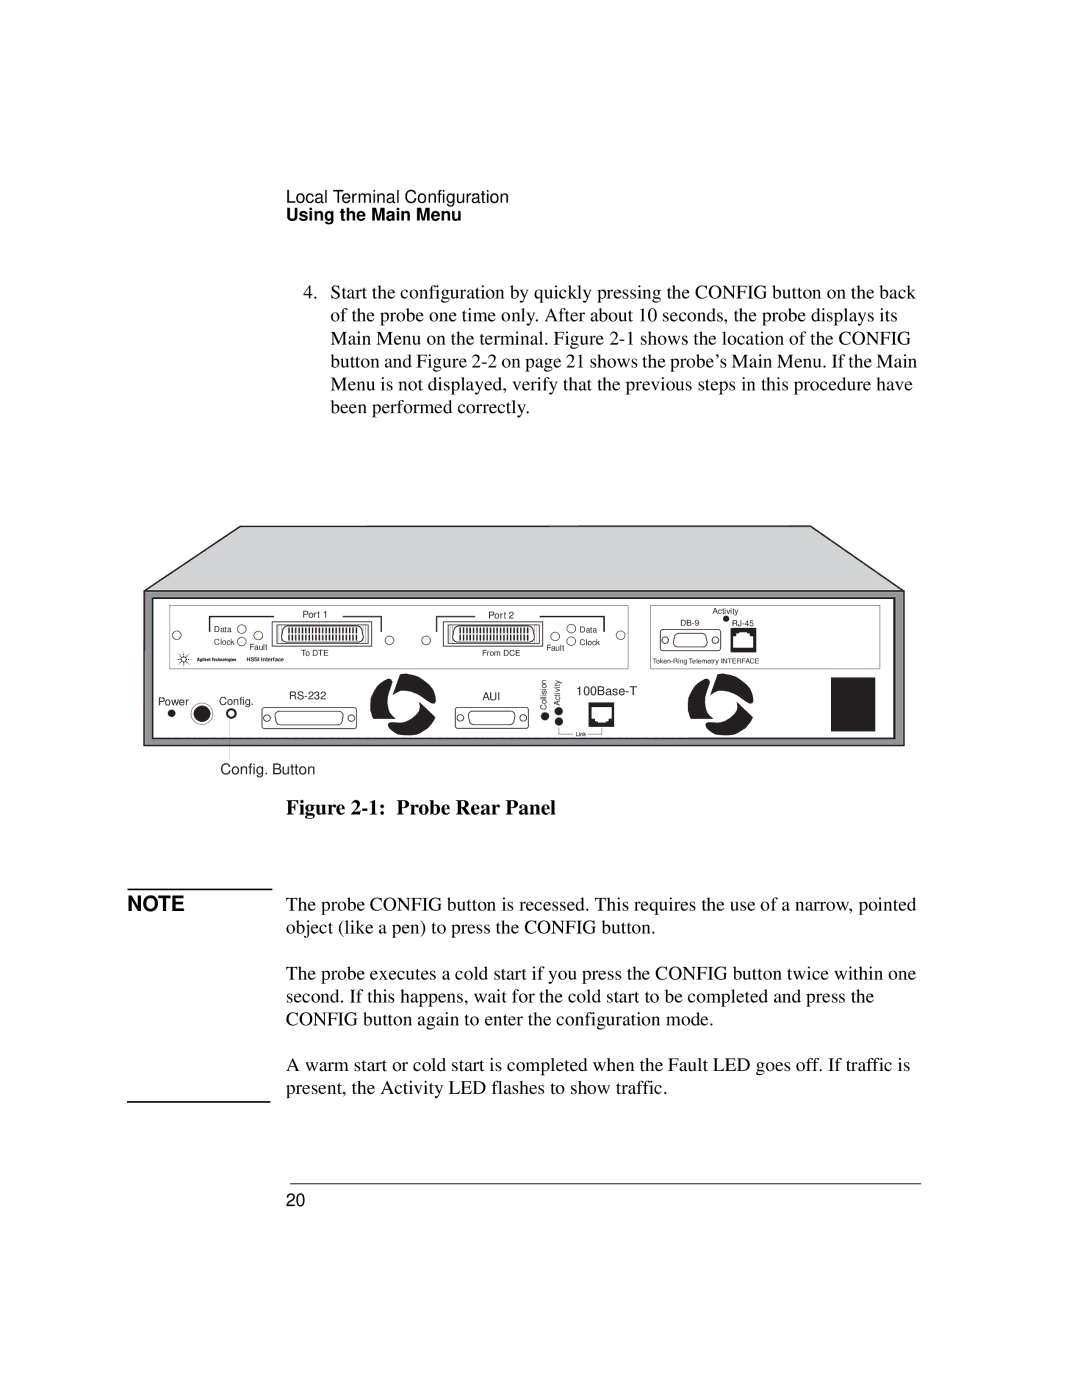
4.Start the configuration by quickly pressing the CONFIG button on the back of the probe one time only. After about 10 seconds, the probe displays its Main Menu on the terminal. Figure
| Port 1 | Port 2 |
Data |
| Data |
Clock | Fault | Clock |
| Fault | |
| To DTE | From DCE |
| HSSI Interface |
|
Power | Config. | AUI | Collision | Activity | ||
|
| |||||
|
|
| ||||
|
|
|
|
|
Activity
Config. Button
Figure 2-1: Probe Rear Panel
NOTE | The probe CONFIG button is recessed. This requires the use of a narrow, pointed |
| object (like a pen) to press the CONFIG button. |
| The probe executes a cold start if you press the CONFIG button twice within one |
| second. If this happens, wait for the cold start to be completed and press the |
| CONFIG button again to enter the configuration mode. |
| A warm start or cold start is completed when the Fault LED goes off. If traffic is |
| present, the Activity LED flashes to show traffic. |
|
|
20