| Take Apart | Keyboard - 9 | ||||||
|
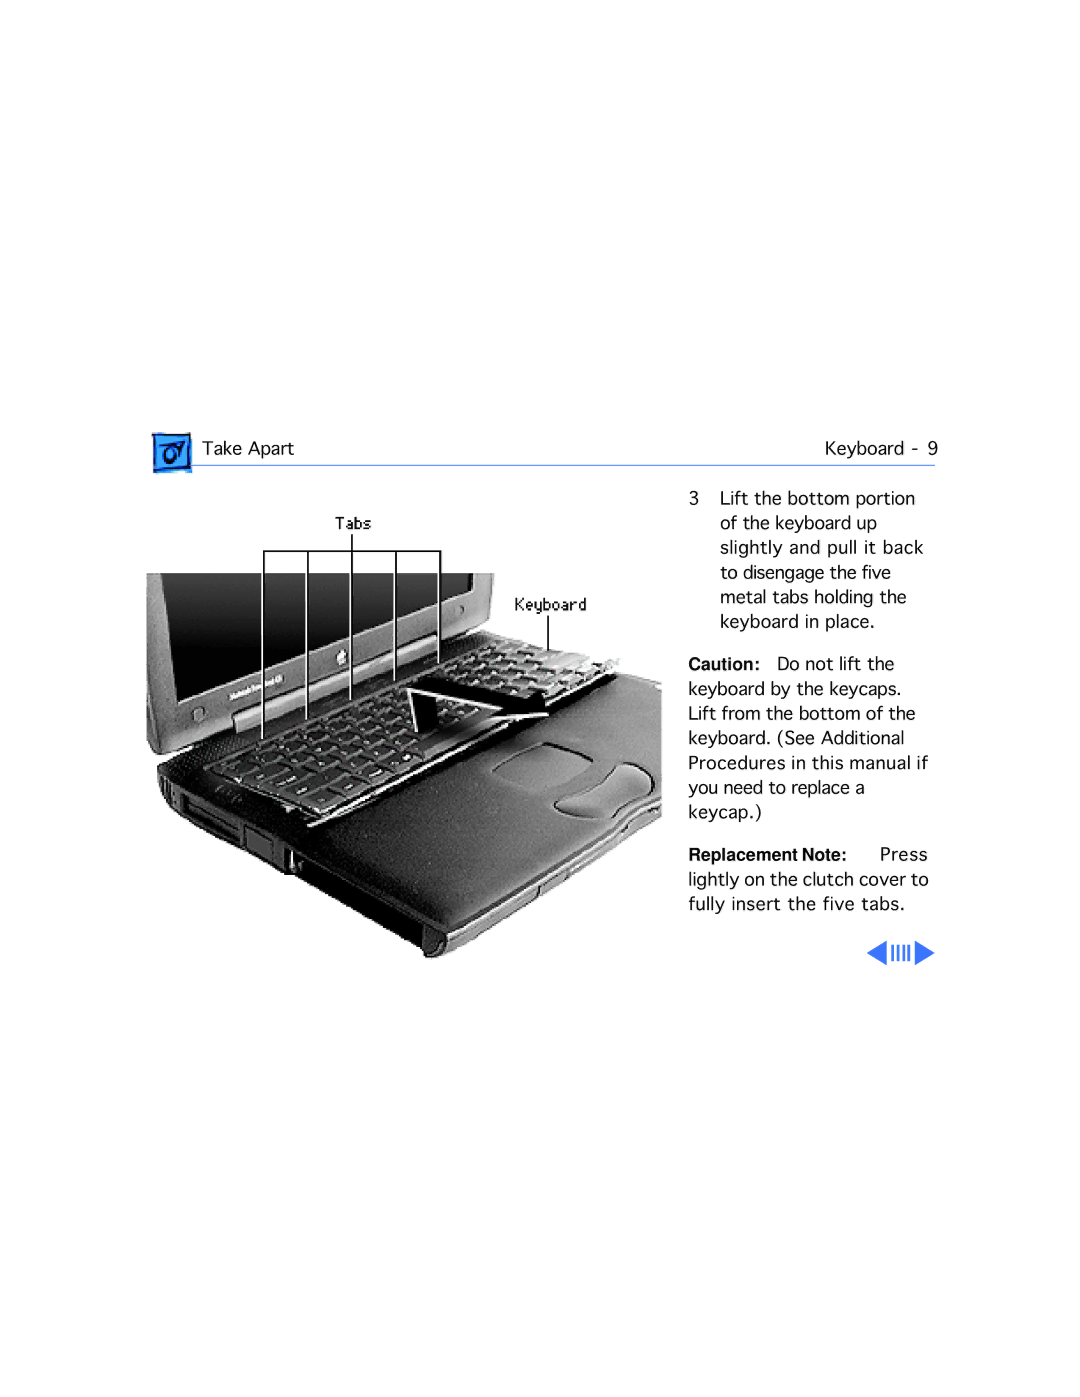
| 3 Lift the bottom portion |
| |||||
|
| |||||||
|
| of the keyboard up |
|
|
|
|
|
|
|
| slightly and pull it back | ||||||
|
| to disengage the five | ||||||
|
| metal tabs holding the | ||||||
|
| keyboard in place. |
|
|
|
|
|
|
|
| Caution: Do not lift the | ||||||
|
| keyboard by the keycaps. | ||||||
|
| Lift from the bottom of the | ||||||
|
| keyboard. (See Additional | ||||||
|
| Procedures in this manual if | ||||||
|
| you need to replace a |
|
|
|
|
|
|
|
| keycap.) |
|
|
|
|
|
|
|
| Replacement Note: | Press | |||||
|
| lightly on the clutch cover to | ||||||
|
| fully insert the five tabs. | ||||||
|
|
|
|
|
|
|
|
|
|
|
|
|
|
|
|
|
|
