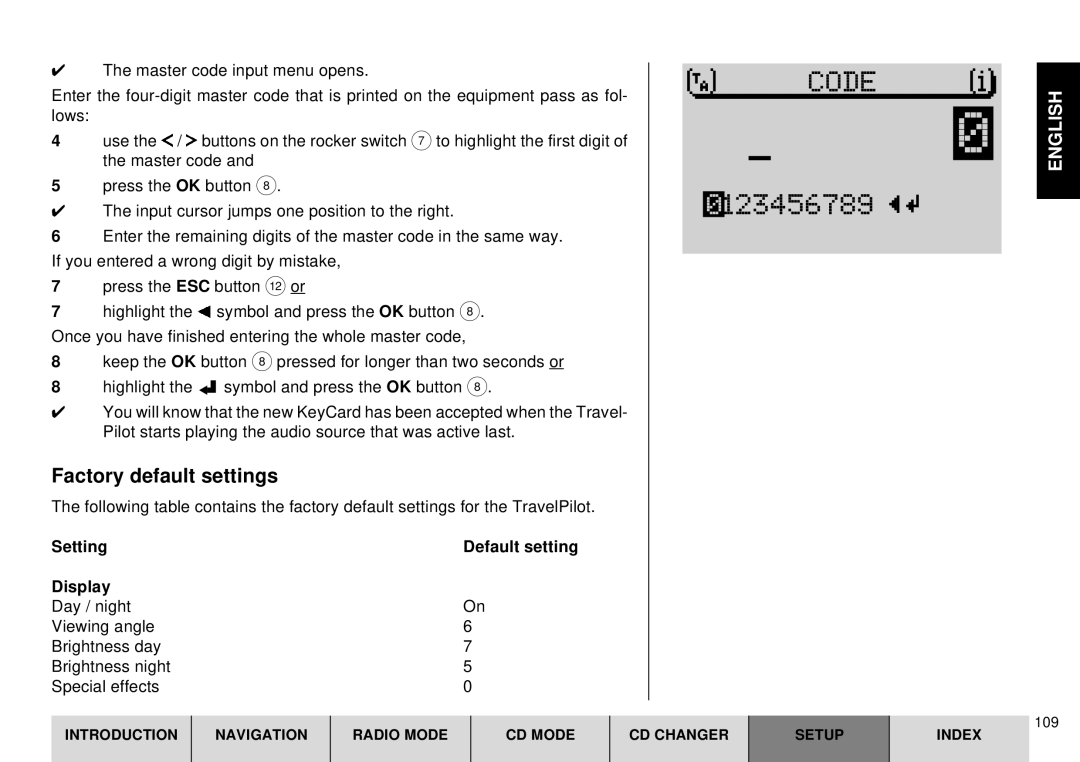
✔The master code input menu opens.
Enter the
4use the ![]() /
/ ![]() buttons on the rocker switch 7 to highlight the first digit of the master code and
buttons on the rocker switch 7 to highlight the first digit of the master code and
5press the OK button 8.
✔The input cursor jumps one position to the right.
6Enter the remaining digits of the master code in the same way. If you entered a wrong digit by mistake,
7press the ESC button < or
7highlight the ![]() symbol and press the OK button 8. Once you have finished entering the whole master code,
symbol and press the OK button 8. Once you have finished entering the whole master code,
8keep the OK button 8 pressed for longer than two seconds or
8highlight the ![]()
![]() symbol and press the OK button 8.
symbol and press the OK button 8.
✔You will know that the new KeyCard has been accepted when the Travel- Pilot starts playing the audio source that was active last.
Factory default settings
The following table contains the factory default settings for the TravelPilot.
Setting | Default setting |
Display |
|
Day / night | On |
Viewing angle | 6 |
Brightness day | 7 |
Brightness night | 5 |
Special effects | 0 |
CODE |
0
0123456789 


ENGLISH
109
INTRODUCTION | NAVIGATION | RADIO MODE | CD MODE | CD CHANGER | SETUP | INDEX |