Calibrating the device
The INSTALLATION setup menu contains all the necessary items for preparing the TravelPilot for operation once it has been installed.
Calibrating after installation (new installation)
If you installed the unit yourself, the system has to be calibrated to suit your vehicle.
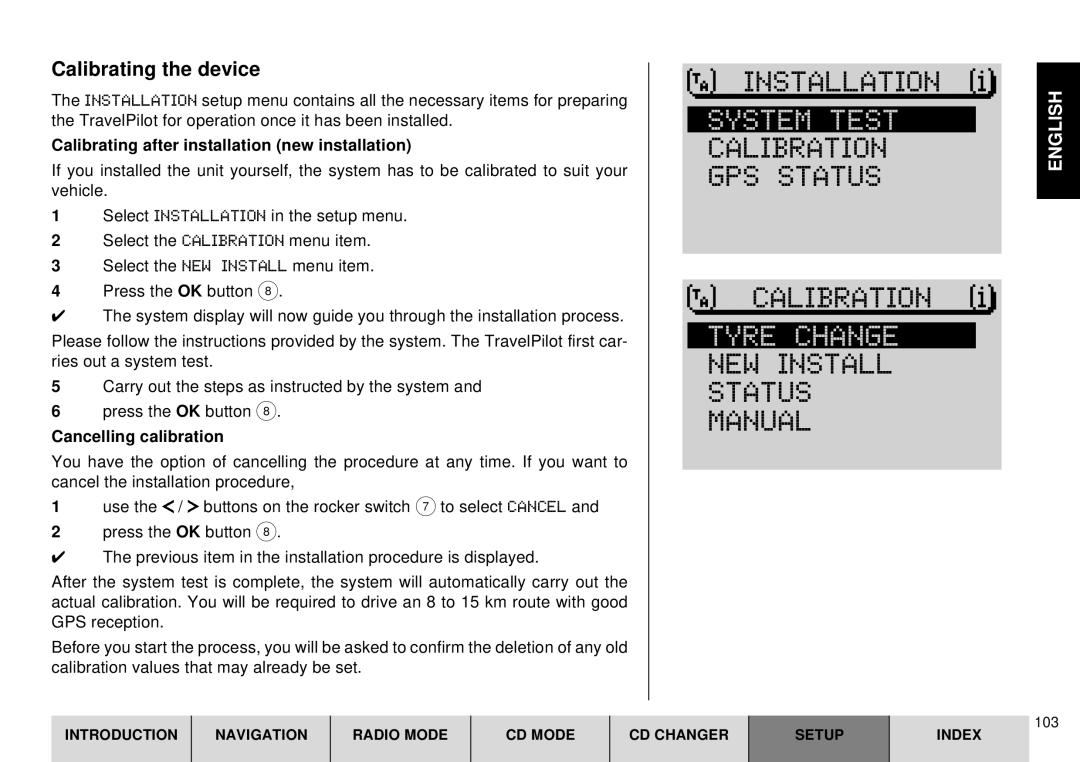
1Select INSTALLATION in the setup menu.
2Select the CALIBRATION menu item.
3Select the NEW INSTALL menu item.
4Press the OK button 8.
✔The system display will now guide you through the installation process.
Please follow the instructions provided by the system. The TravelPilot first car- ries out a system test.
5Carry out the steps as instructed by the system and
6press the OK button 8.
Cancelling calibration
You have the option of cancelling the procedure at any time. If you want to cancel the installation procedure,
1use the ![]() /
/ ![]() buttons on the rocker switch 7 to select CANCEL and
buttons on the rocker switch 7 to select CANCEL and
2press the OK button 8.
✔The previous item in the installation procedure is displayed.
After the system test is complete, the system will automatically carry out the actual calibration. You will be required to drive an 8 to 15 km route with good GPS reception.
Before you start the process, you will be asked to confirm the deletion of any old calibration values that may already be set.
INSTALLATION |
SYSTEM TEST
CALIBRATION
GPS STATUS
CALIBRATION |
TYRE CHANGE
NEW INSTALL
STATUS
MANUAL
ENGLISH
INTRODUCTION
NAVIGATION
RADIO MODE
CD MODE
CD CHANGER
SETUP
103
INDEX