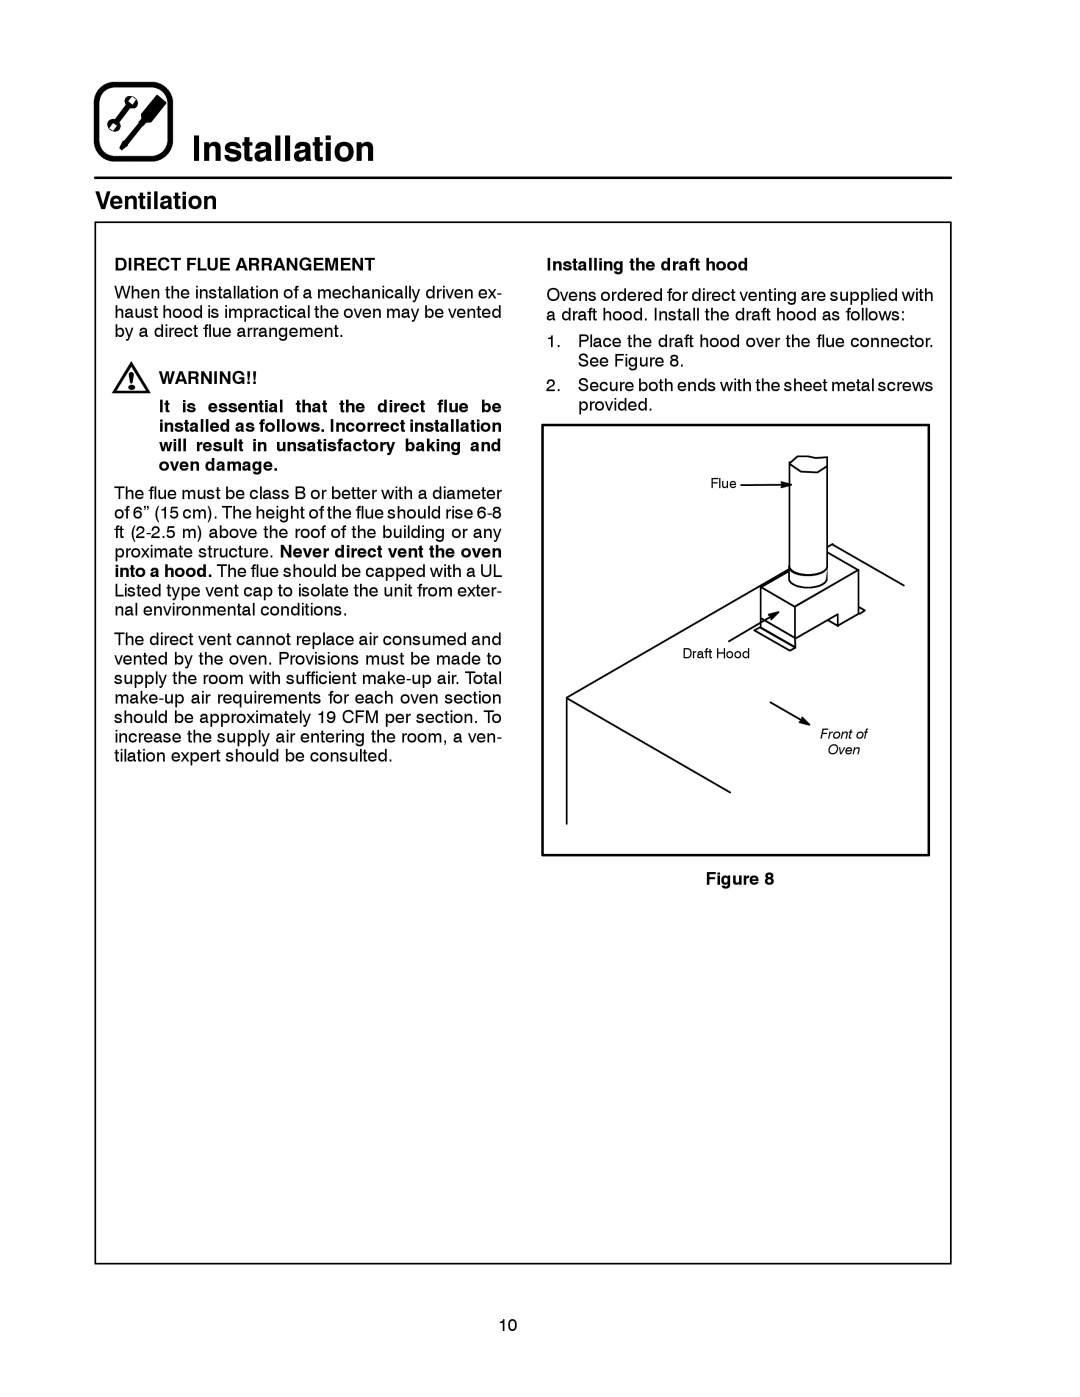
DFG-50 specifications
The Blodgett DFG-50 is a versatile and efficient commercial convection oven designed to meet the demands of modern kitchens, whether in restaurants, bakeries, or catering operations. Its robust construction and advanced features make it a flagship model in the Blodgett lineup, ensuring consistent performance and exceptional cooking results.One of the standout features of the DFG-50 is its dual-functionality, allowing operators to utilize it as both a convection oven and a steam oven. This flexibility enables chefs to prepare a diverse range of dishes, from perfectly baked pastries to succulent roasted meats. The integrated steam function helps in maintaining moisture content, enhancing flavor, and improving the overall quality of the dishes prepared.
The DFG-50 is equipped with patented, unique airflow distribution technology. This technology ensures that hot air circulates evenly throughout the oven cavity, resulting in uniform cooking and browning. Chefs can achieve consistent results across multiple trays, making it an ideal choice for batch cooking or large-scale operations.
Another notable characteristic is the oven's intuitive digital controls. With a user-friendly interface, operators can easily adjust cooking times, temperatures, and humidity levels. The programmable features allow for precise cooking processes, which is vital for consistently high-quality results. The DFG-50 also includes a programmable timer and a convenient automatic shut-off feature, enhancing safety and ease of use.
The oven’s interior is constructed with high-quality stainless steel, providing durability and easy cleaning. Additionally, the DFG-50 features removable racks and a fully insulated door, which helps in energy conservation and maintains temperature stability during cooking.
In terms of capacity, the DFG-50 offers sufficient space with multiple rack positions, accommodating a variety of pans and trays. This versatility makes it an excellent choice for chefs who need to maximize output without compromising on quality.
Overall, the Blodgett DFG-50 combines state-of-the-art technology with high-quality construction, making it an essential tool for any commercial kitchen. Its ability to deliver consistent and superior cooking results, along with user-friendly features, makes it an investment that can enhance kitchen efficiency and culinary excellence.

 Installation