Chapter 3 Installing the Cisco Wide Area Application Engine
Installing the Cisco Wide Area Application Engine
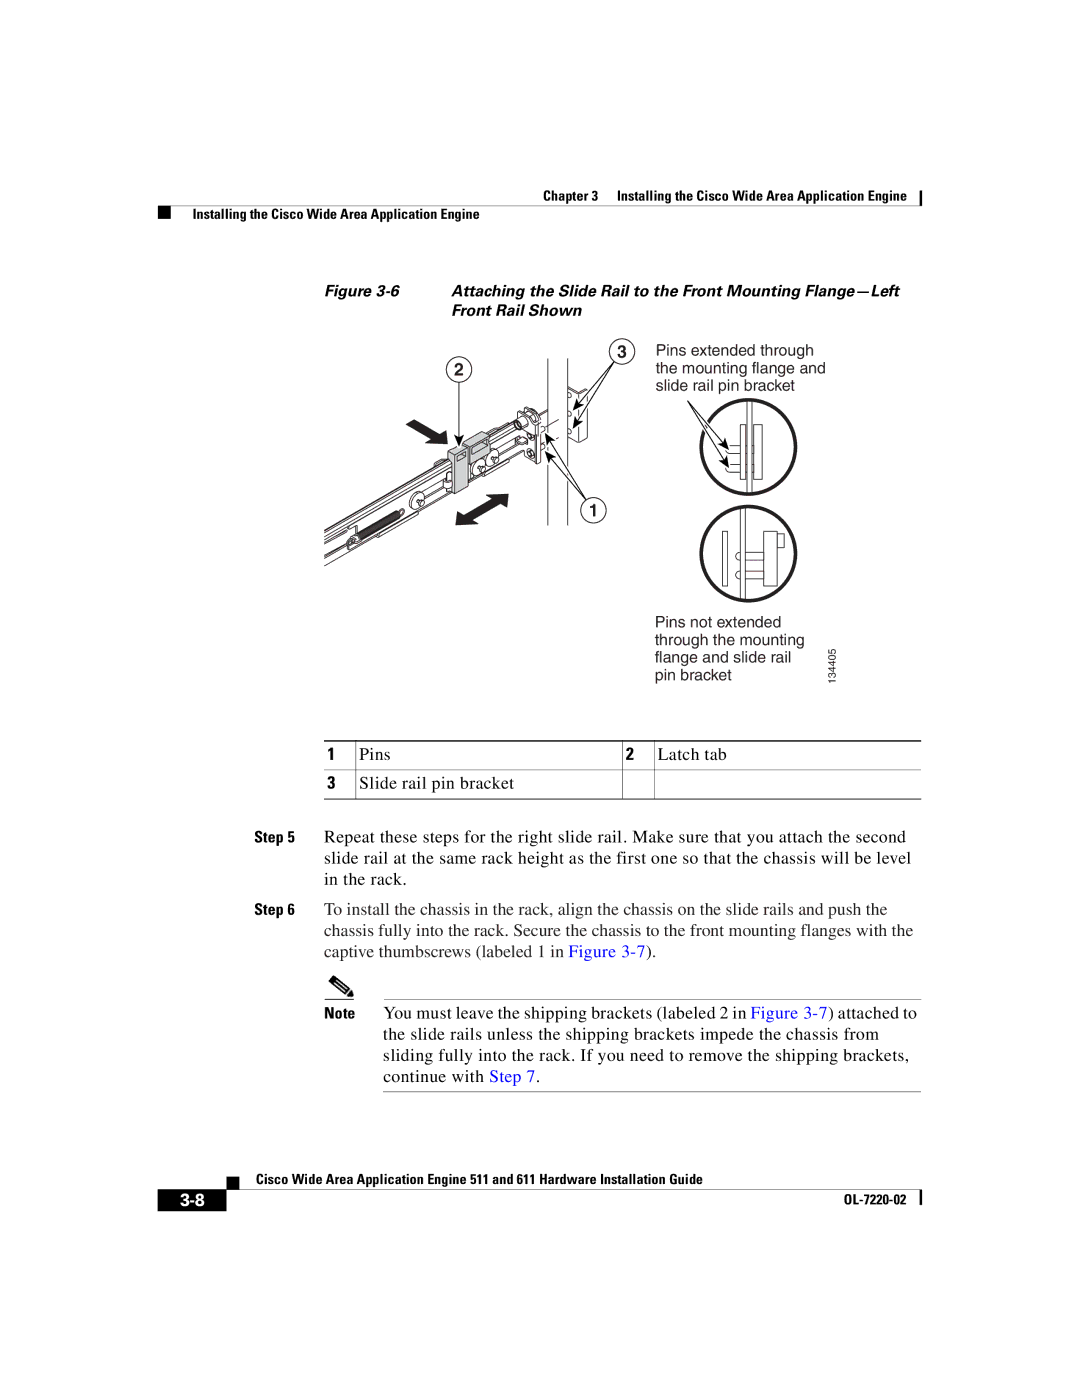
Figure 3-6 Attaching the Slide Rail to the Front Mounting Flange—Left Front Rail Shown
2
3Pins extended through the mounting flange and slide rail pin bracket
1
Pins not extended through the mounting flange and slide rail pin bracket
134405
1
3
Pins | 2 Latch tab |
Slide rail pin bracket
Step 5 Repeat these steps for the right slide rail. Make sure that you attach the second slide rail at the same rack height as the first one so that the chassis will be level in the rack.
Step 6 To install the chassis in the rack, align the chassis on the slide rails and push the chassis fully into the rack. Secure the chassis to the front mounting flanges with the captive thumbscrews (labeled 1 in Figure
Note You must leave the shipping brackets (labeled 2 in Figure
| Cisco Wide Area Application Engine 511 and 611 Hardware Installation Guide |
|