Chapter 3 Installing Ethernet Switching Modules
Installing an Ethernet Switching Module
f.Verify that the module STATUS LED is lit.
g.Periodically check the STATUS LED:
•If the STATUS LED changes from orange to green, the module has successfully completed the boot process and is now online.
•If the STATUS LED remains orange or turns red, the module has not successfully completed the boot process and may have encountered an error. For more information about the orange or red STATUS LED states, see the LED table for your specific module in Chapter 2.
Note You should install
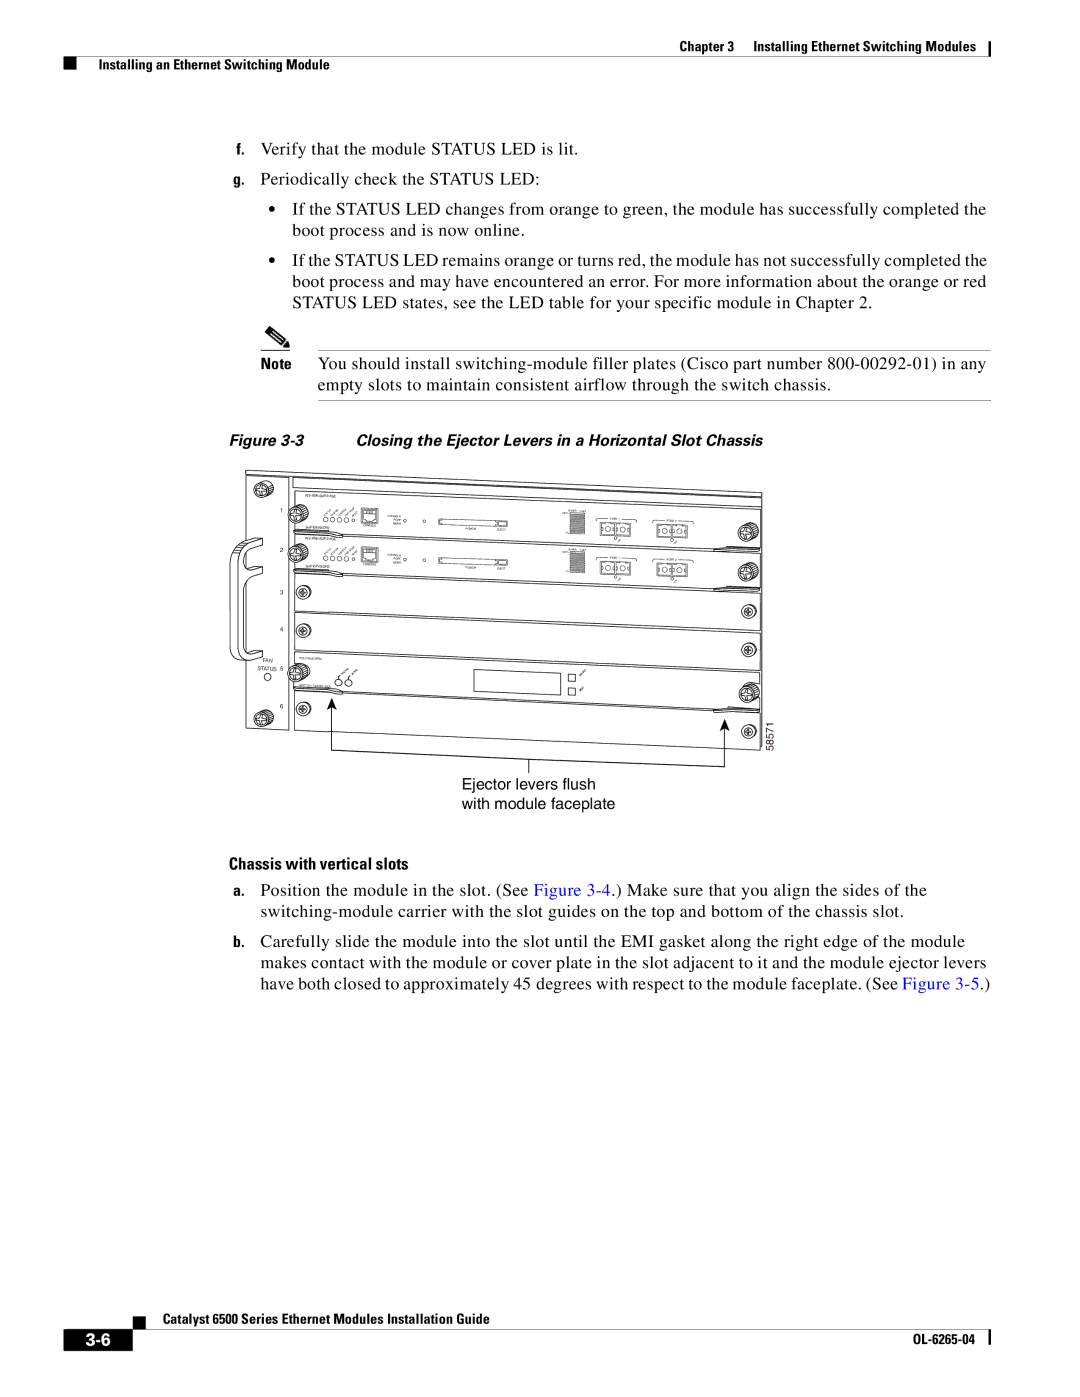
Figure 3-3 Closing the Ejector Levers in a Horizontal Slot Chassis
FAN STATUS
1
2
3
4
5
6
WS-X6K-SUP2-2GE
SUPERVISOR2
SUPERVISOR2
SWITCH FABRIC MDL
|
| Switch | Load |
|
| CONSOLE | 100% |
|
|
|
| PORT 1 |
| |
| PORT |
| PORT 2 | |
CONSOLE | MODE |
|
|
|
PCMCIA |
|
|
| |
| EJECT |
|
| |
|
| 1% |
|
|
|
| Switch | Load |
|
| CONSOLE | 100% |
|
|
|
| PORT 1 |
| |
| PORT |
| PORT 2 | |
CONSOLE | MODE |
|
|
|
| PCMCIA | EJECT |
|
|
|
| 1% |
|
|
SELECT
NEXT
58571
Ejector levers flush with module faceplate
Chassis with vertical slots
a.Position the module in the slot. (See Figure
b.Carefully slide the module into the slot until the EMI gasket along the right edge of the module makes contact with the module or cover plate in the slot adjacent to it and the module ejector levers have both closed to approximately 45 degrees with respect to the module faceplate. (See Figure
Catalyst 6500 Series Ethernet Modules Installation Guide
|
| |
|
