Chapter 4 Troubleshooting
Replacing the Fan Tray
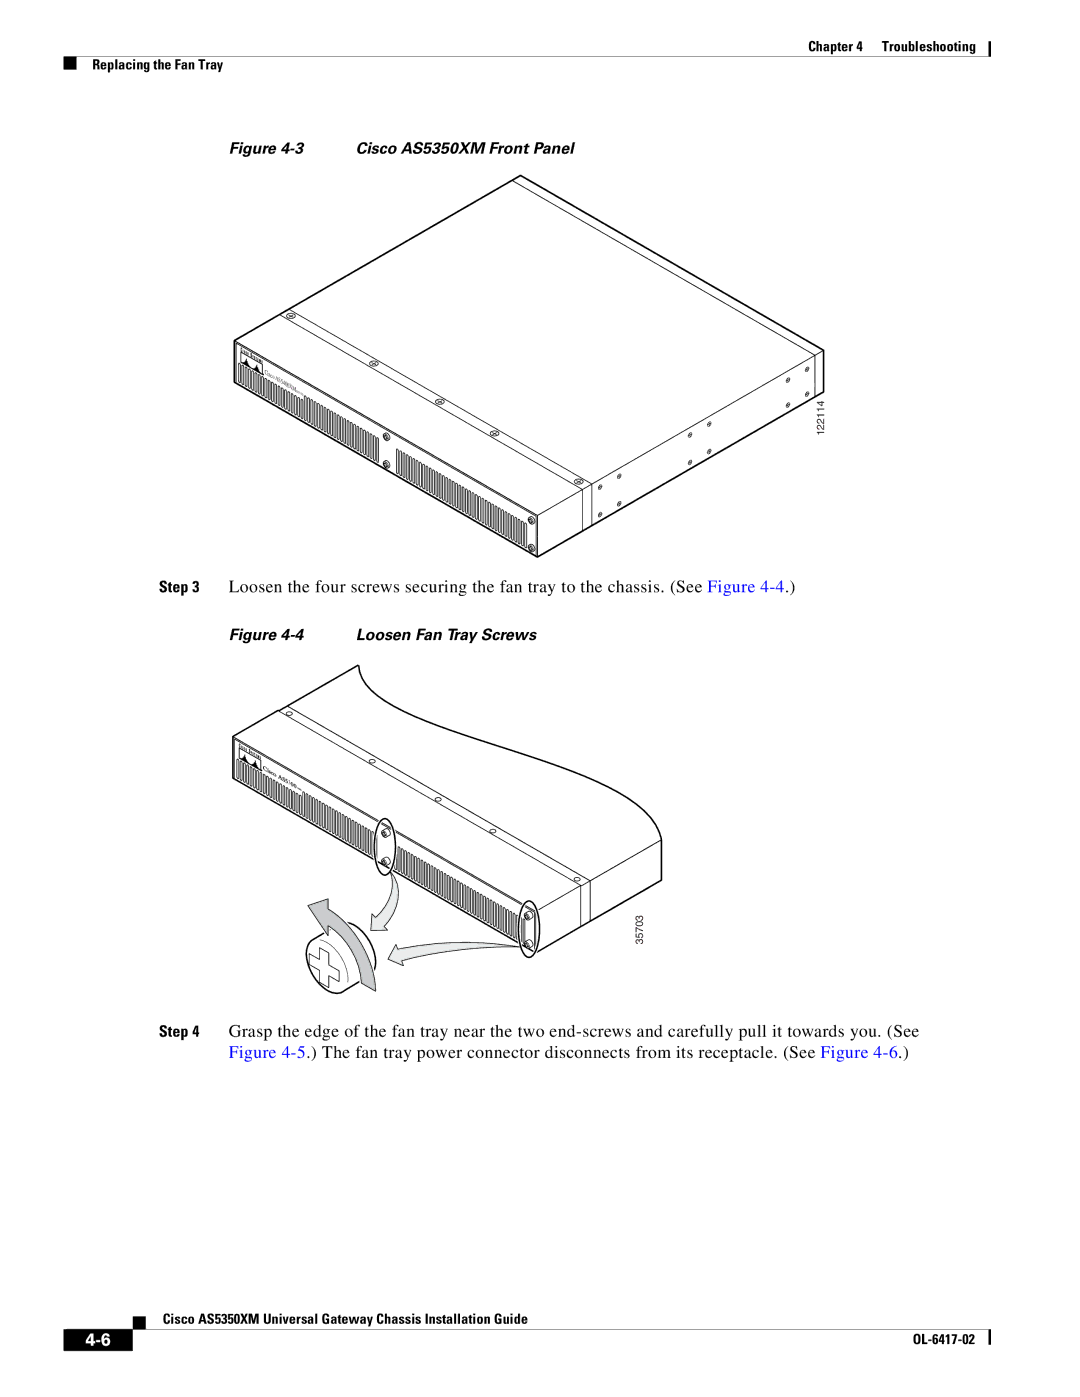
Figure 4-3 Cisco AS5350XM Front Panel
Cisco | AS5400XM |
|
| SERIES | |
|
| |
|
| 122114 |
Step 3 Loosen the four screws securing the fan tray to the chassis. (See Figure
Figure 4-4 Loosen Fan Tray Screws
![]()
![]() 3
3
35703
Step 4 Grasp the edge of the fan tray near the two
Cisco AS5350XM Universal Gateway Chassis Installation Guide
|
| |
|