Chapter 3 Using Cisco IP Phone Productivity Services
Using Contacts Synchronization
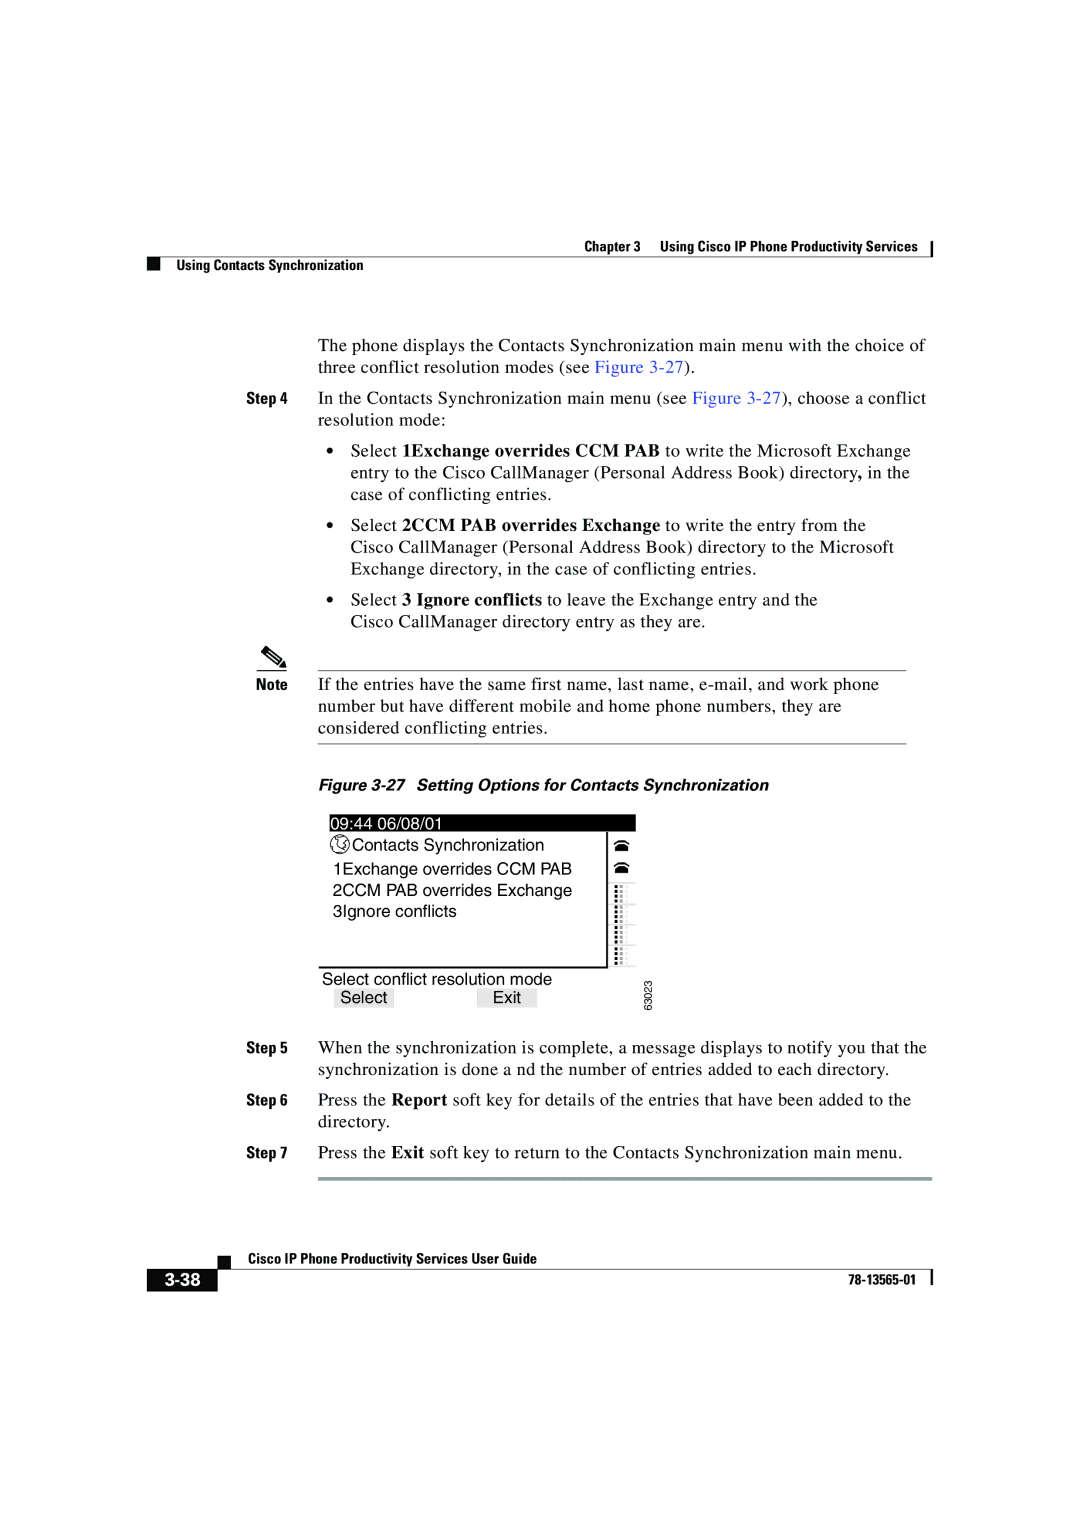
The phone displays the Contacts Synchronization main menu with the choice of three conflict resolution modes (see Figure
Step 4 In the Contacts Synchronization main menu (see Figure
•Select 1Exchange overrides CCM PAB to write the Microsoft Exchange entry to the Cisco CallManager (Personal Address Book) directory, in the case of conflicting entries.
•Select 2CCM PAB overrides Exchange to write the entry from the Cisco CallManager (Personal Address Book) directory to the Microsoft Exchange directory, in the case of conflicting entries.
•Select 3 Ignore conflicts to leave the Exchange entry and the Cisco CallManager directory entry as they are.
Note If the entries have the same first name, last name,
Figure 3-27 Setting Options for Contacts Synchronization
09:44 06/08/01
![]() Contacts Synchronization 1Exchange overrides CCM PAB 2CCM PAB overrides Exchange 3Ignore conflicts
Contacts Synchronization 1Exchange overrides CCM PAB 2CCM PAB overrides Exchange 3Ignore conflicts
...
...
Select conflict resolution mode
SelectExit
63023
Step 5 When the synchronization is complete, a message displays to notify you that the synchronization is done a nd the number of entries added to each directory.
Step 6 Press the Report soft key for details of the entries that have been added to the directory.
Step 7 Press the Exit soft key to return to the Contacts Synchronization main menu.
| Cisco IP Phone Productivity Services User Guide |
