Chapter 4 | Advanced Configuration |
|
|
|
|
Click to Install the Web Cache Cleaner
4. On the Security Warning screen, click Yes.
Click Yes to Install
5.The Web Cache Cleaner will be installed in C:\\ WINDOWS\Downloaded Program Files. Proceed to the rest of this chapter for information about the web- based utility.
When you or another user logs out, a Warning screen will appear. It will ask you to confirm that you want to delete the History Item for the Router. Click Yes.
Click Yes to Delete History
System Summary
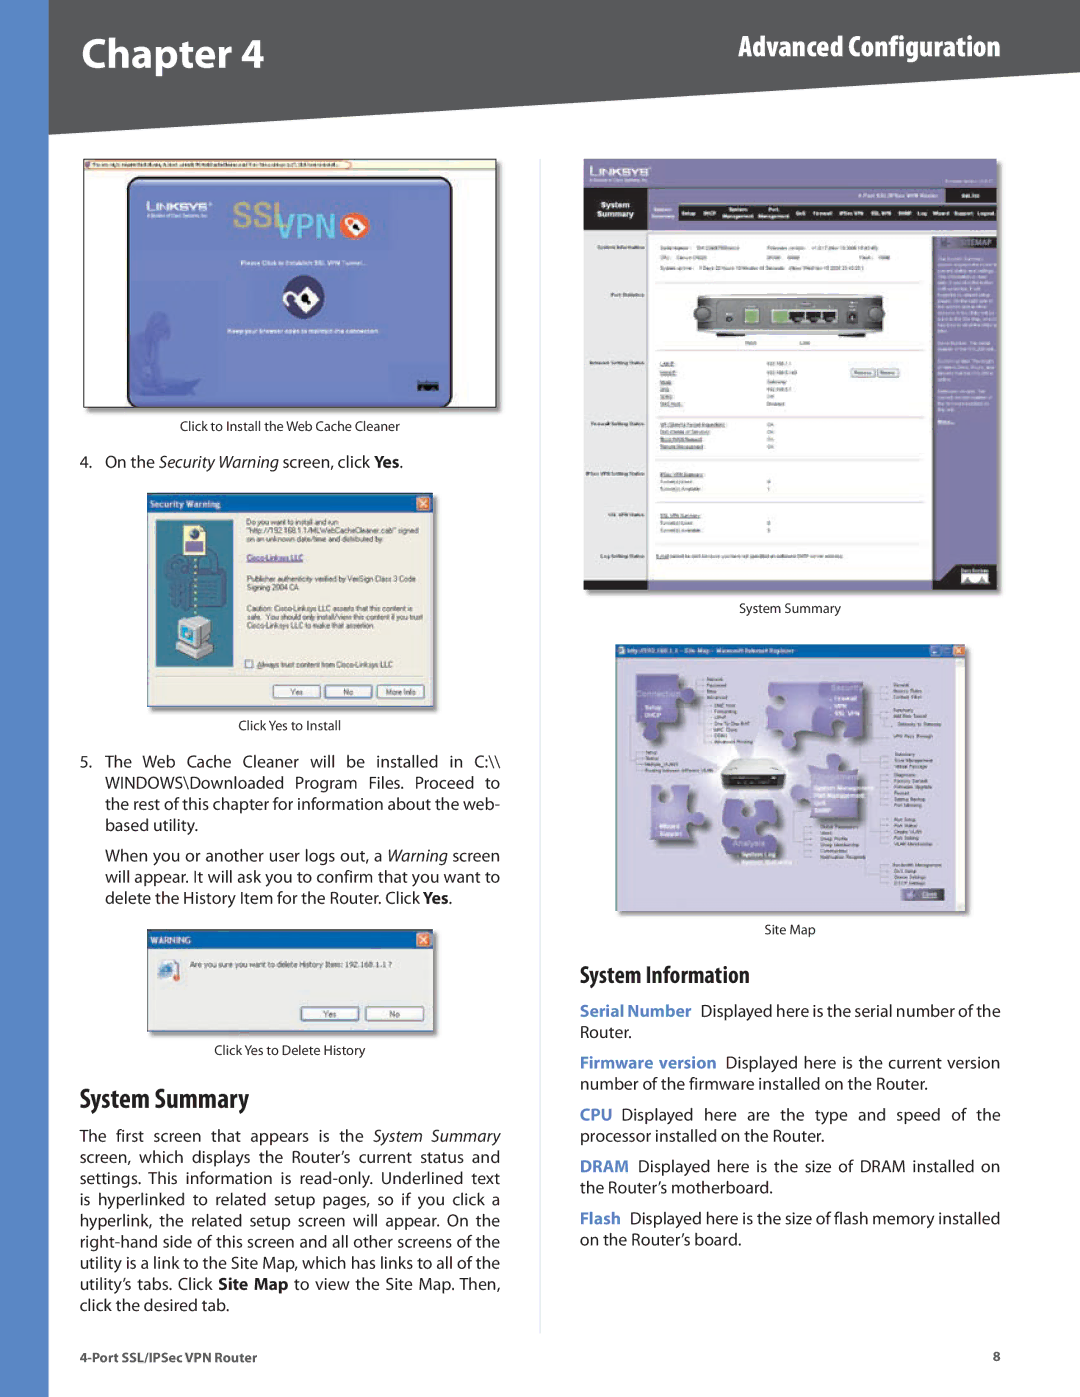
The first screen that appears is the System Summary screen, which displays the Router’s current status and settings. This information is
System Summary
Site Map
System Information
Serial Number Displayed here is the serial number of the Router.
Firmware version Displayed here is the current version number of the firmware installed on the Router.
CPU Displayed here are the type and speed of the processor installed on the Router.
DRAM Displayed here is the size of DRAM installed on the Router’s motherboard.
Flash Displayed here is the size of flash memory installed on the Router’s board.
