Appendix M | Multiple VLANs and Subnets |
–Subnet Mask Select 255.255.255.0.
–Range Start Enter 100.
–Range End Enter 149.
8.For VLAN3, complete the following:
–IP Address Enter 192.168.3.1. (This is the default, which you can overwrite.)
–Subnet Mask Select 255.255.255.0.
–Range Start Enter 100.
–Range End Enter 149.
9.For VLAN4, complete the following:
–IP Address Enter 192.168.4.1. (This is the default, which you can overwrite.)
–Subnet Mask Select 255.255.255.0.
–Range Start Enter 100.
–Range End Enter 149.
10.Click Save Settings.
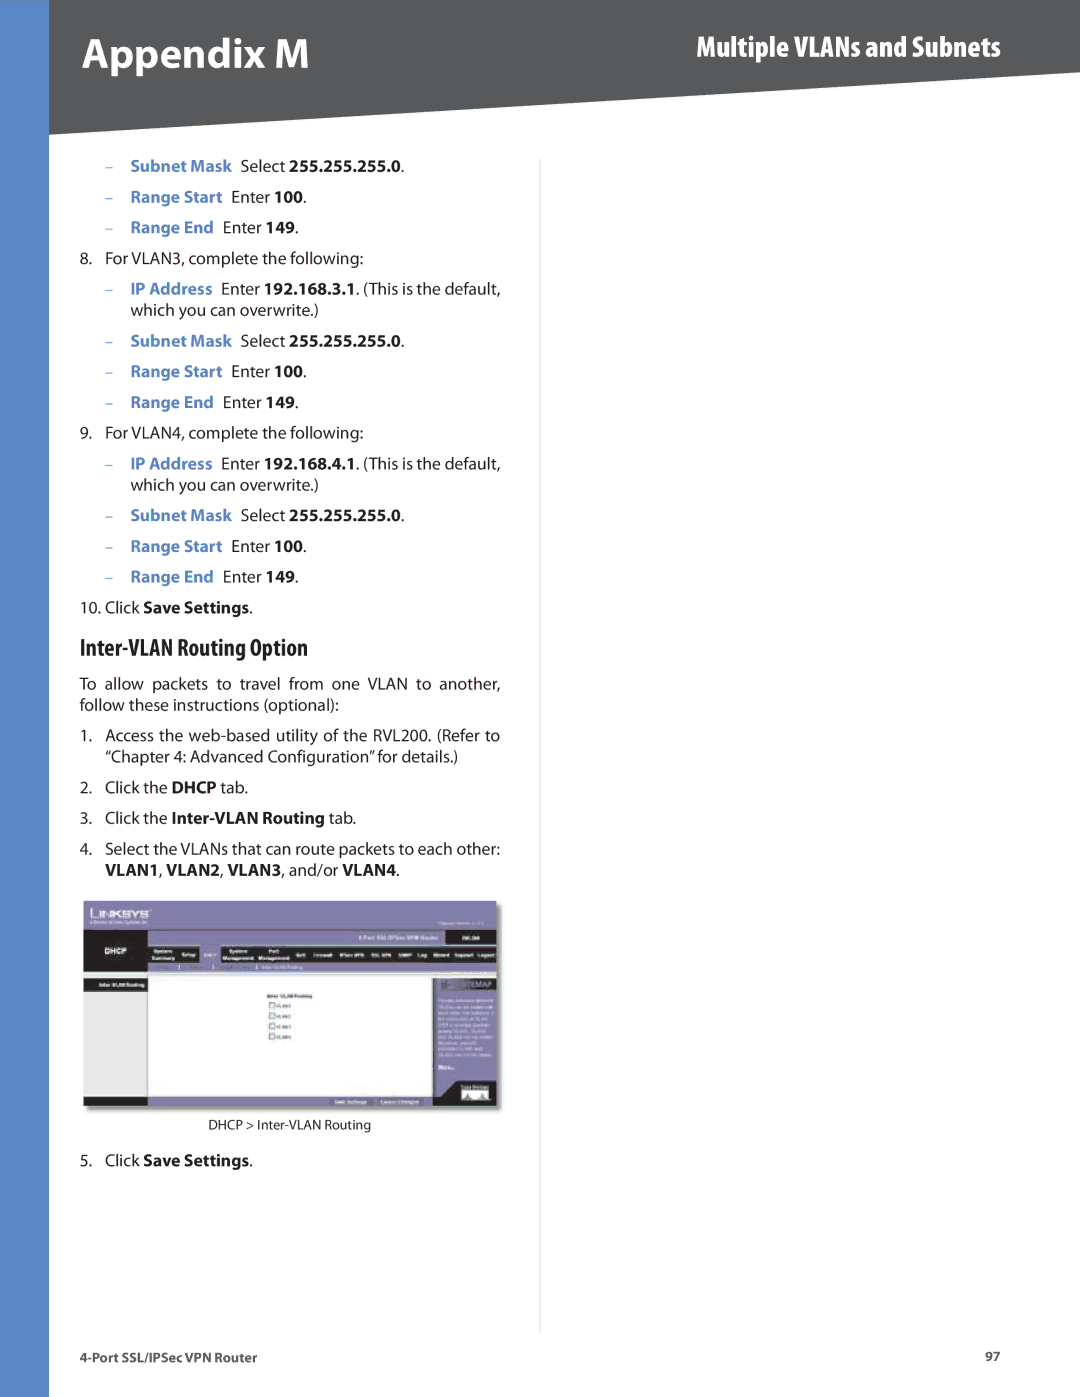
Inter-VLAN Routing Option
To allow packets to travel from one VLAN to another, follow these instructions (optional):
1.Access the
2.Click the DHCP tab.
3.Click the Inter-VLAN Routing tab.
4.Select the VLANs that can route packets to each other: VLAN1, VLAN2, VLAN3, and/or VLAN4.
DHCP >
5.Click Save Settings.
97 |