Appendix L
5.Select Enable VLAN.
6.Enter 2 in the VLAN ID field.
7.To create VLAN2, click Add VLAN.
8.Enter 3 in the VLAN ID field.
9.To create VLAN3, click Add VLAN.
10.Enter 4 in the VLAN ID field.
11.To create VLAN4, click Add VLAN.
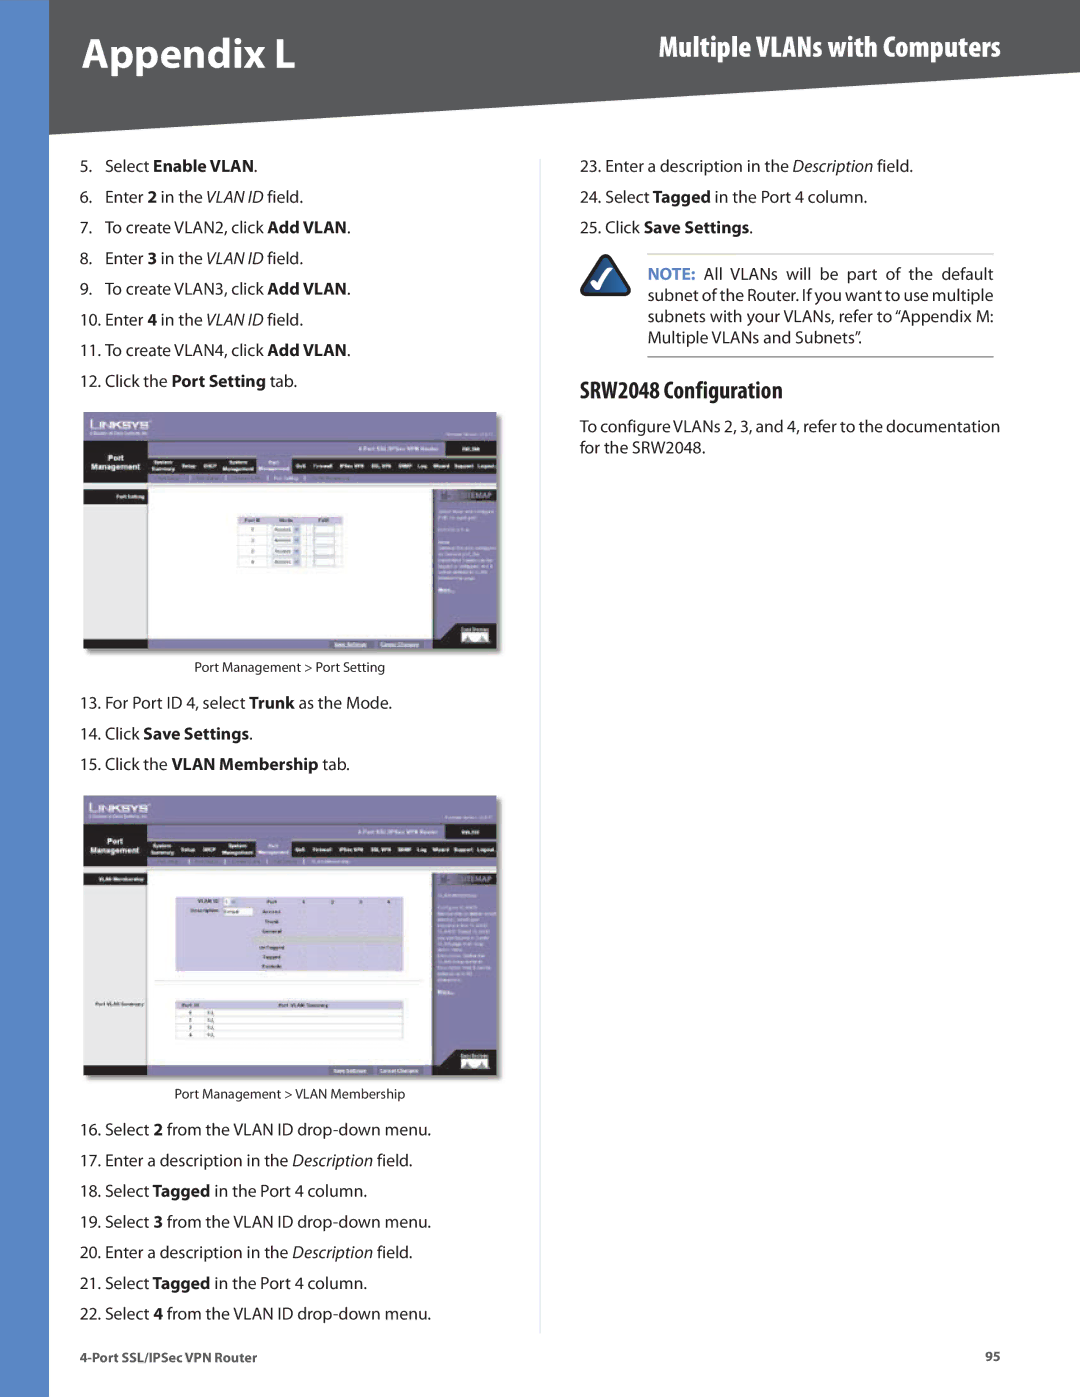
12.Click the Port Setting tab.
Port Management > Port Setting
13.For Port ID 4, select Trunk as the Mode.
14.Click Save Settings.
15.Click the VLAN Membership tab.
Port Management > VLAN Membership
16.Select 2 from the VLAN ID
17.Enter a description in the Description field.
18.Select Tagged in the Port 4 column.
19.Select 3 from the VLAN ID
20.Enter a description in the Description field.
21.Select Tagged in the Port 4 column.
22.Select 4 from the VLAN ID
Multiple VLANs with Computers
23.Enter a description in the Description field.
24.Select Tagged in the Port 4 column.
25.Click Save Settings.
NOTE: All VLANs will be part of the default subnet of the Router. If you want to use multiple subnets with your VLANs, refer to “Appendix M: Multiple VLANs and Subnets”.
SRW2048 Configuration
To configure VLANs 2, 3, and 4, refer to the documentation for the SRW2048.
95 |