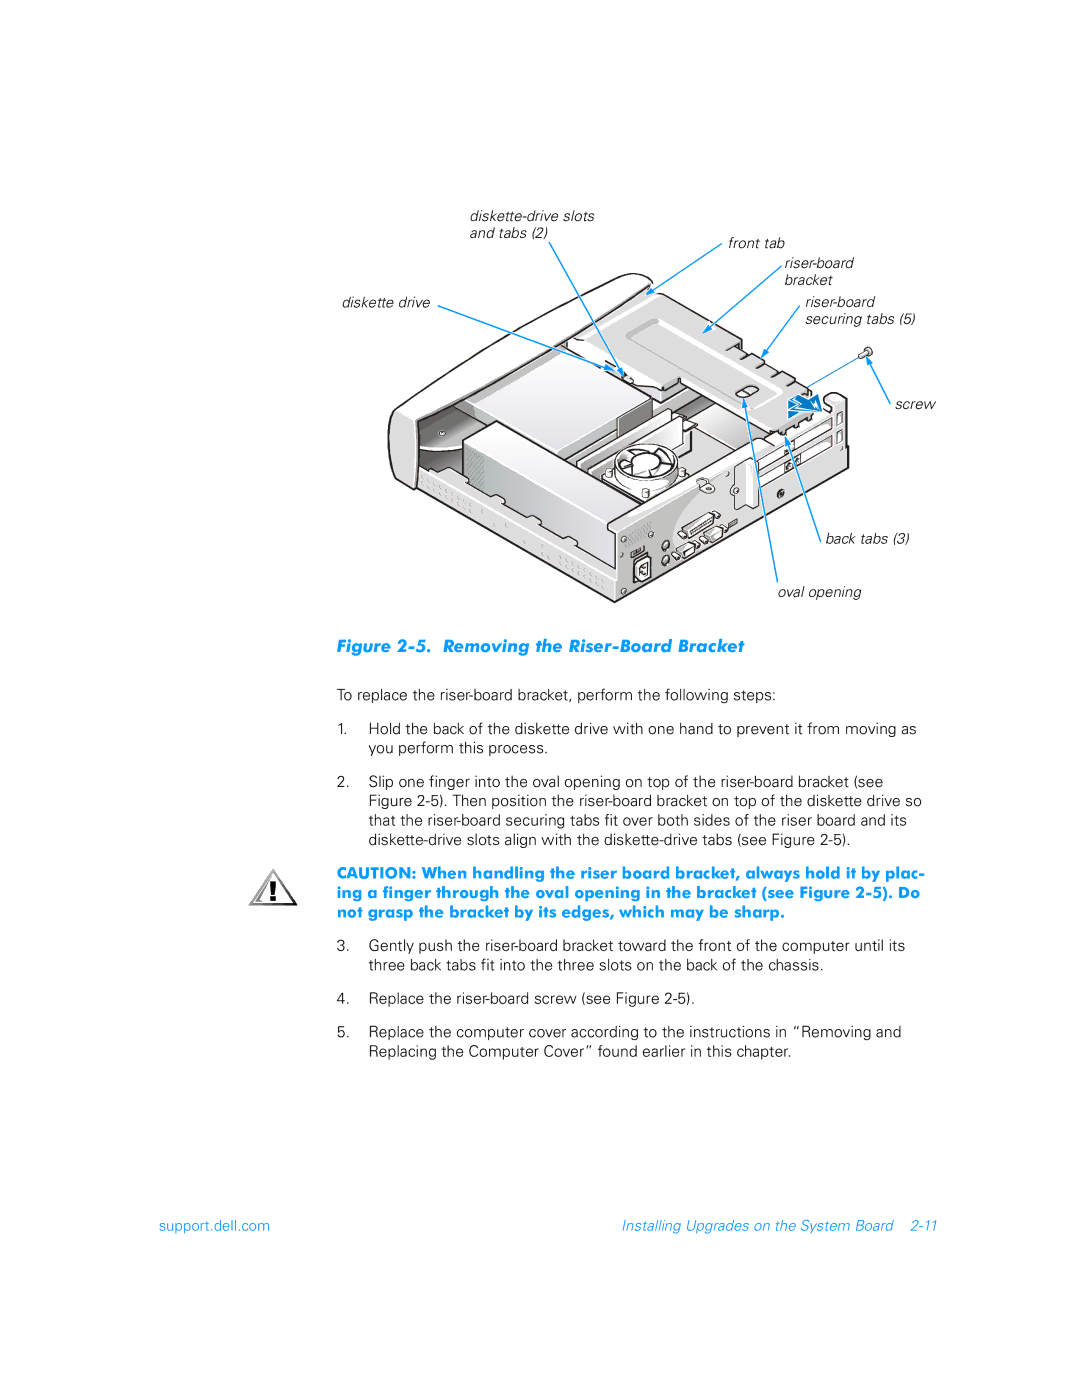
and tabs (2)
front tab
diskette drive | |
| securing tabs (5) |
screw
back tabs (3)
oval opening
Figure 2-5. Removing the Riser-Board Bracket
To replace the
1.Hold the back of the diskette drive with one hand to prevent it from moving as you perform this process.
2.Slip one finger into the oval opening on top of the
CAUTION: When handling the riser board bracket, always hold it by plac- ing a finger through the oval opening in the bracket (see Figure
3.Gently push the
4.Replace the
5.Replace the computer cover according to the instructions in “Removing and Replacing the Computer Cover” found earlier in this chapter.
support.dell.com | Installing Upgrades on the System Board |