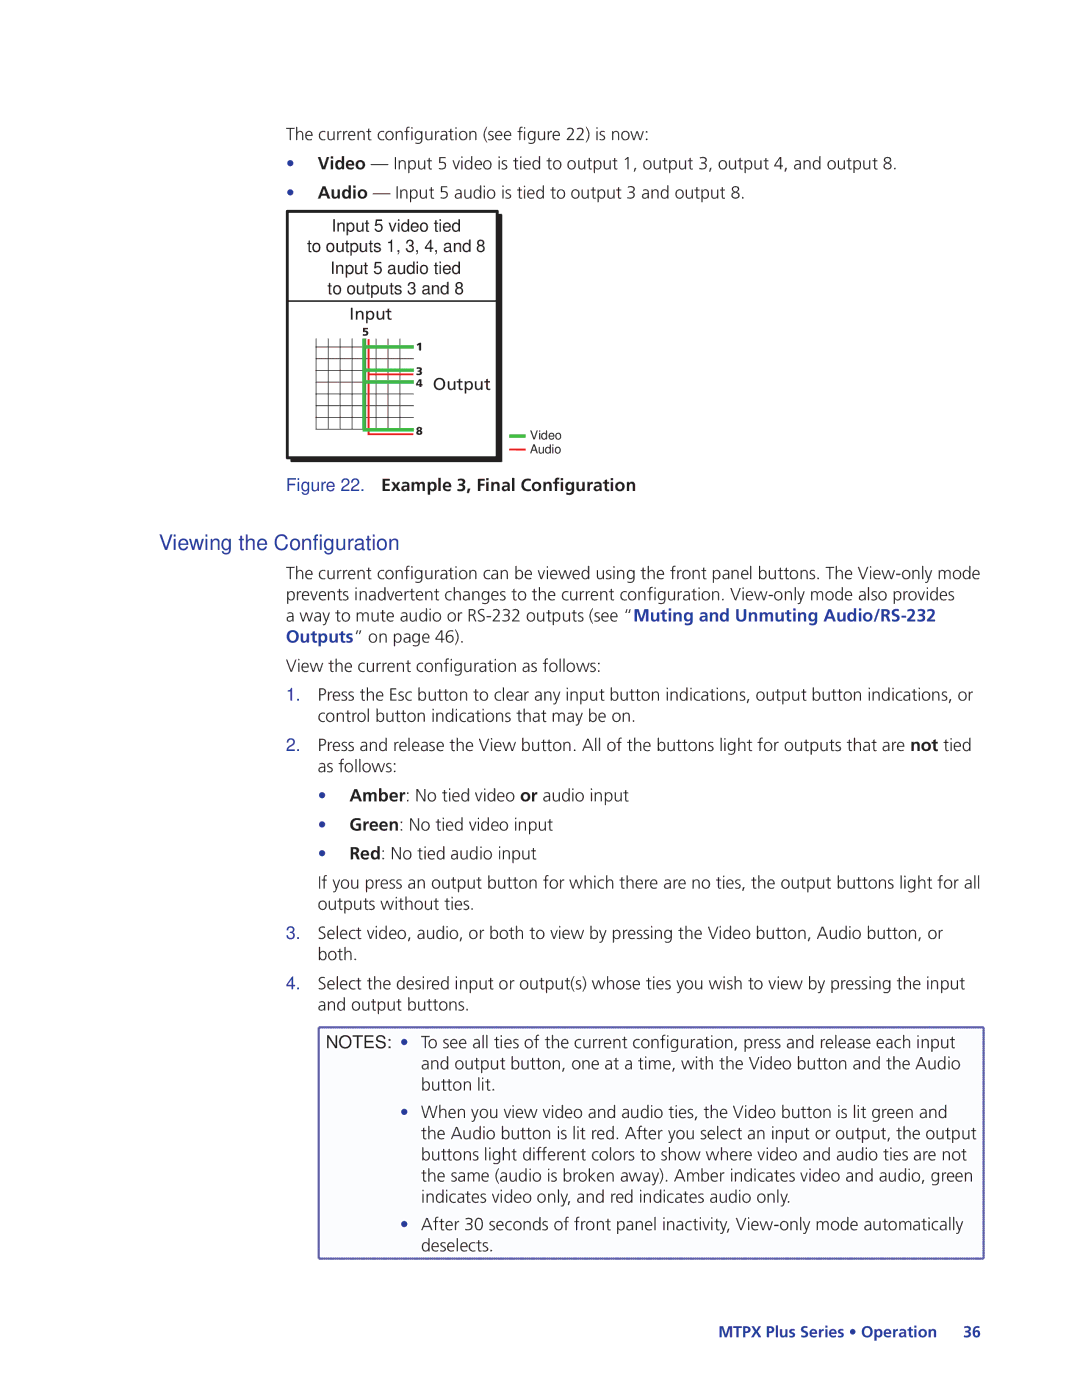
The current configuration (see figure 22) is now:
•Video — Input 5 video is tied to output 1, output 3, output 4, and output 8.
•Audio — Input 5 audio is tied to output 3 and output 8.
Input 5 video tied
to outputs 1, 3, 4, and 8
Input 5 audio tied to outputs 3 and 8
Input
5
1
3
4 Output
8 | Video |
| |
| Audio |
Figure 22. Example 3, Final Configuration
Viewing the Configuration
The current configuration can be viewed using the front panel buttons. The
a way to mute audio or
View the current configuration as follows:
1.Press the Esc button to clear any input button indications, output button indications, or control button indications that may be on.
2.Press and release the View button. All of the buttons light for outputs that are not tied as follows:
•Amber: No tied video or audio input
•Green: No tied video input
•Red: No tied audio input
If you press an output button for which there are no ties, the output buttons light for all outputs without ties.
3.Select video, audio, or both to view by pressing the Video button, Audio button, or both.
4.Select the desired input or output(s) whose ties you wish to view by pressing the input and output buttons.
![]() NOTES: • To see all ties of the current configuration, press and release each input
NOTES: • To see all ties of the current configuration, press and release each input
and output button, one at a time, with the Video button and the Audio
button lit.
• When you view video and audio ties, the Video button is lit green and
the Audio button is lit red. After you select an input or output, the output ![]() buttons light different colors to show where video and audio ties are not
buttons light different colors to show where video and audio ties are not ![]() the same (audio is broken away). Amber indicates video and audio, green
the same (audio is broken away). Amber indicates video and audio, green ![]() indicates video only, and red indicates audio only.
indicates video only, and red indicates audio only.![]()
• After 30 seconds of front panel inactivity,