Installing a Hard Drive into an Internal Drive Bay
![]() NOTE: The system does not support Parallel ATA (PATA) hard drives.
NOTE: The system does not support Parallel ATA (PATA) hard drives.
1.Prepare the computer for disassembly (Preparation for Disassembly on page 54)
2.Remove the access panel (Computer Access Panel on page 55)
3.Install guide screws on the sides of the drive. If you are installing a
![]()
![]()
![]()
![]() NOTE: The hard drive uses
NOTE: The hard drive uses
If you are replacing a drive, transfer the guides screws from the old drive to the new one.
●If you are installing a
Figure 6-23 Installing Isolation Mounting Guide Screws in a 3.5-inch Drive
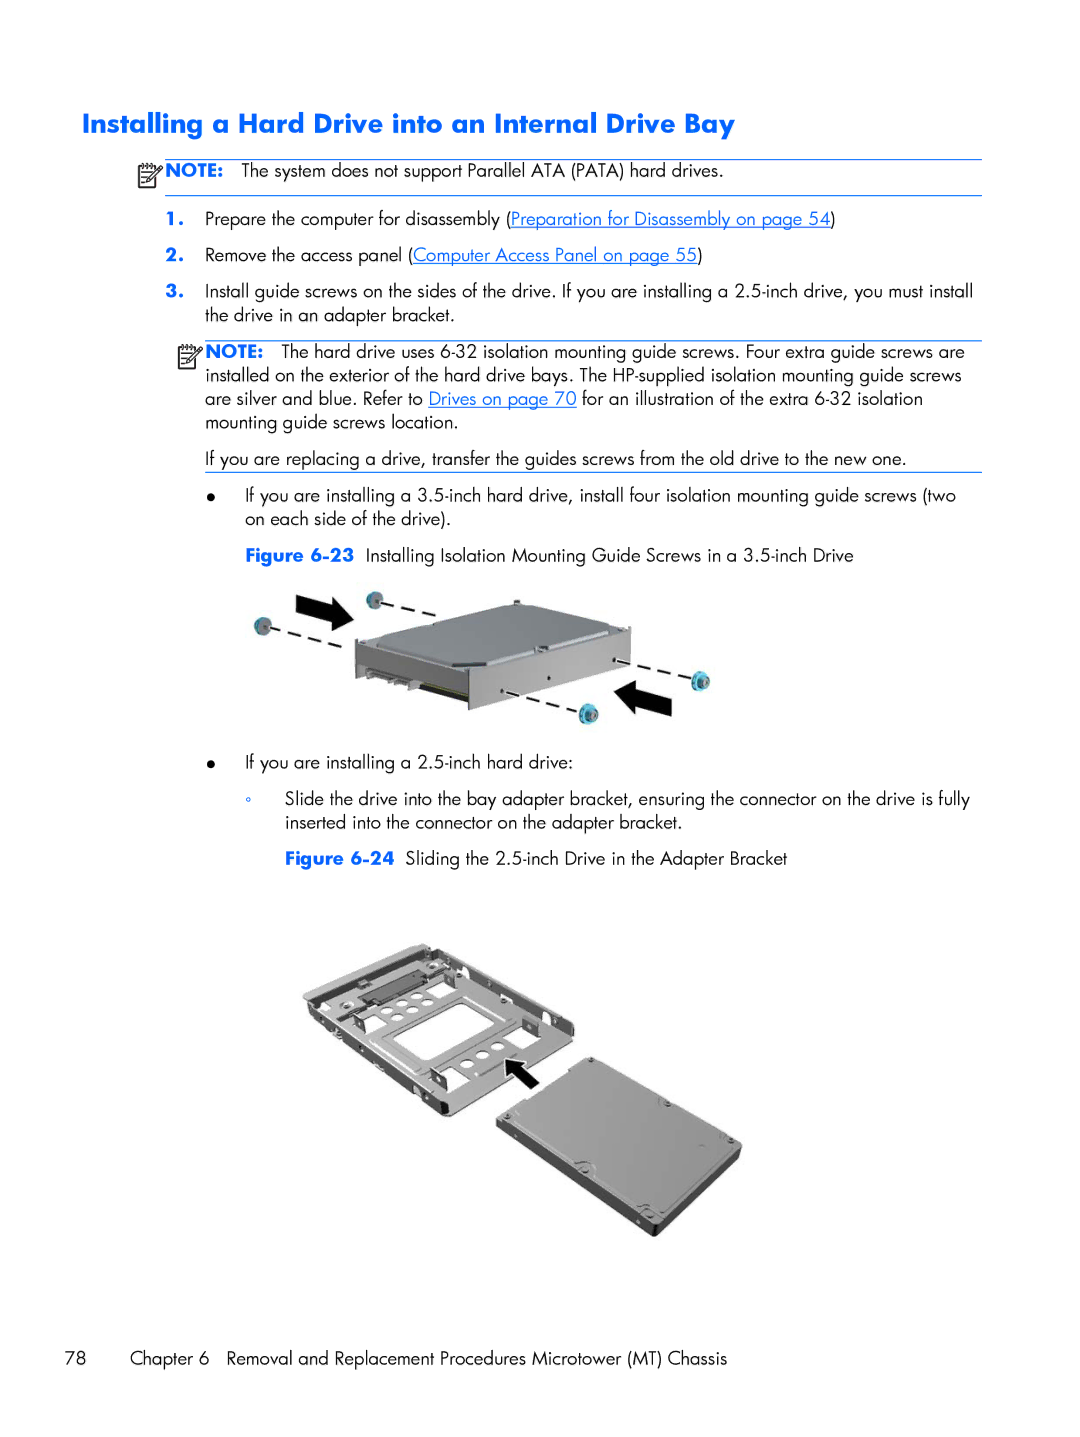
●If you are installing a 2.5-inch hard drive:
◦Slide the drive into the bay adapter bracket, ensuring the connector on the drive is fully inserted into the connector on the adapter bracket.
Figure 6-24 Sliding the 2.5-inch Drive in the Adapter Bracket
78 | Chapter 6 Removal and Replacement Procedures Microtower (MT) Chassis |