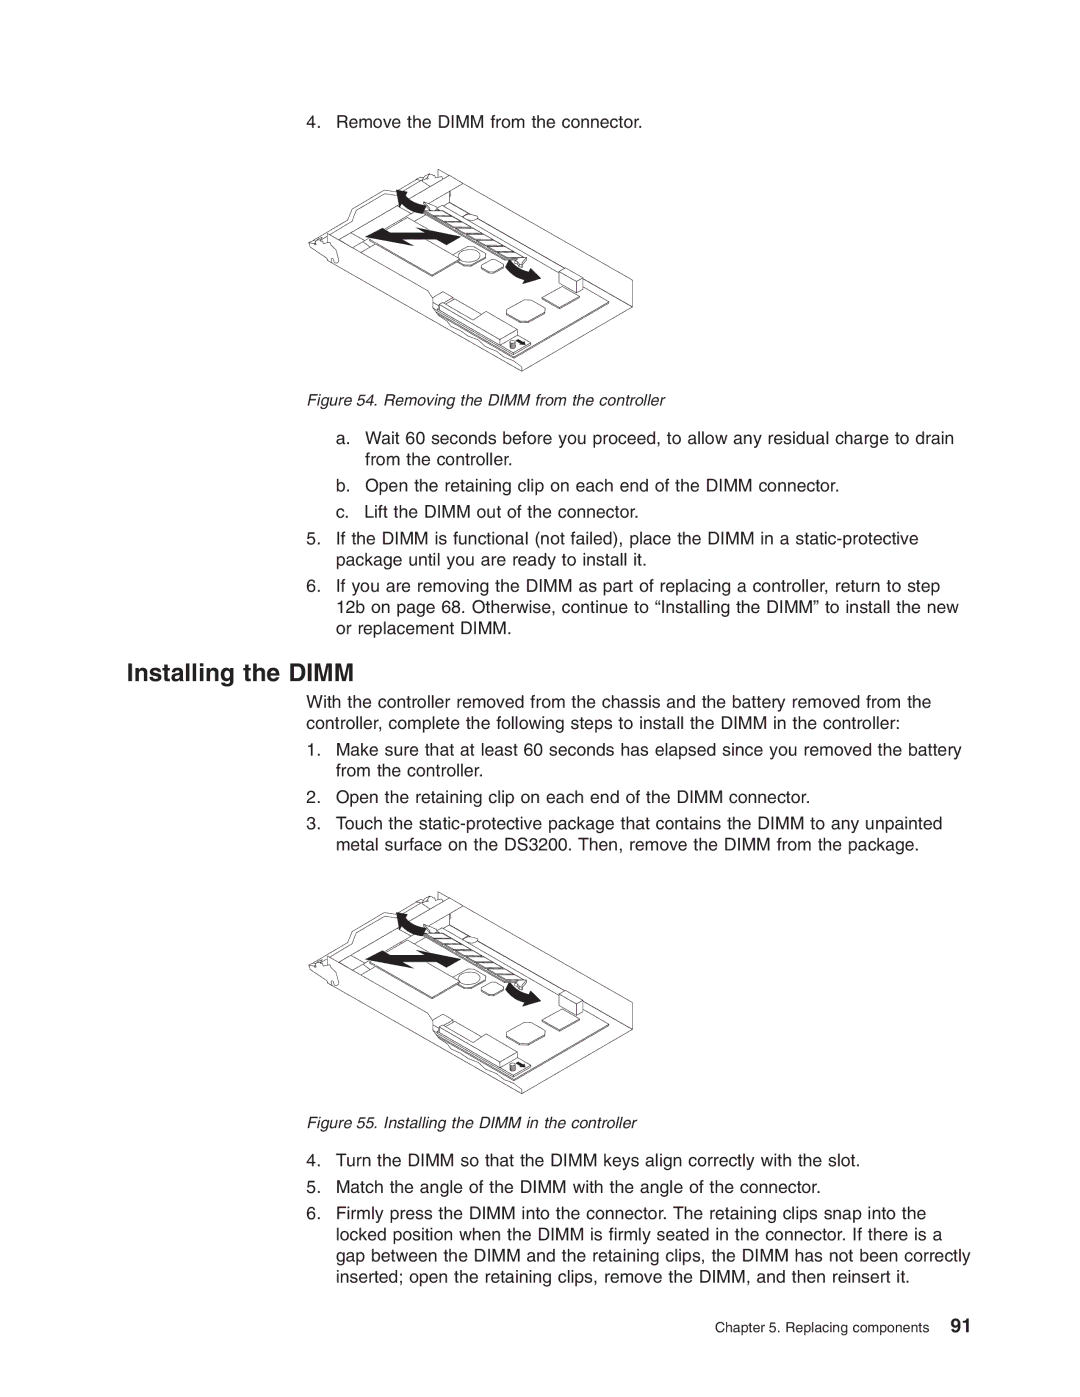
4. Remove the DIMM from the connector.
Figure 54. Removing the DIMM from the controller
a.Wait 60 seconds before you proceed, to allow any residual charge to drain from the controller.
b.Open the retaining clip on each end of the DIMM connector.
c.Lift the DIMM out of the connector.
5.If the DIMM is functional (not failed), place the DIMM in a
6.If you are removing the DIMM as part of replacing a controller, return to step 12b on page 68. Otherwise, continue to “Installing the DIMM” to install the new or replacement DIMM.
Installing the DIMM
With the controller removed from the chassis and the battery removed from the controller, complete the following steps to install the DIMM in the controller:
1.Make sure that at least 60 seconds has elapsed since you removed the battery from the controller.
2.Open the retaining clip on each end of the DIMM connector.
3.Touch the
Figure 55. Installing the DIMM in the controller
4.Turn the DIMM so that the DIMM keys align correctly with the slot.
5.Match the angle of the DIMM with the angle of the connector.
6.Firmly press the DIMM into the connector. The retaining clips snap into the locked position when the DIMM is firmly seated in the connector. If there is a gap between the DIMM and the retaining clips, the DIMM has not been correctly inserted; open the retaining clips, remove the DIMM, and then reinsert it.