5.Is the service action allowed LED lit? v Yes: Go to step 6.
vNo: Another component might require attention before you can remove the controller. Use the Recovery Guru in the DS3000 Subsystem Management window to identify and correct any additional failures. If there are none, proceed with step 6 to replace the controller.
Attention: Static electricity can damage the storage subsystem and other electronic devices. To avoid damage, keep
6.Unpack the new controller. Save all packing materials in case you have to return the new controller.
7.Determine whether the replacement controller will be controller A or controller B (controller A is installed in the left controller bay; controller B is installed in the right controller bay), and then apply the controller labels for host ports and drive expansion ports to the replacement controller. The controller labels and instructions are included with the replacement controller. Make sure that the labels are aligned correctly and do not cover any connectors or LEDs.
Attention: Handle and install SAS cables correctly to avoid degraded performance or loss of communication with devices. When you work with SAS cables, do not pinch them, step on them, or locate them in aisles or walkways. Do not overtighten the cable straps or bend the cables to a radius smaller than 38 mm (1.5 in.).
8.Disconnect all attached interface cables from the failed controller. Be sure to label each cable so that you can reconnect it correctly to the new controller.
9.If the controller has failed in a
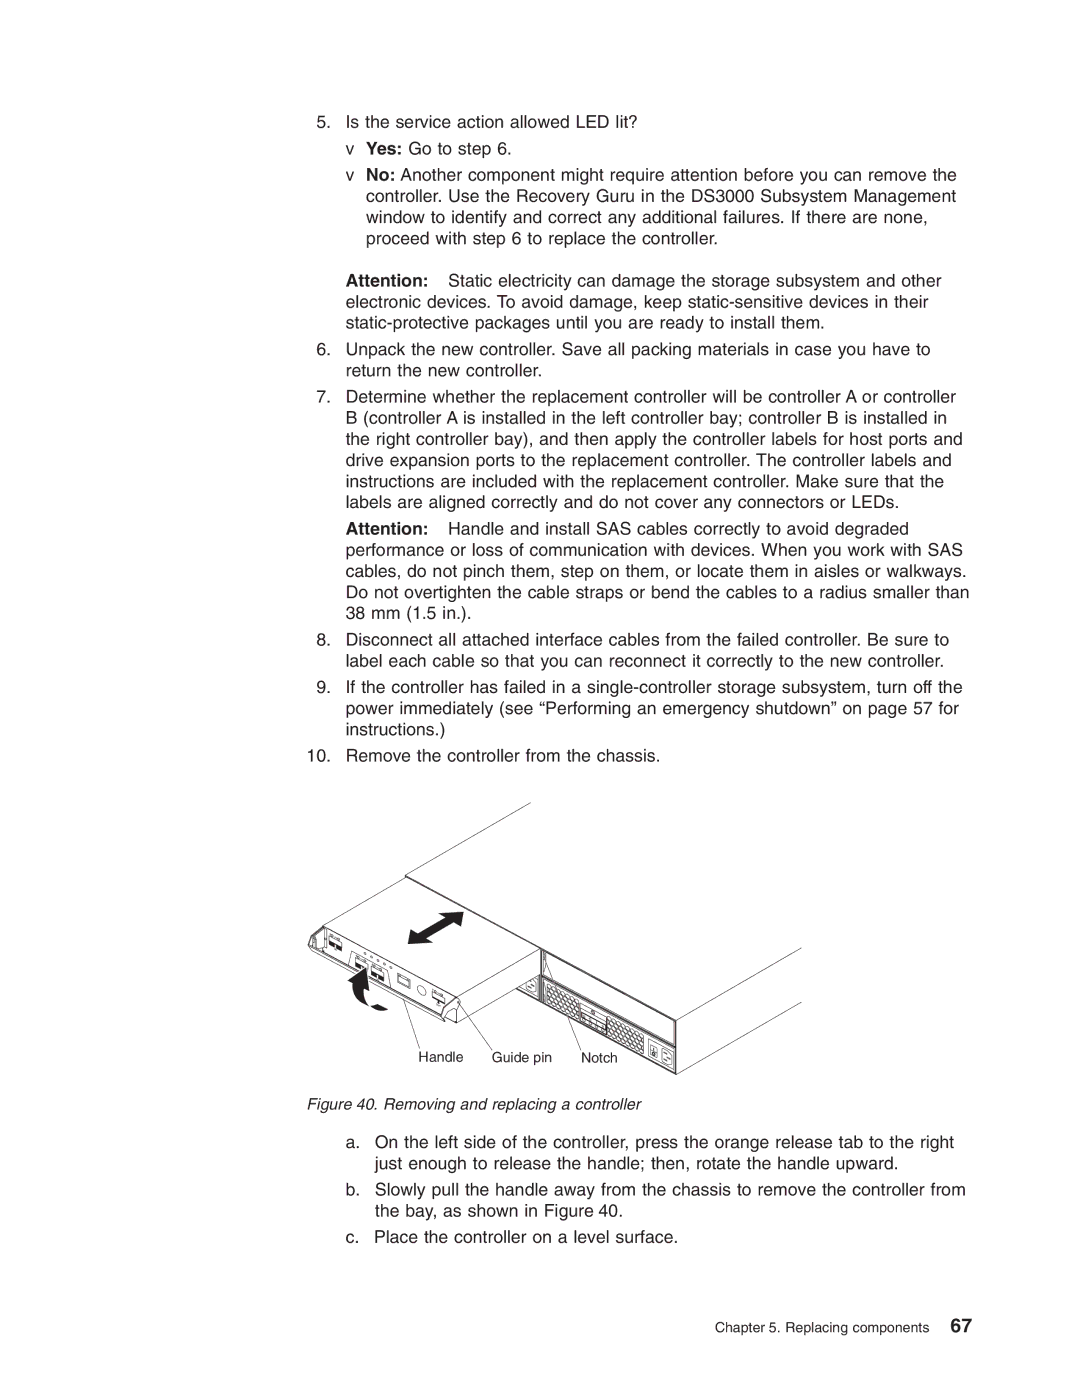
10.Remove the controller from the chassis.
Handle | Guide pin | Notch |
Figure 40. Removing and replacing a controller
a.On the left side of the controller, press the orange release tab to the right just enough to release the handle; then, rotate the handle upward.
b.Slowly pull the handle away from the chassis to remove the controller from the bay, as shown in Figure 40.
c.Place the controller on a level surface.
Chapter 5. Replacing components 67