1.Click where you want to insert the picture in your document.
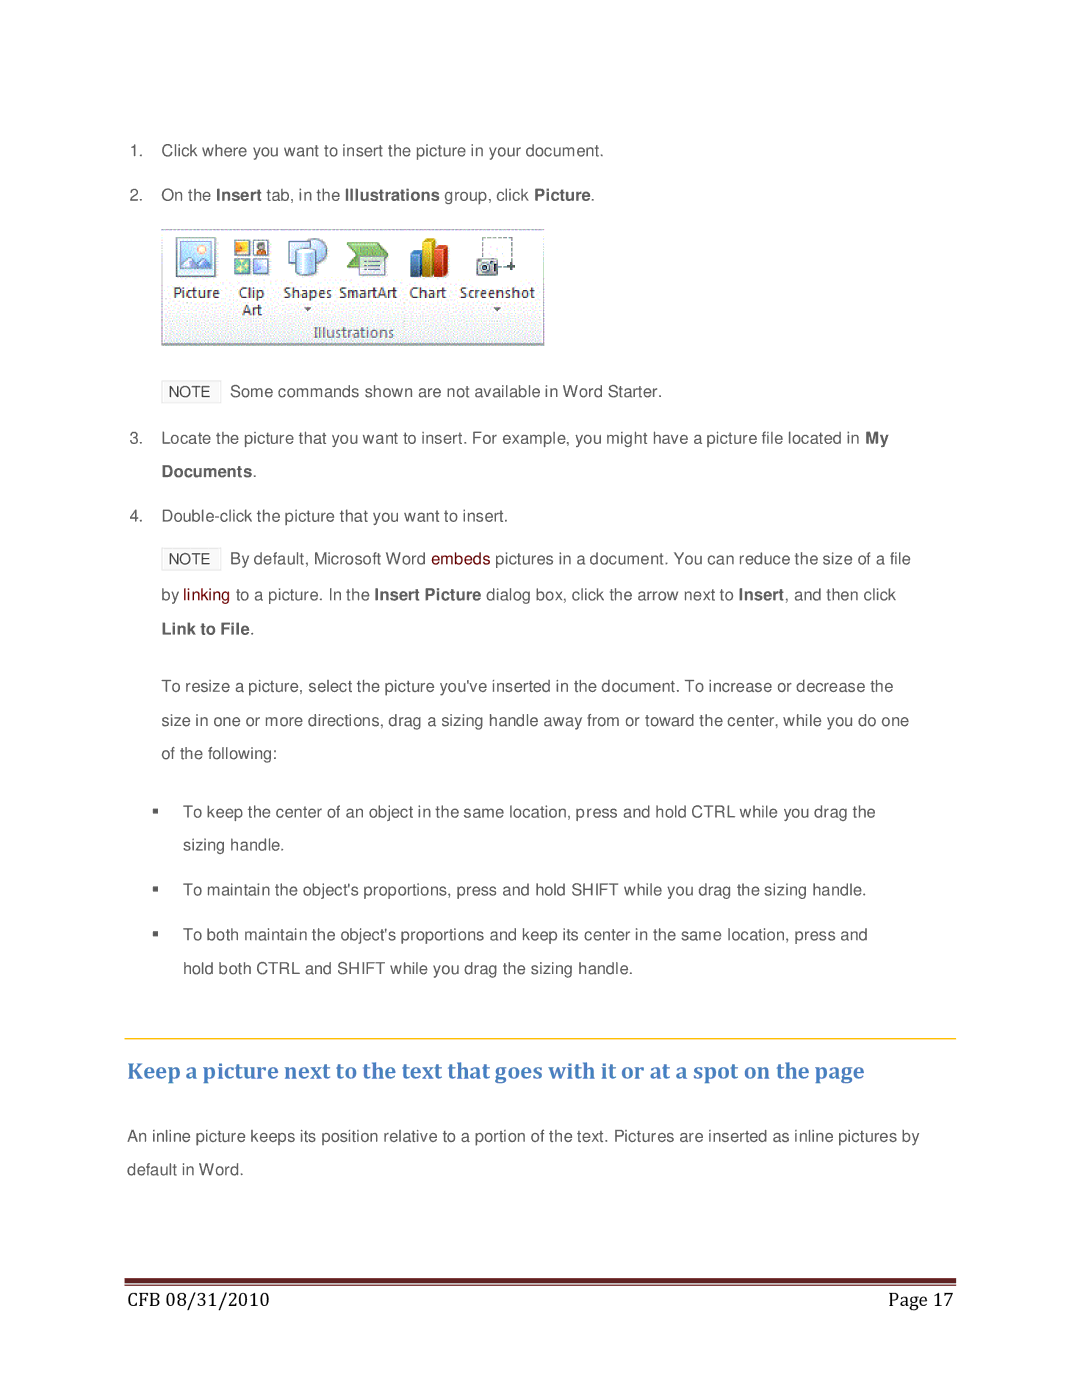
2.On the Insert tab, in the Illustrations group, click Picture.
NOTE Some commands shown are not available in Word Starter.
3.Locate the picture that you want to insert. For example, you might have a picture file located in My Documents.
4.
NOTE By default, Microsoft Word embeds pictures in a document. You can reduce the size of a file by linking to a picture. In the Insert Picture dialog box, click the arrow next to Insert, and then click Link to File.
To resize a picture, select the picture you've inserted in the document. To increase or decrease the size in one or more directions, drag a sizing handle away from or toward the center, while you do one of the following:
To keep the center of an object in the same location, press and hold CTRL while you drag the sizing handle.
To maintain the object's proportions, press and hold SHIFT while you drag the sizing handle.
To both maintain the object's proportions and keep its center in the same location, press and hold both CTRL and SHIFT while you drag the sizing handle.
Keep a picture next to the text that goes with it or at a spot on the page
An inline picture keeps its position relative to a portion of the text. Pictures are inserted as inline pictures by default in Word.
|
|
CFB 08/31/2010 | Page 17 |