Specifying Copy Settings Chapter 7
7 | 7.1 Specifying Finishing Settings |
|
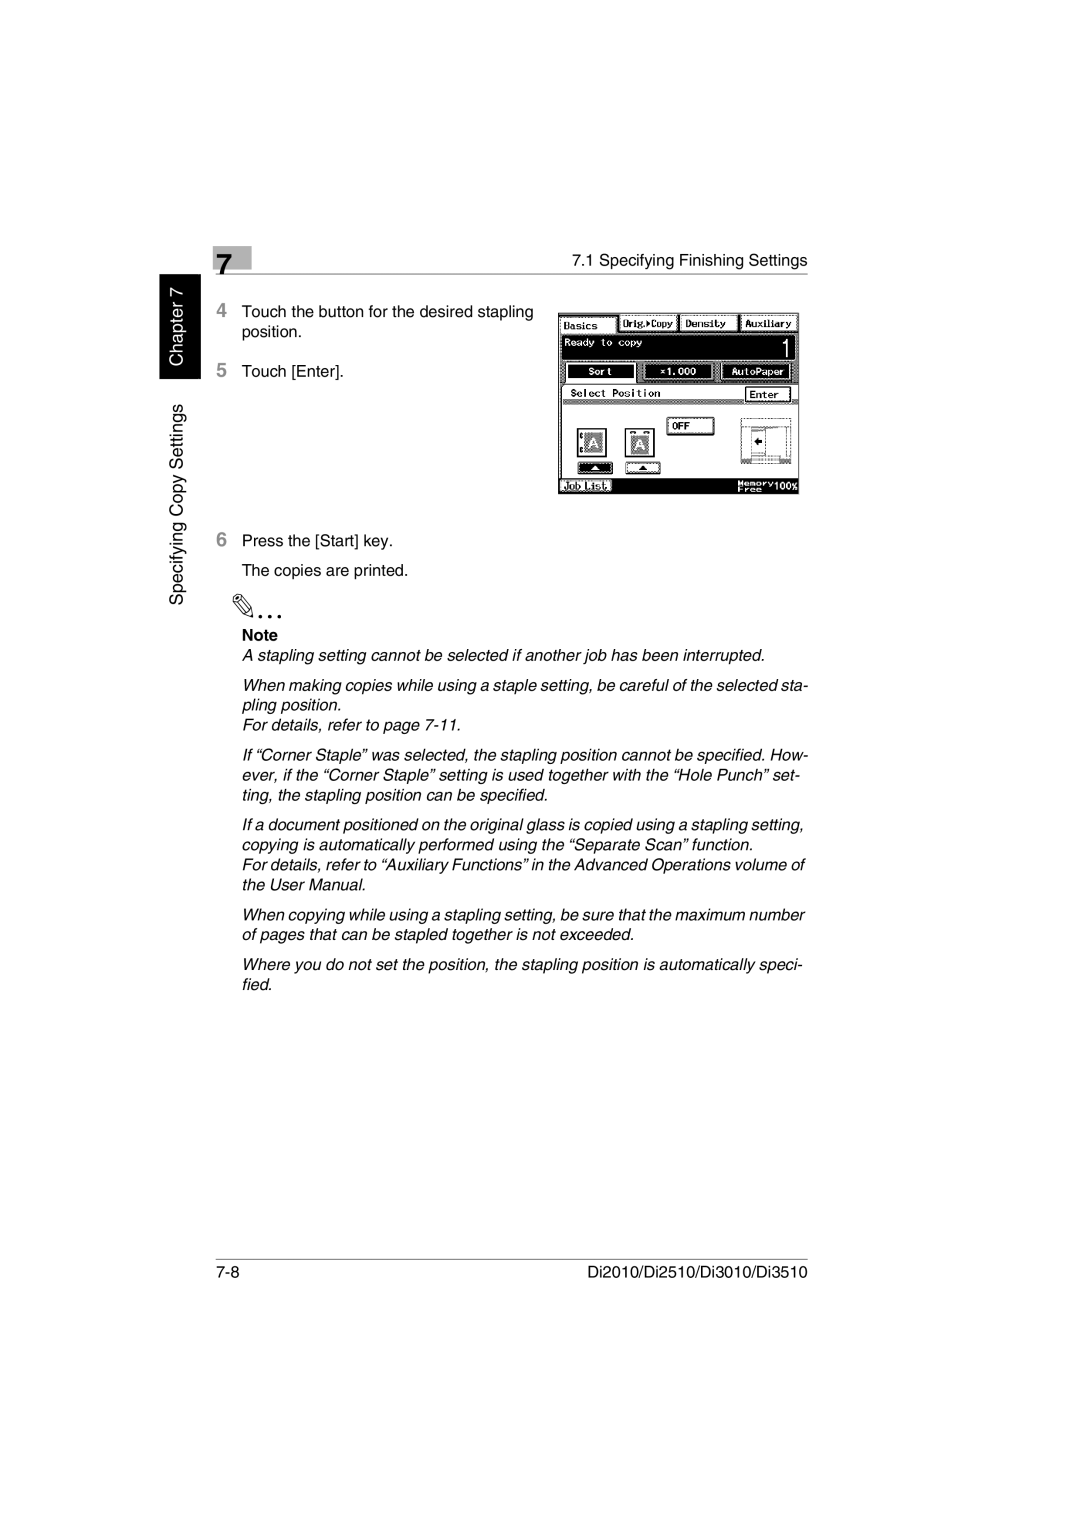
4Touch the button for the desired stapling position.
5Touch [Enter].
6Press the [Start] key. The copies are printed.
Note
A stapling setting cannot be selected if another job has been interrupted.
When making copies while using a staple setting, be careful of the selected sta- pling position.
For details, refer to page
If “Corner Staple” was selected, the stapling position cannot be specified. How- ever, if the “Corner Staple” setting is used together with the “Hole Punch” set- ting, the stapling position can be specified.
If a document positioned on the original glass is copied using a stapling setting, copying is automatically performed using the “Separate Scan” function.
For details, refer to “Auxiliary Functions” in the Advanced Operations volume of the User Manual.
When copying while using a stapling setting, be sure that the maximum number of pages that can be stapled together is not exceeded.
Where you do not set the position, the stapling position is automatically speci- fied.
Di2010/Di2510/Di3010/Di3510 |