9.2 When Incorrect Copies Are Printed | 9 |
|
|
9.2When Incorrect Copies Are Printed
Symptom | Possible Cause | Remedy |
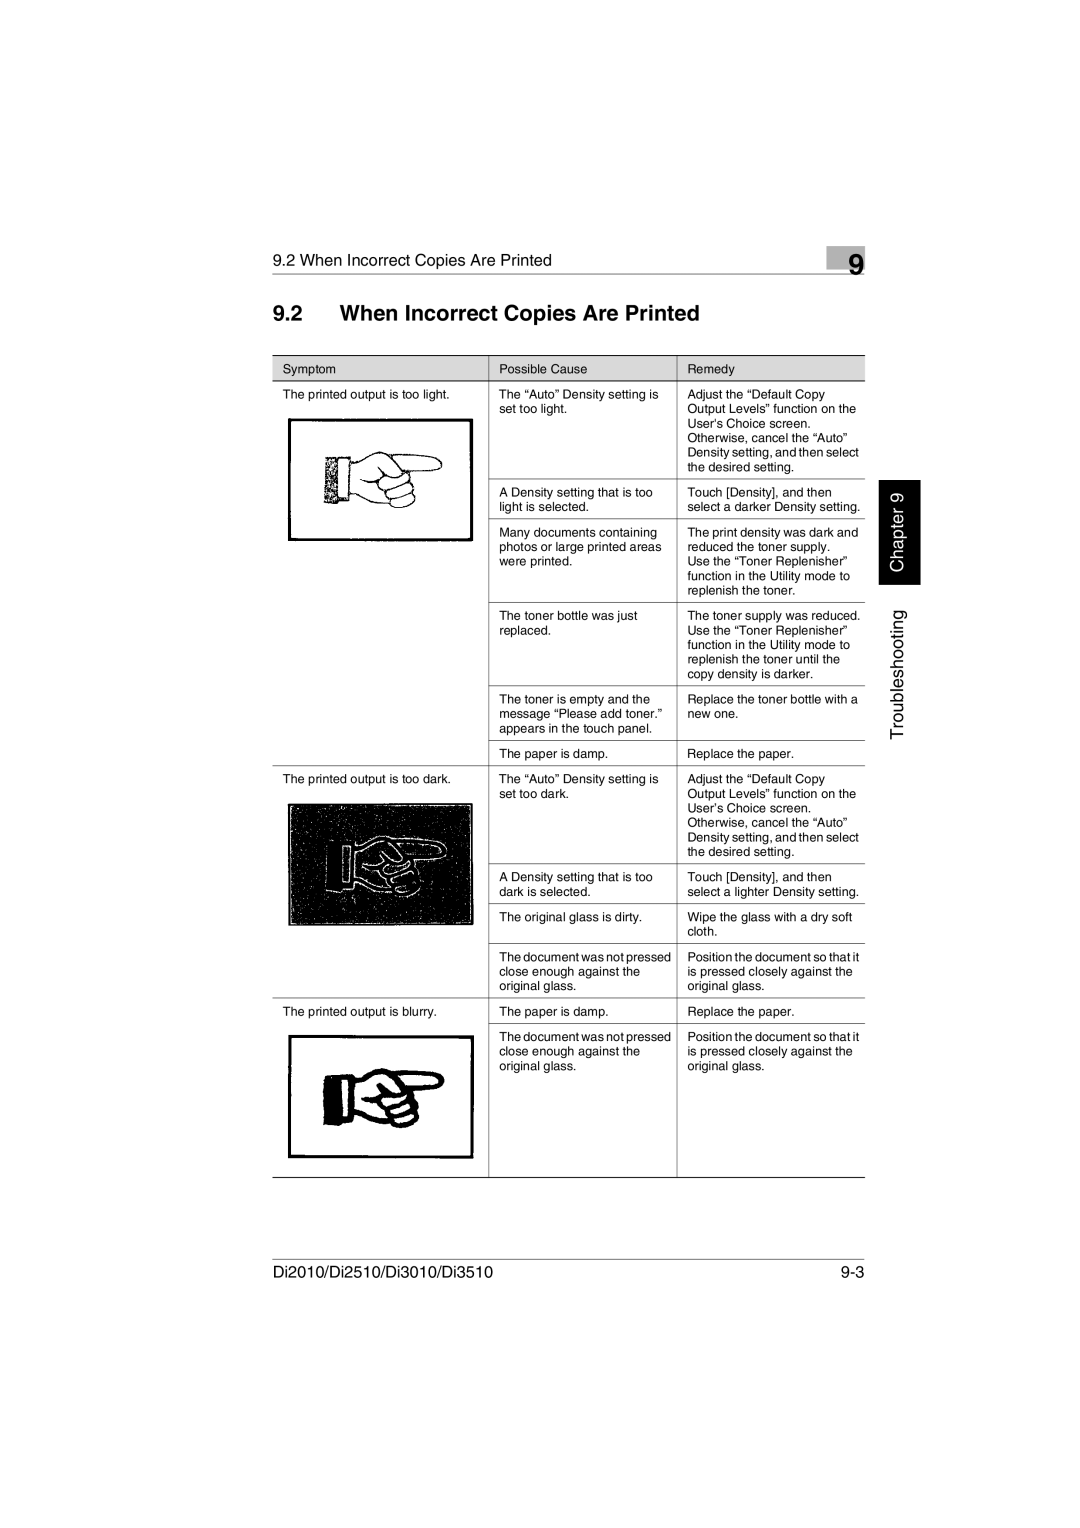
The printed output is too light. | The “Auto” Density setting is | Adjust the “Default Copy |
| set too light. | Output Levels” function on the |
|
| User's Choice screen. |
|
| Otherwise, cancel the “Auto” |
|
| Density setting, and then select |
|
| the desired setting. |
|
|
|
| A Density setting that is too | Touch [Density], and then |
| light is selected. | select a darker Density setting. |
|
|
|
| Many documents containing | The print density was dark and |
| photos or large printed areas | reduced the toner supply. |
| were printed. | Use the “Toner Replenisher” |
|
| function in the Utility mode to |
|
| replenish the toner. |
|
|
|
| The toner bottle was just | The toner supply was reduced. |
| replaced. | Use the “Toner Replenisher” |
|
| function in the Utility mode to |
|
| replenish the toner until the |
|
| copy density is darker. |
|
|
|
| The toner is empty and the | Replace the toner bottle with a |
| message “Please add toner.” | new one. |
| appears in the touch panel. |
|
|
|
|
| The paper is damp. | Replace the paper. |
|
|
|
The printed output is too dark. | The “Auto” Density setting is | Adjust the “Default Copy |
| set too dark. | Output Levels” function on the |
|
| User’s Choice screen. |
|
| Otherwise, cancel the “Auto” |
|
| Density setting, and then select |
|
| the desired setting. |
|
|
|
| A Density setting that is too | Touch [Density], and then |
| dark is selected. | select a lighter Density setting. |
|
|
|
| The original glass is dirty. | Wipe the glass with a dry soft |
|
| cloth. |
|
|
|
| The document was not pressed | Position the document so that it |
| close enough against the | is pressed closely against the |
| original glass. | original glass. |
|
|
|
The printed output is blurry. | The paper is damp. | Replace the paper. |
|
|
|
| The document was not pressed | Position the document so that it |
| close enough against the | is pressed closely against the |
| original glass. | original glass. |
|
|
|
|
|
|
Troubleshooting Chapter 9
Di2010/Di2510/Di3010/Di3510 |
