7.1 Specifying Finishing Settings | 7 |
|
|
To make copies using the “Hole Punch” setting
1Position the document(s) to be copied.
❍For details, refer to “6 Original Documents”.
2Select
3Touch [Select Position].
4Touch the button for the desired hole punch positions.
❍To allow the hole punch position to automatically be specified, touch [OFF].
5Touch [Enter].
6Press the [Start] key. The copies are printed.
Tip
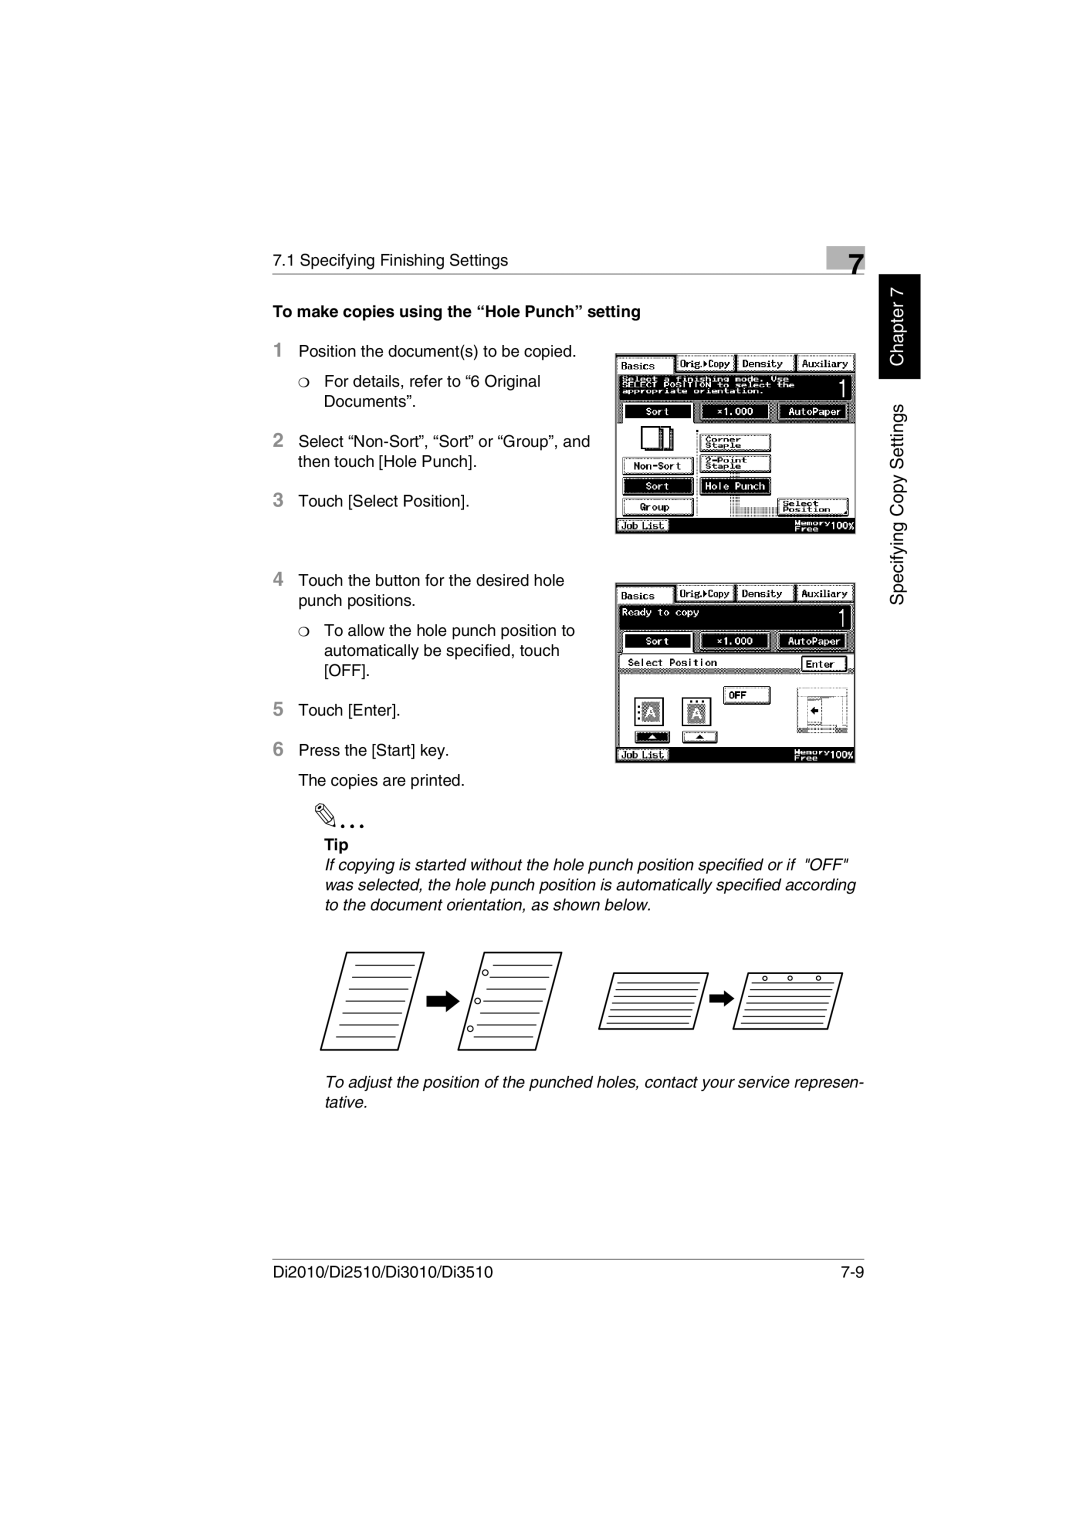
If copying is started without the hole punch position specified or if "OFF" was selected, the hole punch position is automatically specified according to the document orientation, as shown below.
To adjust the position of the punched holes, contact your service represen- tative.
Specifying Copy Settings Chapter 7
Di2010/Di2510/Di3010/Di3510 |