Motion Det | Setup Menu |
![]() Set Motion Detection Pattern A/Set Motion Detection Pattern B
Set Motion Detection Pattern A/Set Motion Detection Pattern B
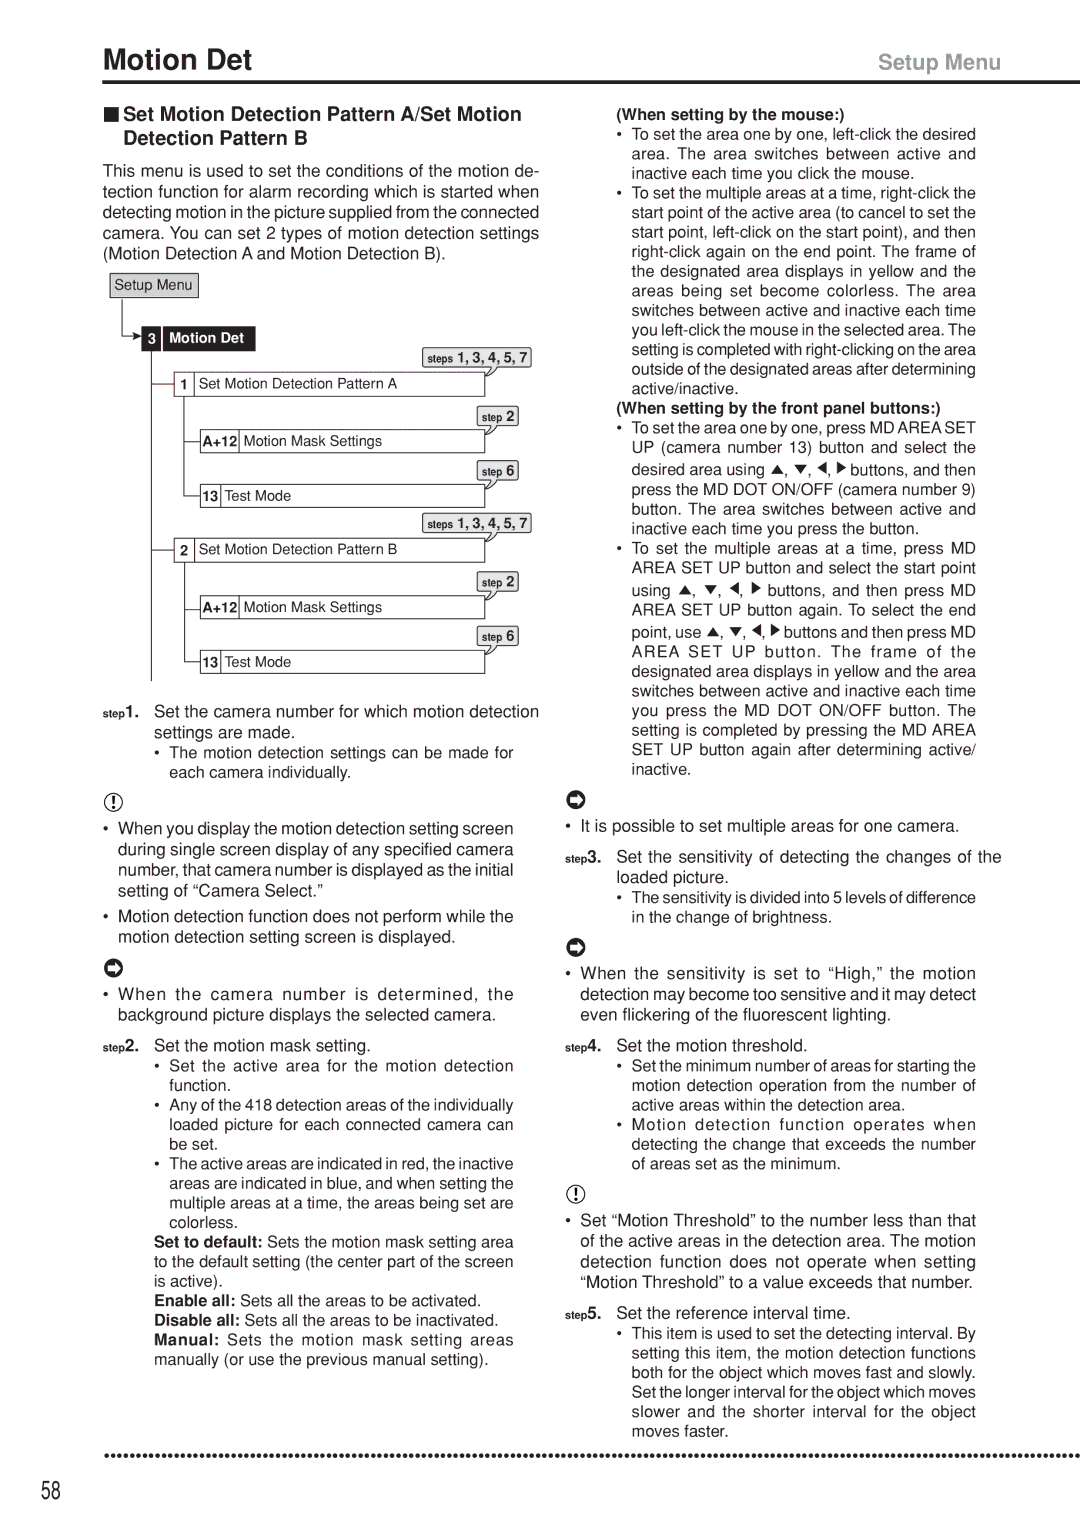
This menu is used to set the conditions of the motion de- tection function for alarm recording which is started when detecting motion in the picture supplied from the connected camera. You can set 2 types of motion detection settings (Motion Detection A and Motion Detection B).
Setup Menu

 3 Motion Det
steps 1, 3, 4, 5, 7
![]() 1 Set Motion Detection Pattern A
1 Set Motion Detection Pattern A
step 2
![]() A+12 Motion Mask Settings
A+12 Motion Mask Settings
step 6
![]() 13 Test Mode
13 Test Mode
steps 1, 3, 4, 5, 7
![]() 2
2 ![]() Set Motion Detection Pattern B
Set Motion Detection Pattern B
step 2
![]() A+12 Motion Mask Settings
A+12 Motion Mask Settings
step 6
![]() 13 Test Mode
13 Test Mode
step1. Set the camera number for which motion detection settings are made.
•The motion detection settings can be made for each camera individually.
(When setting by the mouse:)
•To set the area one by one,
•To set the multiple areas at a time,
outside of the designated areas after determining active/inactive.
(When setting by the front panel buttons:)
•To set the area one by one, press MD AREA SET UP (camera number 13) button and select the desired area using ![]() ,
, ![]() ,
, ![]() ,
, ![]() buttons, and then press the MD DOT ON/OFF (camera number 9) button. The area switches between active and inactive each time you press the button.
buttons, and then press the MD DOT ON/OFF (camera number 9) button. The area switches between active and inactive each time you press the button.
•To set the multiple areas at a time, press MD AREA SET UP button and select the start point using ![]() ,
, ![]() ,
, ![]() ,
, ![]() buttons, and then press MD AREA SET UP button again. To select the end point, use
buttons, and then press MD AREA SET UP button again. To select the end point, use ![]() ,
, ![]() ,
, ![]() ,
, ![]() buttons and then press MD AREA SET UP button. The frame of the designated area displays in yellow and the area switches between active and inactive each time you press the MD DOT ON/OFF button. The setting is completed by pressing the MD AREA SET UP button again after determining active/ inactive.
buttons and then press MD AREA SET UP button. The frame of the designated area displays in yellow and the area switches between active and inactive each time you press the MD DOT ON/OFF button. The setting is completed by pressing the MD AREA SET UP button again after determining active/ inactive.
•When you display the motion detection setting screen during single screen display of any specified camera number, that camera number is displayed as the initial setting of “Camera Select.”
•Motion detection function does not perform while the motion detection setting screen is displayed.
•When the camera number is determined, the background picture displays the selected camera.
step2. Set the motion mask setting.
•Set the active area for the motion detection function.
•Any of the 418 detection areas of the individually loaded picture for each connected camera can be set.
•The active areas are indicated in red, the inactive areas are indicated in blue, and when setting the
multiple areas at a time, the areas being set are colorless.
Set to default: Sets the motion mask setting area to the default setting (the center part of the screen is active).
Enable all: Sets all the areas to be activated.
Disable all: Sets all the areas to be inactivated.
Manual: Sets the motion mask setting areas manually (or use the previous manual setting).
•It is possible to set multiple areas for one camera.
step3. Set the sensitivity of detecting the changes of the loaded picture.
•The sensitivity is divided into 5 levels of difference in the change of brightness.
•When the sensitivity is set to “High,” the motion detection may become too sensitive and it may detect even flickering of the fluorescent lighting.
step4. Set the motion threshold.
•Set the minimum number of areas for starting the motion detection operation from the number of active areas within the detection area.
•Motion detection function operates when detecting the change that exceeds the number of areas set as the minimum.
•Set “Motion Threshold” to the number less than that of the active areas in the detection area. The motion detection function does not operate when setting “Motion Threshold” to a value exceeds that number.
step5. Set the reference interval time.
•This item is used to set the detecting interval. By setting this item, the motion detection functions both for the object which moves fast and slowly. Set the longer interval for the object which moves slower and the shorter interval for the object moves faster.
••••••••••••••••••••••••••••••••••••••••••••••••••••••••••••••••••••••••••••••••••••••••••••••••••••••••••••••••••••••••••••••••••••••••••••••••••••••••••
58