Restore | System Menu |
![]() Restore Data to Main HDD from Drive 1/2/
Restore Data to Main HDD from Drive 1/2/
Export Drive 1/2 Configuration
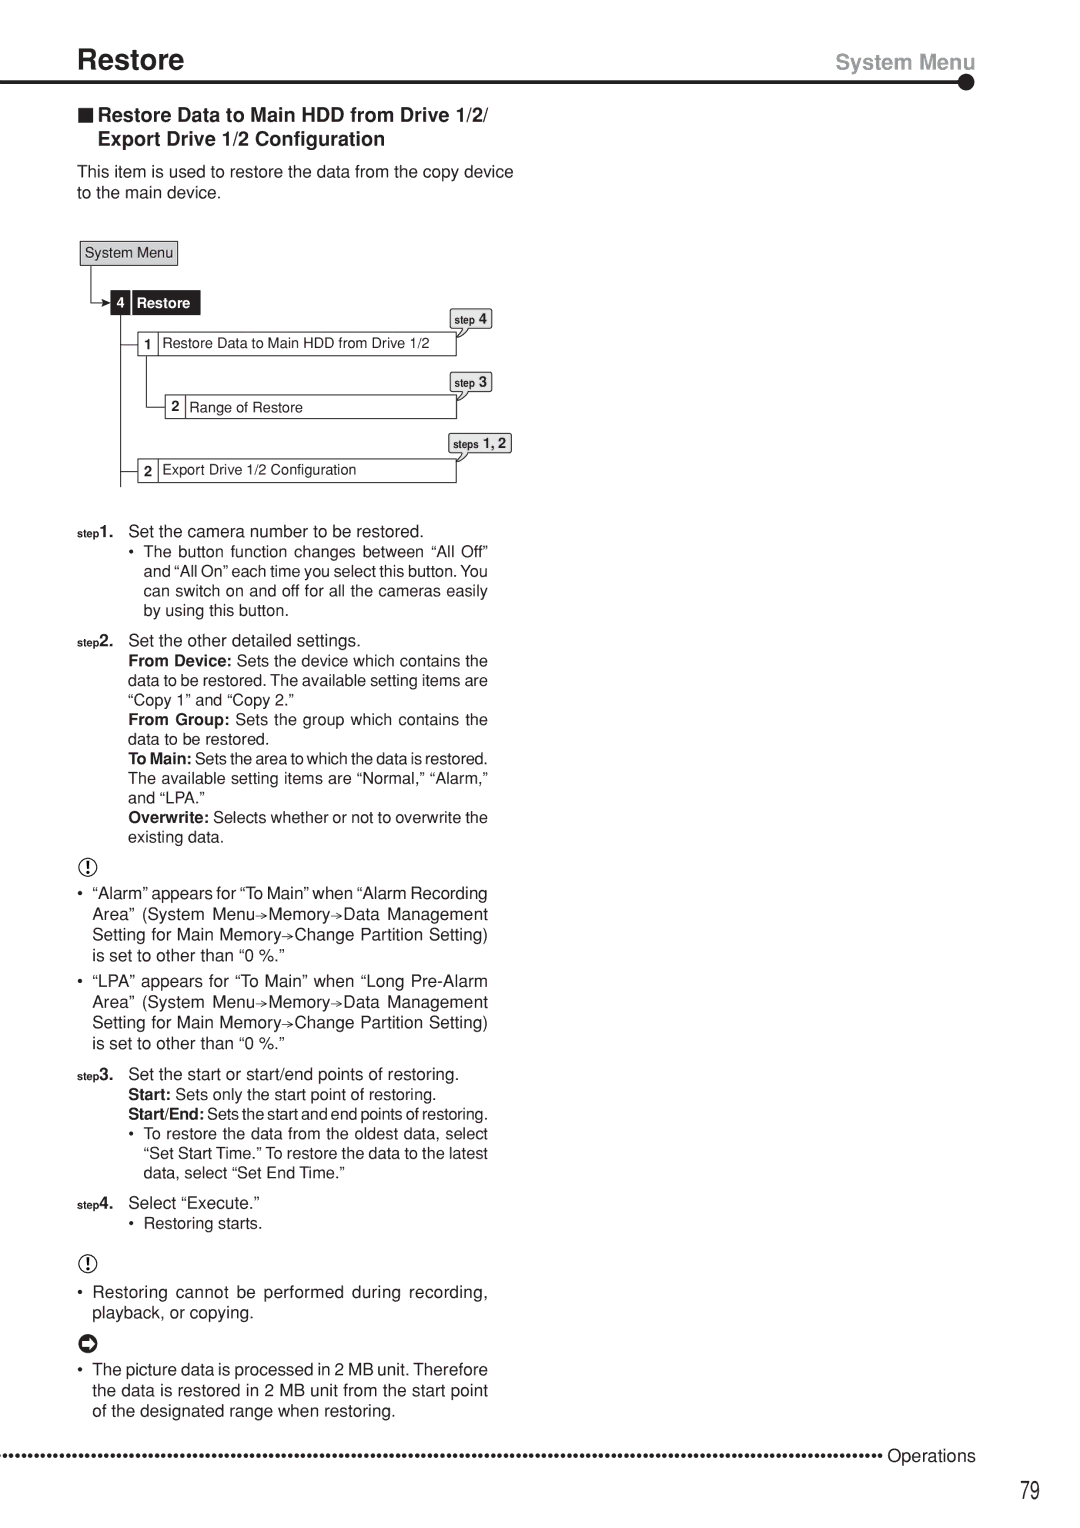
This item is used to restore the data from the copy device to the main device.
System Menu

 4 Restore
step 4
![]() 1 Restore Data to Main HDD from Drive 1/2
1 Restore Data to Main HDD from Drive 1/2
step 3
![]() 2 Range of Restore
2 Range of Restore
steps 1, 2
![]() 2 Export Drive 1/2 Configuration
2 Export Drive 1/2 Configuration
step1. Set the camera number to be restored.
•The button function changes between “All Off” and “All On” each time you select this button. You can switch on and off for all the cameras easily by using this button.
step2. Set the other detailed settings.
From Device: Sets the device which contains the data to be restored. The available setting items are “Copy 1” and “Copy 2.”
From Group: Sets the group which contains the data to be restored.
To Main: Sets the area to which the data is restored. The available setting items are “Normal,” “Alarm,” and “LPA.”
Overwrite: Selects whether or not to overwrite the existing data.
•“Alarm” appears for “To Main” when “Alarm Recording Area” (System Menu![]() Memory
Memory![]() Data Management Setting for Main Memory
Data Management Setting for Main Memory![]() Change Partition Setting) is set to other than “0 %.”
Change Partition Setting) is set to other than “0 %.”
•“LPA” appears for “To Main” when “Long ![]() Memory
Memory![]() Data Management Setting for Main Memory
Data Management Setting for Main Memory![]() Change Partition Setting) is set to other than “0 %.”
Change Partition Setting) is set to other than “0 %.”
step3. Set the start or start/end points of restoring.
Start: Sets only the start point of restoring.
Start/End: Sets the start and end points of restoring.
•To restore the data from the oldest data, select “Set Start Time.” To restore the data to the latest data, select “Set End Time.”
step4. Select “Execute.”
•Restoring starts.
•Restoring cannot be performed during recording, playback, or copying.
•The picture data is processed in 2 MB unit. Therefore the data is restored in 2 MB unit from the start point of the designated range when restoring.
•••••••••••••••••••••••••••••••••••••••••••••••••••••••••••••••••••••••••••••••••••••••••••••••••••••••••••••••••••••••••••••••••••••••••••• Operations
79
