N150 and N300 WiFi DSL Modem Routers
Your computer connects to the modem router’s LAN.
•WiFi. Connect to the default WiFi network of the modem router:
a.On your computer or WiFi device, find and select the WiFi network. The WiFi network name (SSID) is on the product label.
b.Join the WiFi network and enter the WiFi password. The password (network key) is on the product label.
Your computer or WiFi device connects to the modem router’s WiFi network.
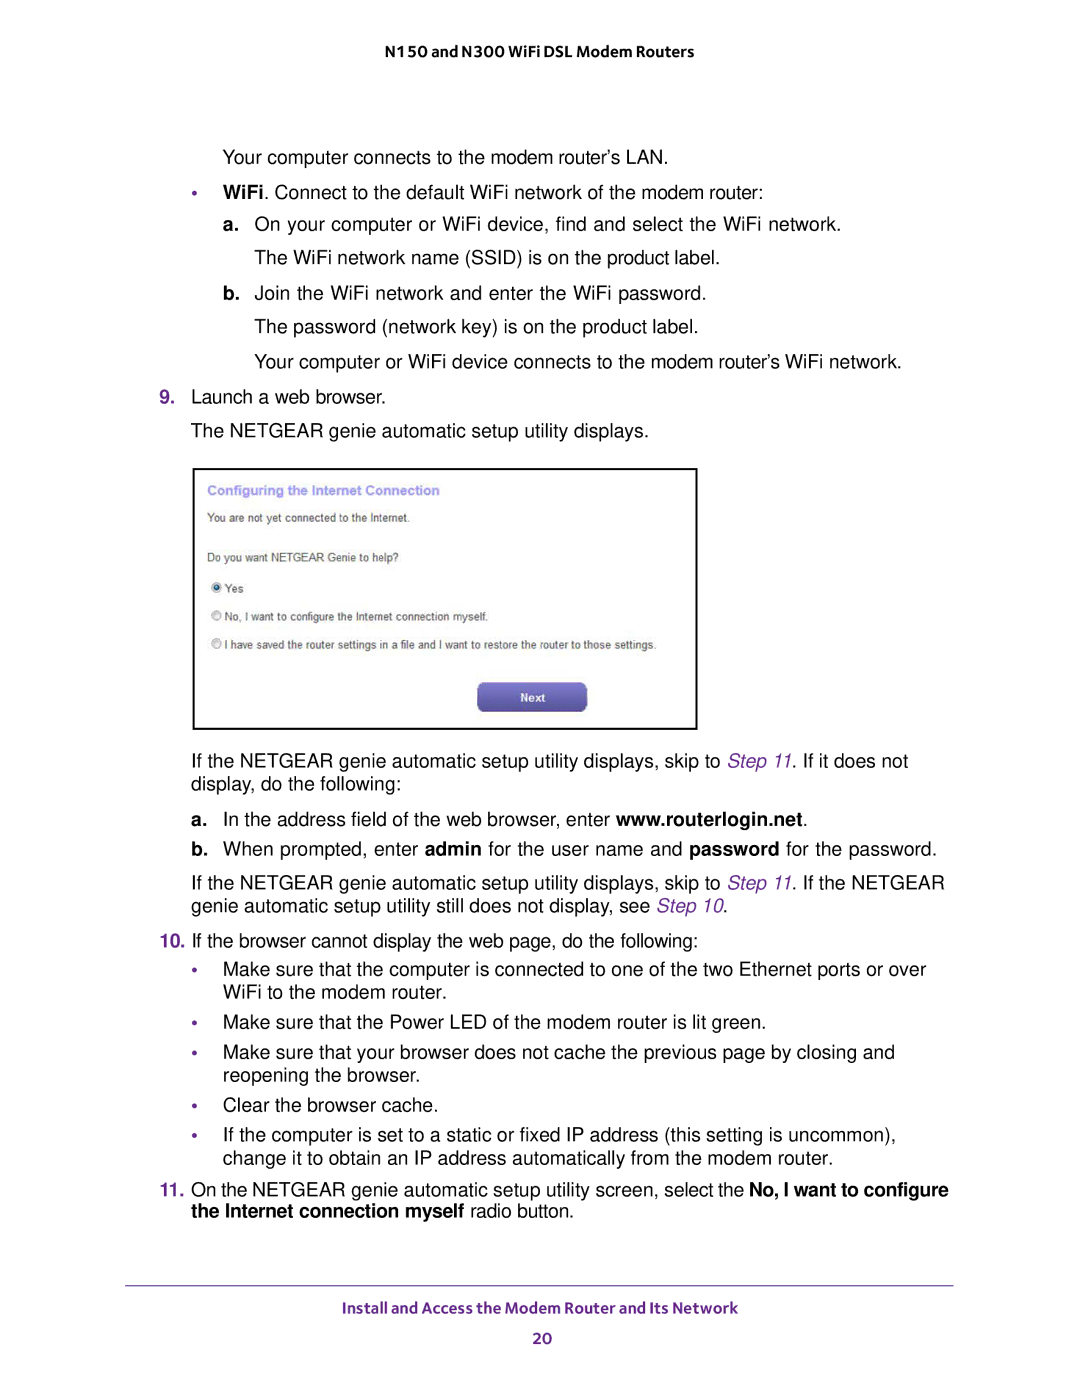
9.Launch a web browser.
The NETGEAR genie automatic setup utility displays.
If the NETGEAR genie automatic setup utility displays, skip to Step 11. If it does not display, do the following:
a.In the address field of the web browser, enter www.routerlogin.net.
b.When prompted, enter admin for the user name and password for the password.
If the NETGEAR genie automatic setup utility displays, skip to Step 11. If the NETGEAR genie automatic setup utility still does not display, see Step 10.
10.If the browser cannot display the web page, do the following:
•Make sure that the computer is connected to one of the two Ethernet ports or over WiFi to the modem router.
•Make sure that the Power LED of the modem router is lit green.
•Make sure that your browser does not cache the previous page by closing and reopening the browser.
•Clear the browser cache.
•If the computer is set to a static or fixed IP address (this setting is uncommon), change it to obtain an IP address automatically from the modem router.
11.On the NETGEAR genie automatic setup utility screen, select the No, I want to configure the Internet connection myself radio button.
Install and Access the Modem Router and Its Network
20