U.S. Cellular® 4G LTE™ Router (LG2200D)
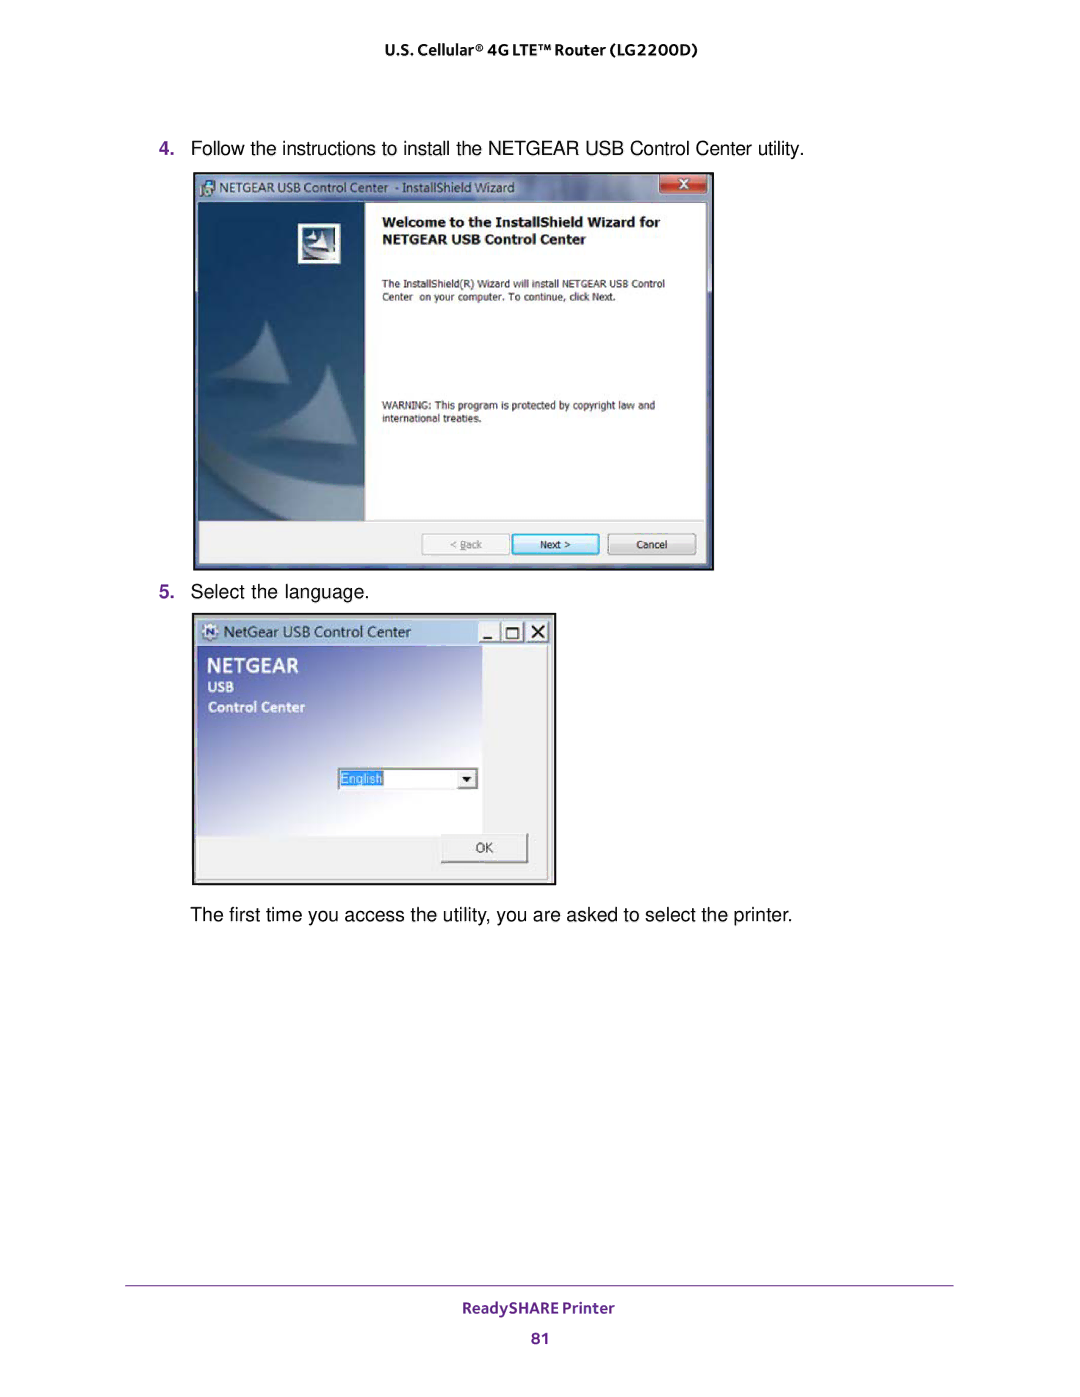
4.Follow the instructions to install the NETGEAR USB Control Center utility.
5.Select the language.
The first time you access the utility, you are asked to select the printer.
ReadySHARE Printer
81
U.S. Cellular® 4G LTE™ Router (LG2200D)
4.Follow the instructions to install the NETGEAR USB Control Center utility.
5.Select the language.
The first time you access the utility, you are asked to select the printer.
81