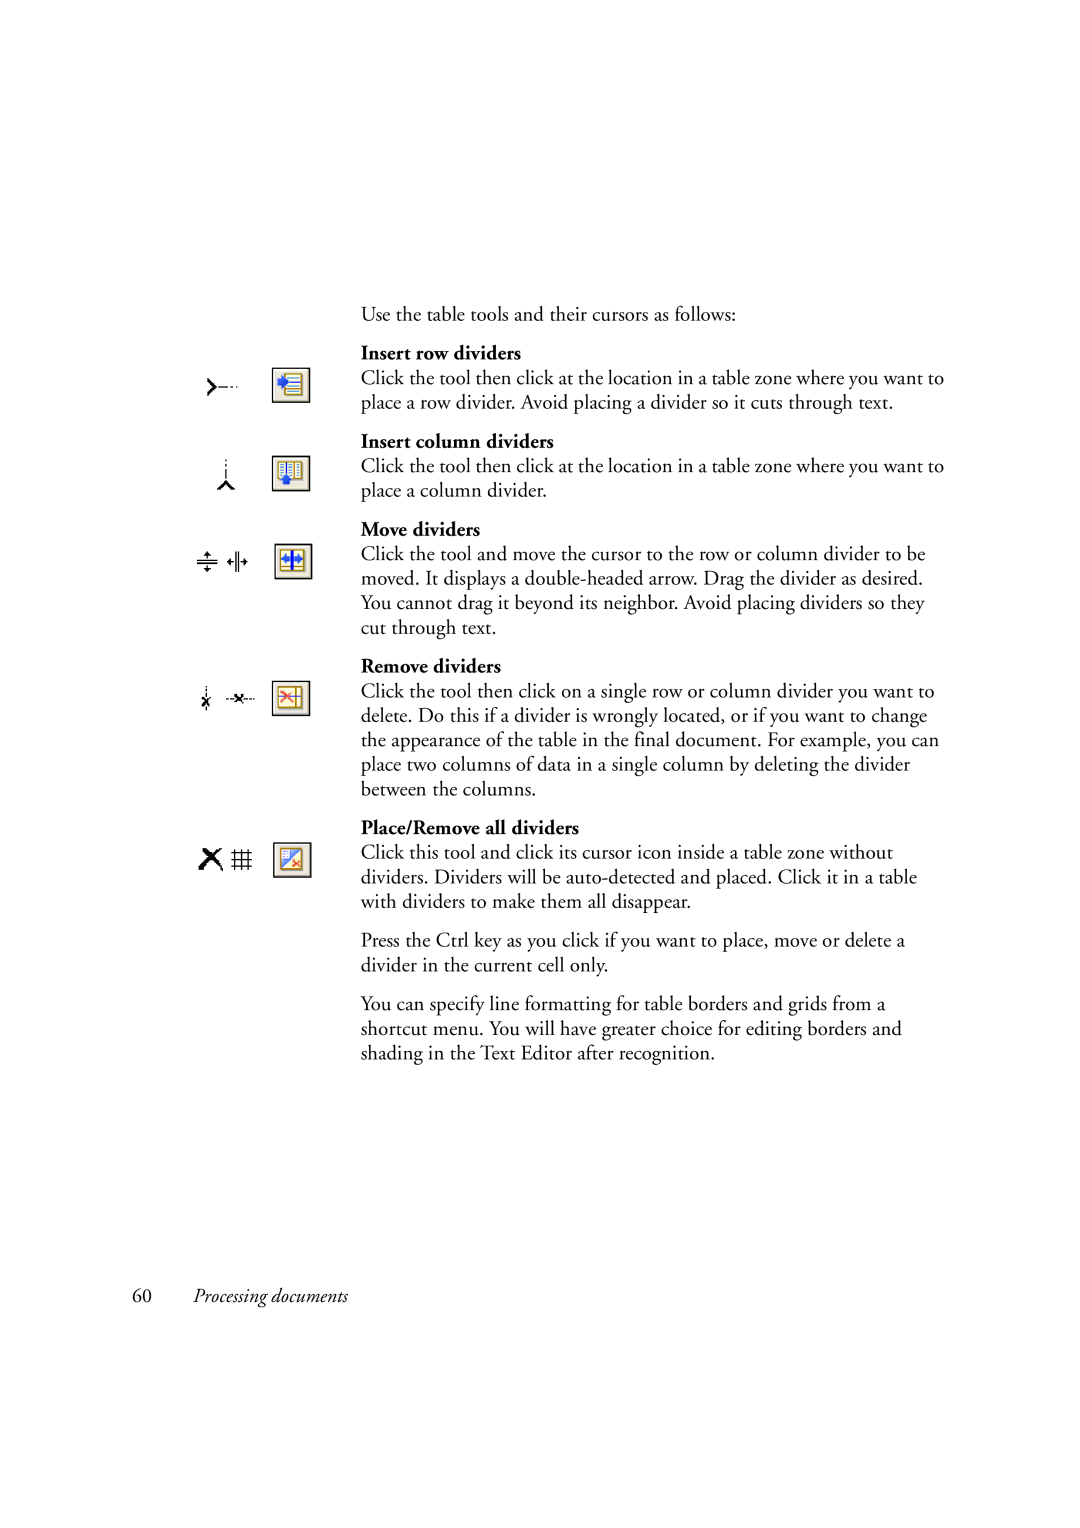
Use the table tools and their cursors as follows:
Insert row dividers
Click the tool then click at the location in a table zone where you want to place a row divider. Avoid placing a divider so it cuts through text.
Insert column dividers
Click the tool then click at the location in a table zone where you want to place a column divider.
Move dividers
Click the tool and move the cursor to the row or column divider to be moved. It displays a
Remove dividers
Click the tool then click on a single row or column divider you want to delete. Do this if a divider is wrongly located, or if you want to change the appearance of the table in the final document. For example, you can place two columns of data in a single column by deleting the divider between the columns.
Place/Remove all dividers
Click this tool and click its cursor icon inside a table zone without dividers. Dividers will be
Press the Ctrl key as you click if you want to place, move or delete a divider in the current cell only.
You can specify line formatting for table borders and grids from a shortcut menu. You will have greater choice for editing borders and shading in the Text Editor after recognition.
60Processing documents