Manual processing
Manual processing gives you more precise control over the way your pages are handled. You can process the document
1.Click ![]() in the Standard toolbar or Options in the Tools menu to check or make settings in the Options dialog box. See “Settings” on page 31.
in the Standard toolbar or Options in the Tools menu to check or make settings in the Options dialog box. See “Settings” on page 31.
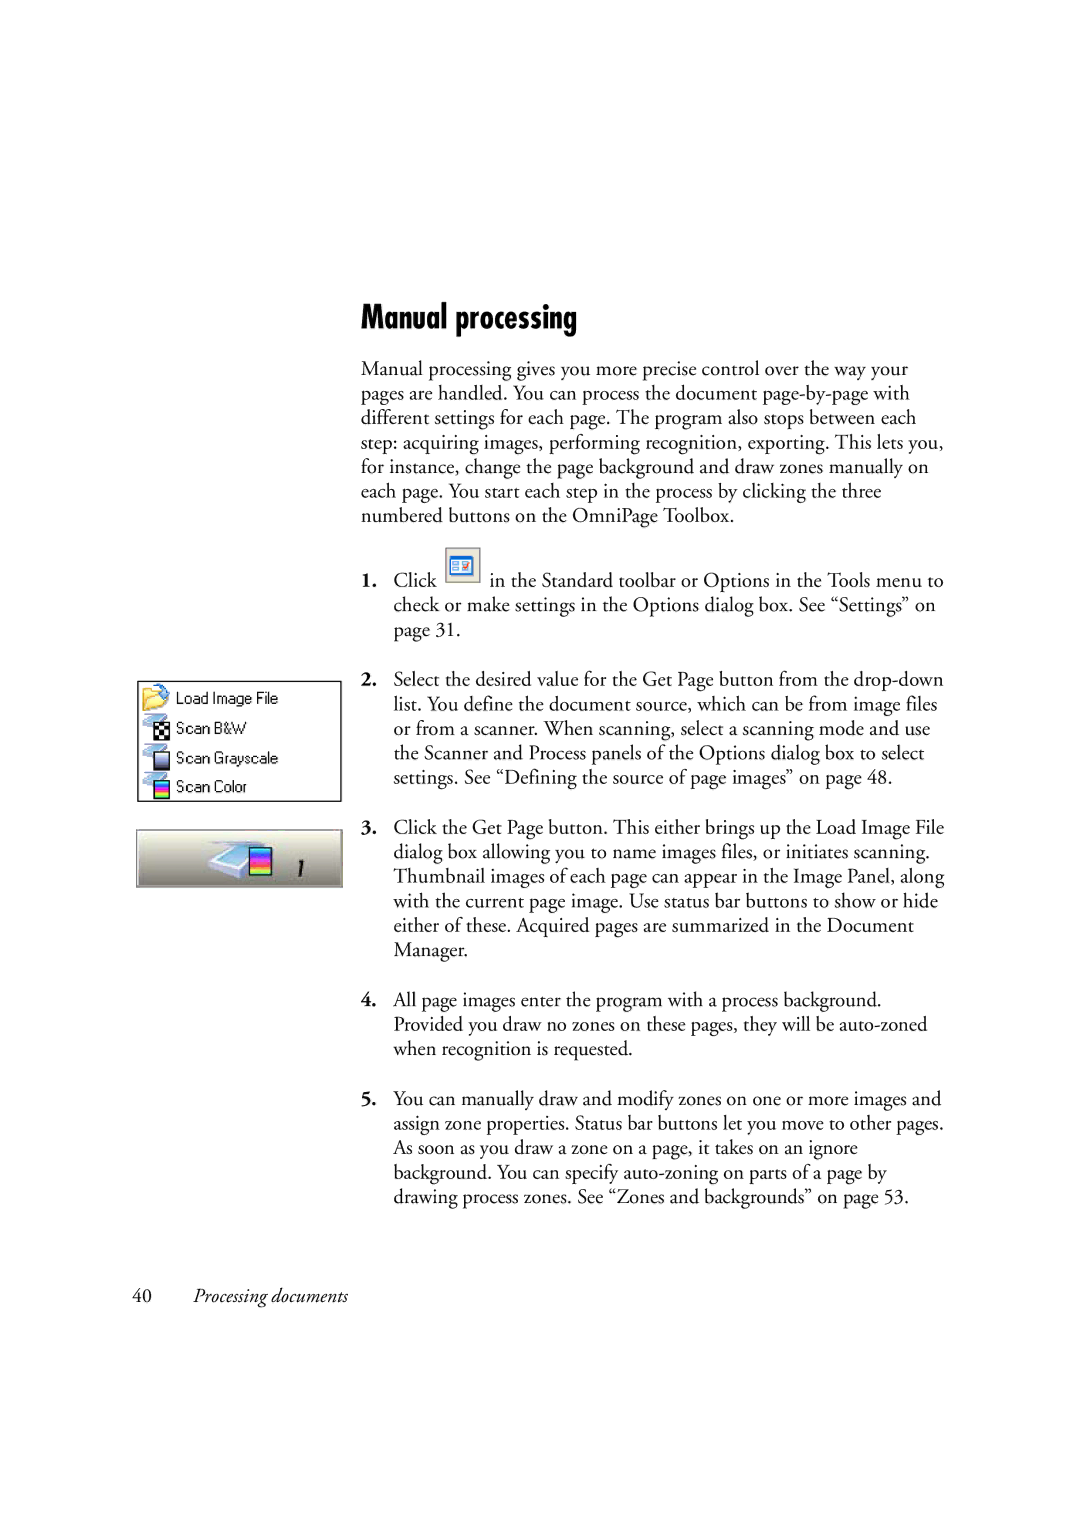
2.Select the desired value for the Get Page button from the
3.Click the Get Page button. This either brings up the Load Image File dialog box allowing you to name images files, or initiates scanning. Thumbnail images of each page can appear in the Image Panel, along with the current page image. Use status bar buttons to show or hide either of these. Acquired pages are summarized in the Document Manager.
4.All page images enter the program with a process background. Provided you draw no zones on these pages, they will be
5.You can manually draw and modify zones on one or more images and assign zone properties. Status bar buttons let you move to other pages. As soon as you draw a zone on a page, it takes on an ignore background. You can specify
40Processing documents