Chapter 5
Saving recognition results
You can save recognized pages to disk in a wide variety of file types. See “File types for saving recognition results” on page 95.
1.Choose Save As... in the File menu, or click the Export Results button in the OmniPage Toolbox with Save as File selected in the
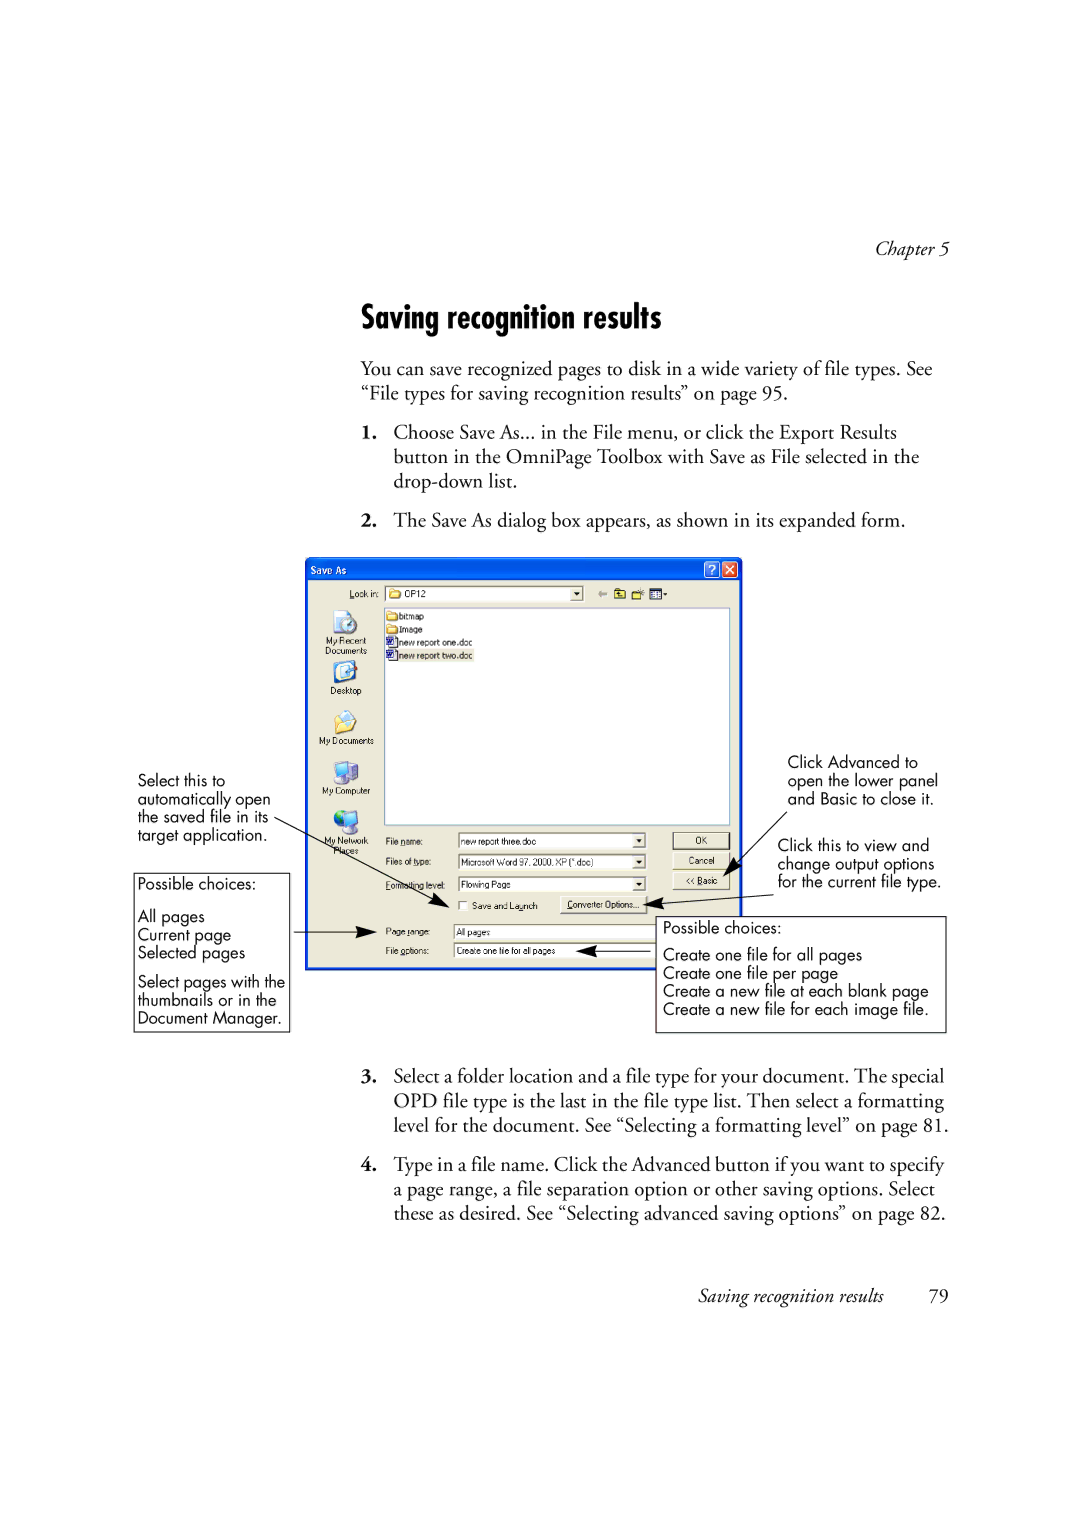
2.The Save As dialog box appears, as shown in its expanded form.
Select this to automatically open the saved file in its target application.
Possible choices:
All pages
Current page
Selected pages
Select pages with the thumbnails or in the Document Manager.
Click Advanced to open the lower panel and Basic to close it.
Click this to view and change output options for the current file type.
Possible choices:
Create one file for all pages
Create one file per page
Create a new file at each blank page
Create a new file for each image file.
3.Select a folder location and a file type for your document. The special OPD file type is the last in the file type list. Then select a formatting level for the document. See “Selecting a formatting level” on page 81.
4.Type in a file name. Click the Advanced button if you want to specify a page range, a file separation option or other saving options. Select these as desired. See “Selecting advanced saving options” on page 82.
Saving recognition results | 79 |