Setup
Setup
Introduction of setup adjustments
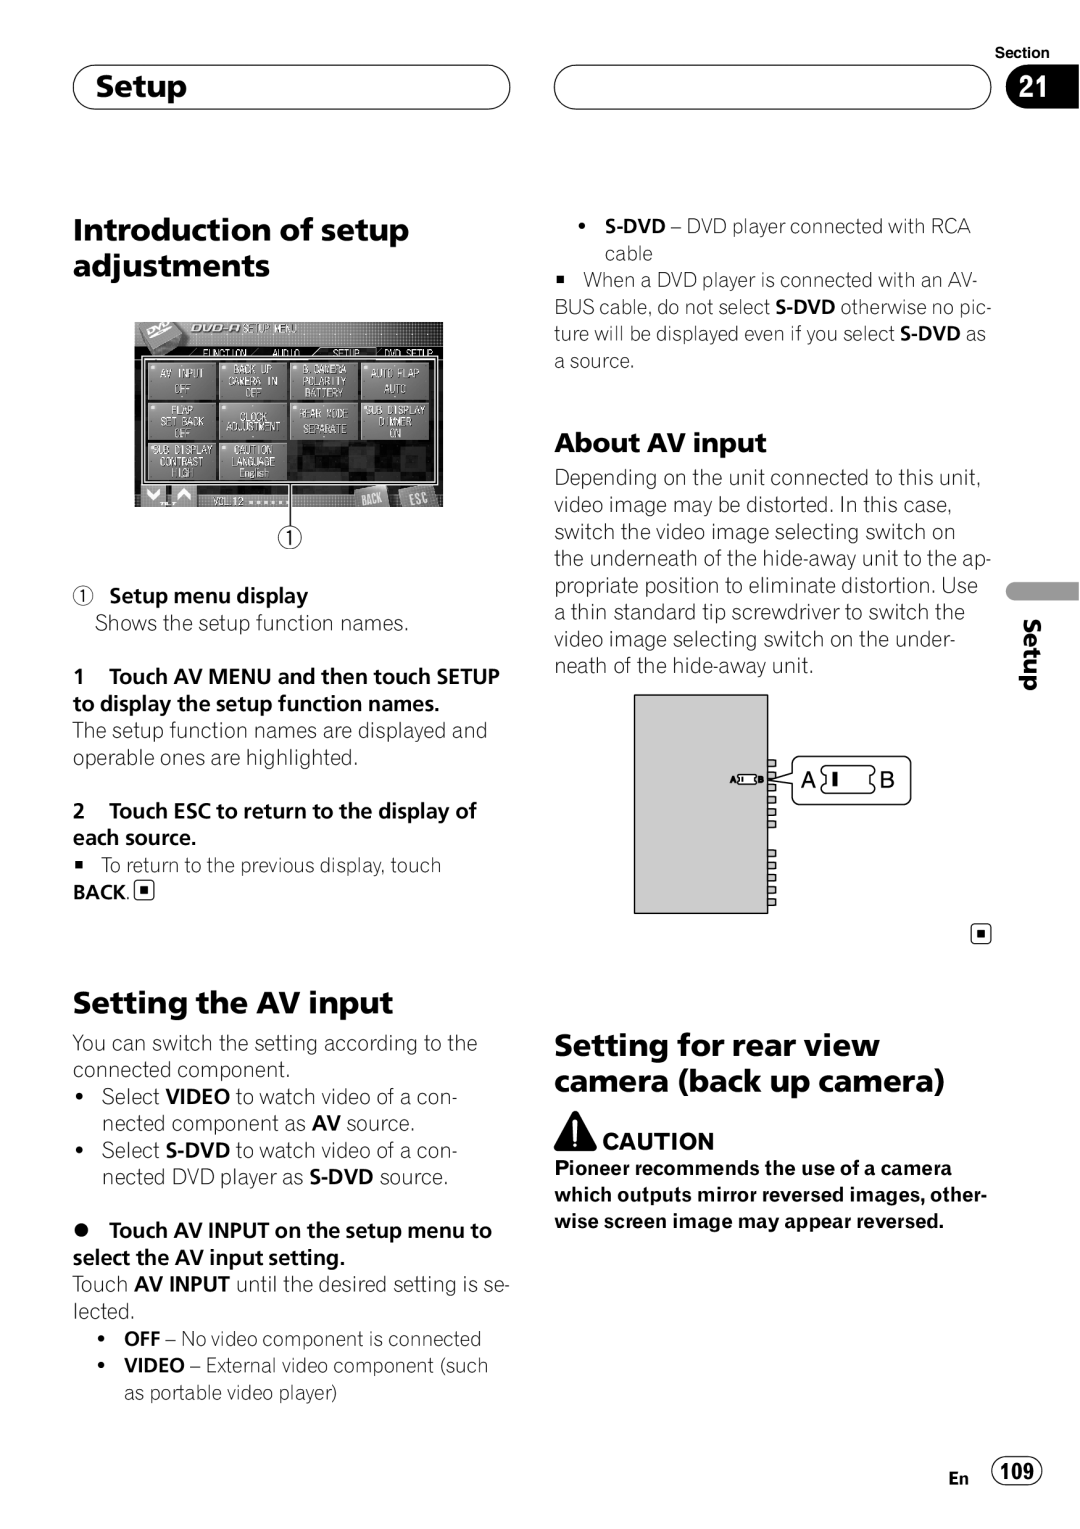
1
1Setup menu display
Shows the setup function names.
1Touch AV MENU and then touch SETUP to display the setup function names.
The setup function names are displayed and operable ones are highlighted.
2Touch ESC to return to the display of each source.
# To return to the previous display, touch BACK. ![]()
Section
21
!
#When a DVD player is connected with an AV- BUS cable, do not select
About AV input
Depending on the unit connected to this unit, |
| |
video image may be distorted. In this case, |
| |
switch the video image selecting switch on |
| |
the underneath of the |
| |
propriate position to eliminate distortion. Use |
| |
a thin standard tip screwdriver to switch the | Setup | |
video image selecting switch on the under- | ||
| ||
neath of the |
|
Setting the AV input
You can switch the setting according to the connected component.
!Select VIDEO to watch video of a con- nected component as AV source.
!Select
%Touch AV INPUT on the setup menu to select the AV input setting.
Touch AV INPUT until the desired setting is se- lected.
!OFF – No video component is connected
!VIDEO – External video component (such as portable video player)
Setting for rear view camera (back up camera)
![]() CAUTION
CAUTION
Pioneer recommends the use of a camera which outputs mirror reversed images, other- wise screen image may appear reversed.
En 109