Manuals
/
Polycom
/
Photography
/
Digital Camera
Polycom
manual
ViewStation 128/512/MP
Models:
128
512
MP
1
1
140
140
Download
140 pages
32.8 Kb
1
2
3
4
5
6
7
8
Page 1
Image 1
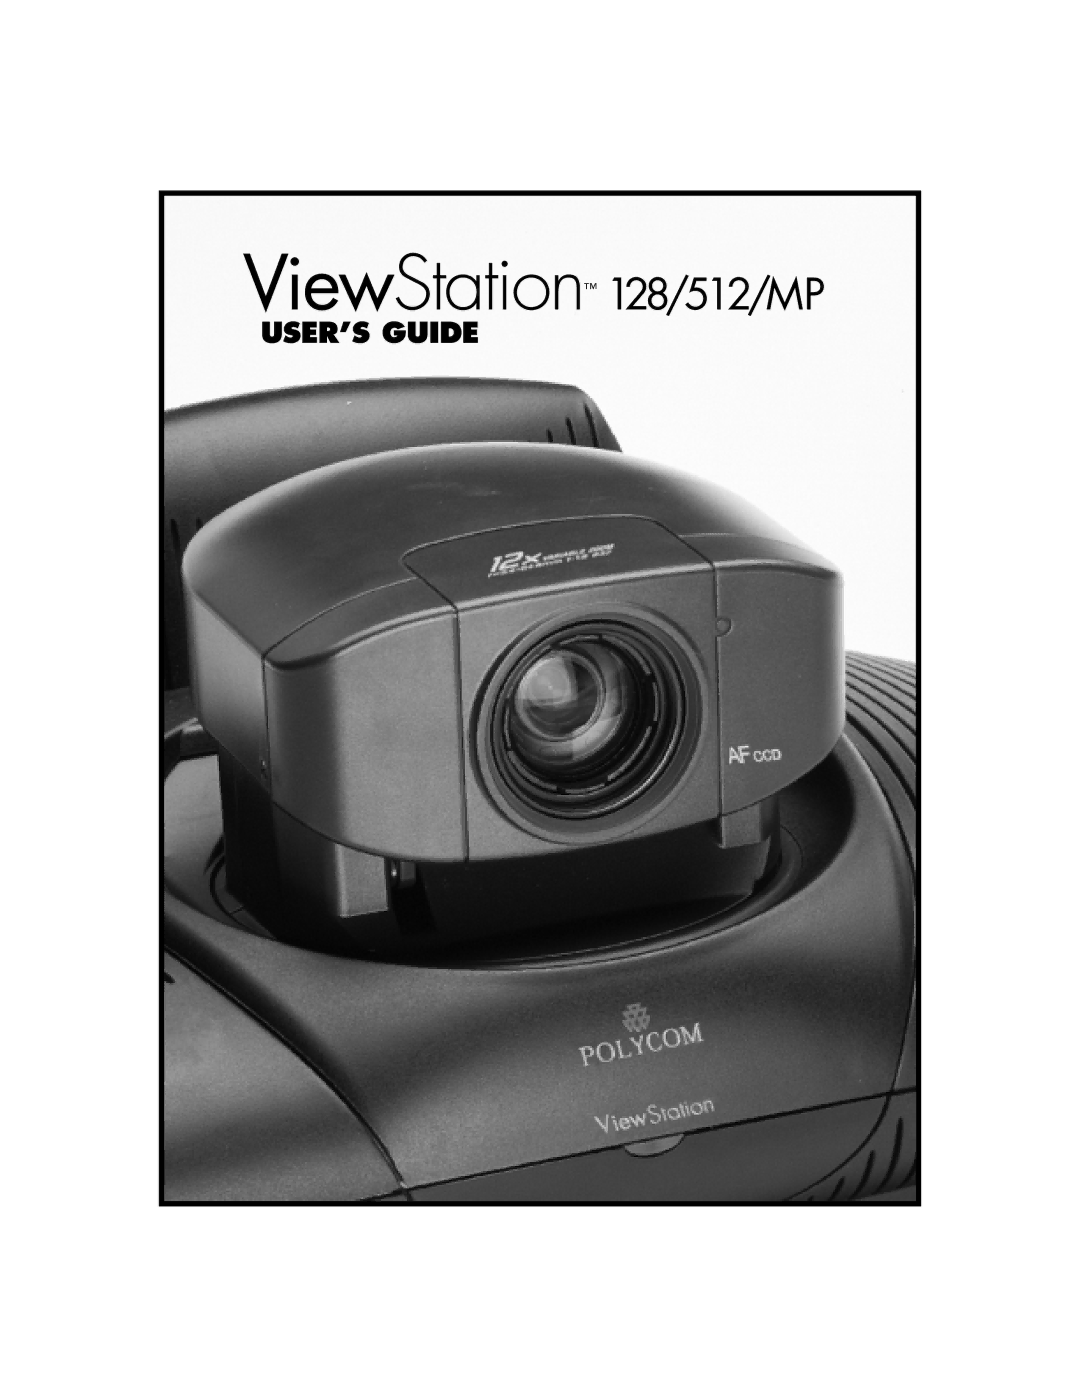
ViewStation
™
128/512/MP
USER’S GUIDE
Page 1
Page 2
Page 1
Image 1
Page 1
Page 2
Contents
ViewStation 128/512/MP
Trademark Information
Warranty
Patent Information
Other Restrictions
Regulatory Notices
Important Safeguards
Limitation of Remedies and Damages
FCC Notice
Port ID REN/SOC FIC Usoc
Omnitel Statement
Underwriters’ Laboratories’ Statement
VideoServer Statement
Page
Table of Contents
Snapshots Using Accessories
System Information
Troubleshooting Isdn Information
What’s In the Box?
Getting Started
Getting Started
Microphone Pod
Remote Control
What You Need to Get Started
Television Monitors
Power Supply
NT-1 Device
Setting Up Your ViewStation
Getting Started
TIP
How To Select Menu Items
ViewStation Setup Screens
System Name
Isdn Video Numbers
Isdn Switch
Telephone Numbers
Using the ViewStation
Testing the ViewStation
Getting Started
Placing and Answering Calls
Placing a Manual Dial Video Call
TIP
Placing and Answering Calls
Placing a Speed-Dial Call
TIP
Adding a Telephone Call to a Video Call
Placing and Answering Calls
Placing a Telephone Call
Adding a Video Call to a Telephone Call
TIP
Answering a Video Call
Adding An Entry to the Address Book
Address Book
Address Book
How to Place a Call From the Address Book
TIP
Editing an Existing Entry in the Address Book
How to Delete an Entry in the Address Book
Controlling the Camera
Camera and Sound
Pan and Tilt
Setting Camera Presets
Zoom
Automatic Voice Tracking
Tracking to Camera Presets
Mirroring the Camera Positions
Backlight Compensation
Tracking to Far-Site Camera Presets
Positioning Microphone Pods
Adjusting the Sound on the ViewStation
Camera and Sound
Snapshots
Snapshots
Using a Second Monitor
Using Accessories
Using a VCR
Using a ShowStation IP
Using a Document Camera
Connecting to a PC on a LAN
Connecting a PC
What You Need
Connecting a PC
Connecting a PC
Connecting a PC
Connecting a PC
Connecting a PC
Welcome web page will appear in the web browser on your PC
Connecting a PC
Viewing a Presentation
Presentations
Presentations
Presenting Slides
Welcome web page will appear
Presentations
Presentations
TIP
Presentations
Remote Management
Accessing the ViewStation Web
Following Welcome web page will appear in your browser
Remote Management
Running Diagnostic Tests on a System
Sending a Message to a ViewStation
Controlling a System
Changing the Setup of a ViewStation
Remotely Placing and Participating in Video Calls
Remote Management
Data Conferencing
Data Conferencing
Using NetMeeting with a ViewStation
TIP
Upgrading ViewStation Software Via Isdn
Upgrading Software
Upgrading ViewStation Software over the LAN
Upgrading Software
Upgrading Software
System Information
ViewStation Diagnostics
Network Statistics
Call Status
Advanced Network Statistics
Audio
Color Bar
Near-End Loop
Far-End Loop
Reset System
How to Check the Setup of Your ViewStation
ISDN/Video
General Setup
LAN/SNMP
Snmp
Data Conferencing
Video/Camera
Phone/Audio
Security
Software/Hardware
System Information
ViewStation 512/MP
Multi-Line Access
Calling Speed and Audiovisual Quality
Basic Setup for the ViewStation 512 and MP
Isdn Video Network
Initial Configuration Screens for ViewStation 512 and MP
102
ViewStation User’s Guide 103
Auto-Detect SPIDs
Isdn Switch
Main Calling Screen
Placing a Call with the ViewStation
108
ViewStation User’s Guide 109
Sites in Call
Placing a Multi-Point Call with the ViewStation MP
Customizing the Address Book
TIP
ViewStation User’s Guide 113
Setting the Viewing Modes for the ViewStation MP
ViewStation User’s Guide 115
116
ViewStation 512/MP Diagnostics
118
ViewStation User’s Guide 119
120
ViewStation 512/MP Setup
Imux Information
Upgrading Your ViewStation 512 to an MP
Symptom Cause Solution
Troubleshooting
Video
Network and Communications
Imux 512 Inverse Multiplexer
Presentations
General Problems
Isdn Information
Dip switches should set as follows
Isdn Errors
Isdn Switches
Enquiry
Isdn Errors
Code Cause Definition Invalid message
Index
Index
ViewStation User’s Guide 137
138
ViewStation User’s Guide 139
140
Top
Page
Image
Contents