Changing the White Balance Mode
The white balance mode adjusts the white balance so that you can capture your subject in its natural colors regardless of the light source. The auto mode will suffice in most situations.
The auto mode automatically adjusts the white balance based on the white areas, ensuring that white is reproduced as white regardless of the light source. Consequently, a subject that lacks in white tones as a whole or that is dominated by dark tones may not achieve an appropriate white balance. Change the white balance mode to shoot such subjects.
■Switching White Balance Modes
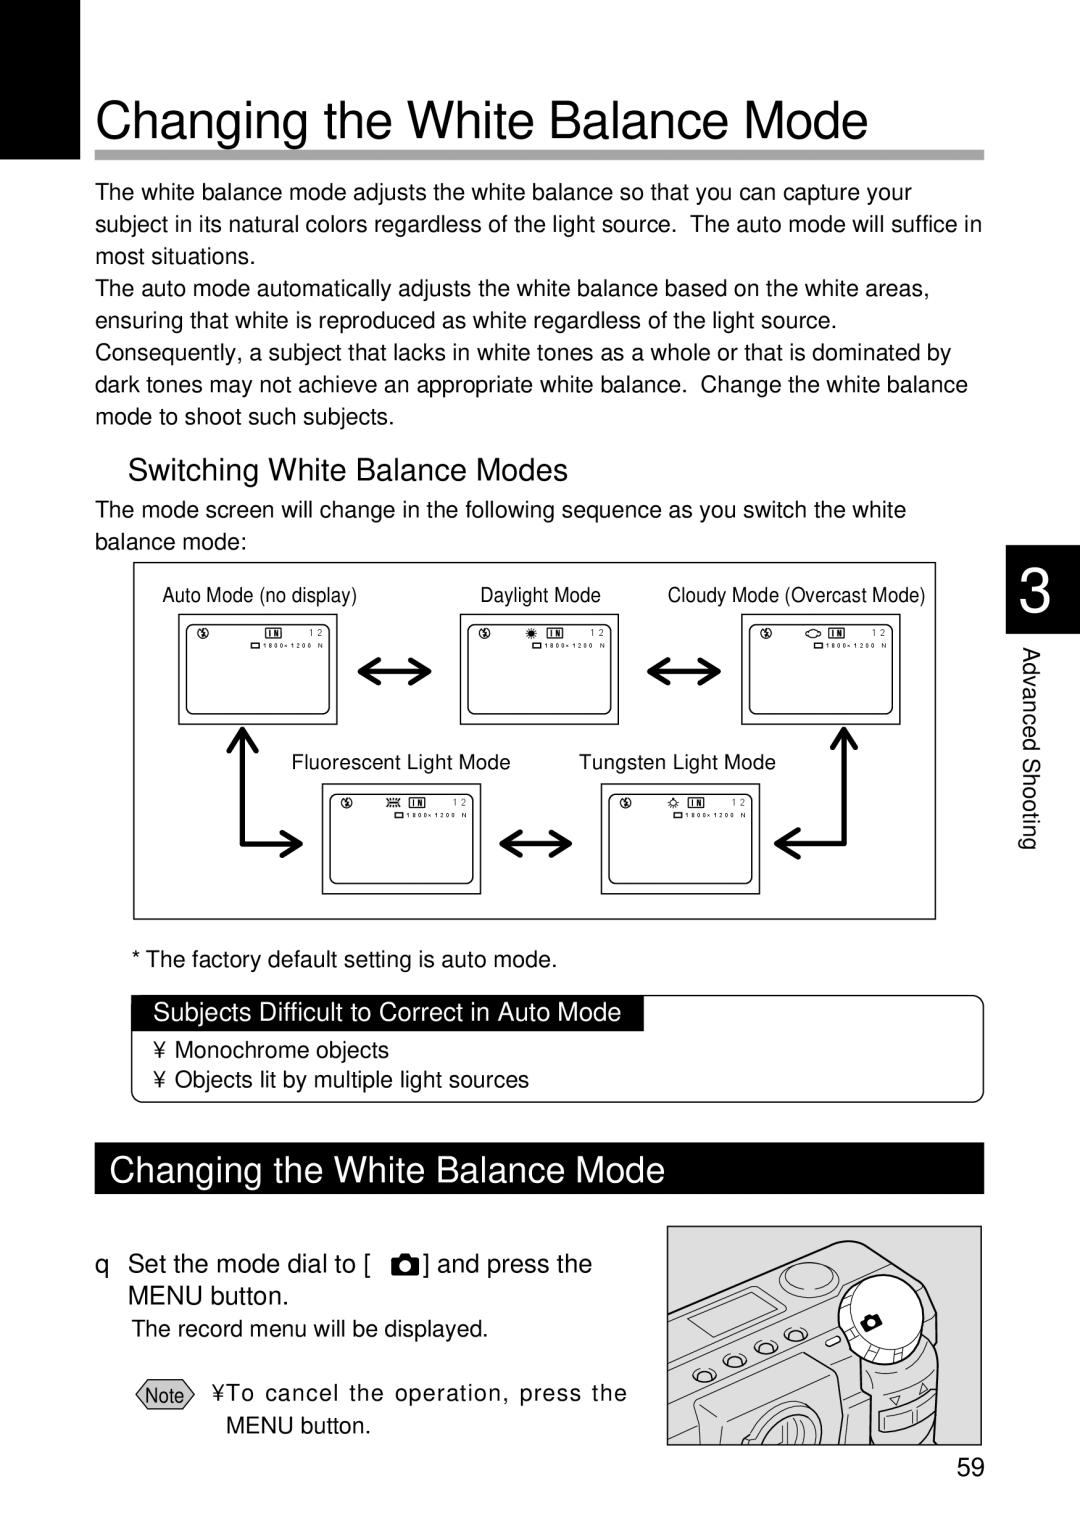
The mode screen will change in the following sequence as you switch the white balance mode:
Auto Mode (no display) | Daylight Mode | Cloudy Mode (Overcast Mode) | 3 | ||
|
|
|
|
| |
12� |
| 12� | 12� |
| |
1800×1200 N� |
| 1800×1200 N� | 1800×1200 | N� | Advanced |
Fluorescent Light Mode | Tungsten Light Mode |
| |||
| Shooting | ||||
12� |
| 12� |
| ||
1800×1200 | N� |
| 1800×1200 N� |
| |
|
|
|
|
| |
* The factory default setting is auto mode.
Subjects Difficult to Correct in Auto Mode
•Monochrome objects
•Objects lit by multiple light sources
Changing the White Balance Mode | |
q Set the mode dial to [ | ] and press the |
MENU button. |
|
The record menu will be displayed. | |
Note • To cancel the operation, press the | |
MENU button. |
|
| 59 |