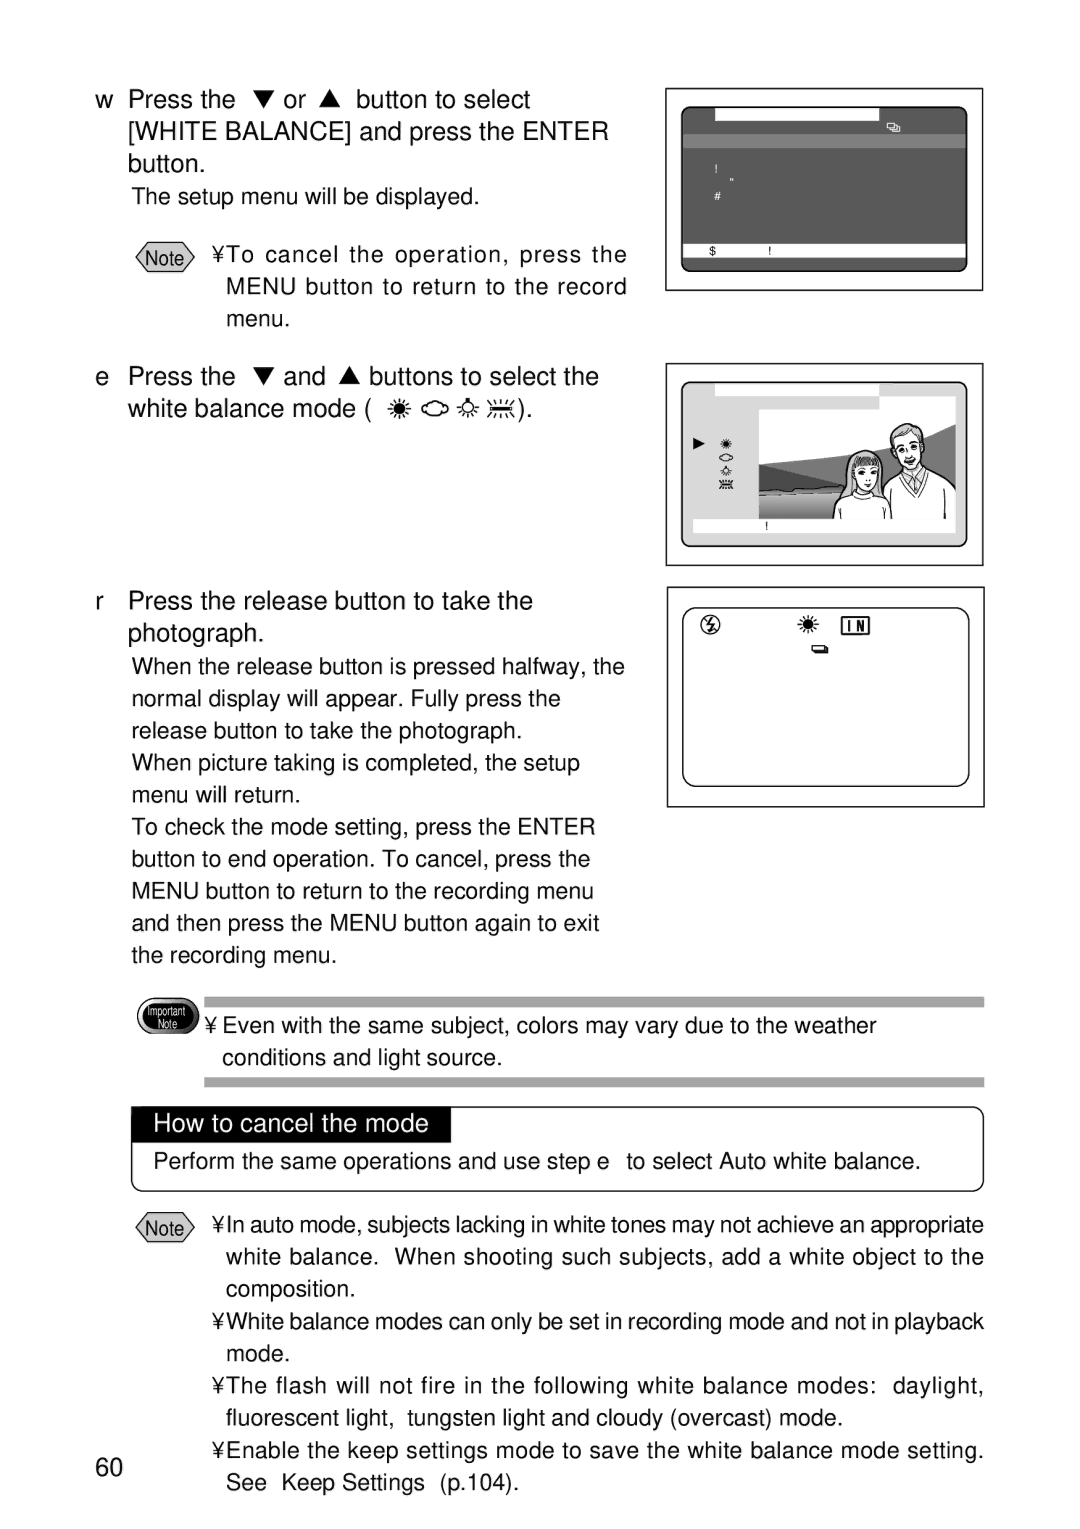
w Press the ▼ or ▲ button to select [WHITE BALANCE] and press the ENTER button.
The setup menu will be displayed.
Note • To cancel the operation, press the MENU button to return to the record menu.
e Press the ▼ and ▲ buttons to select the
white balance mode (


 ).
).
MENU [RECORD]
RECORDING MODE | : | |
WHITE | BALANCE | :AUTO |
+/– |
| :OFF |
FOCUS |
| :AUTO |
DATE | IMPRINT | :OFF |
REDEYE REDUCTION:OFF | ||
MONOCHROME | :OFF | |
INTERVAL MODE | :OFF | |
|
| |
BACK:MENU | SEL.:ENTER | |
WHITE | BALANCE | |
AUTO |
|
|
CANCEL:MENU | SEL.:ENTER | |
r Press the release button to take the photograph.
1 2
![]()
![]()
![]() 1 8 0 0 x 1 2 0 0 N
1 8 0 0 x 1 2 0 0 N
When the release button is pressed halfway, the normal display will appear. Fully press the release button to take the photograph.
When picture taking is completed, the setup menu will return.
To check the mode setting, press the ENTER button to end operation. To cancel, press the MENU button to return to the recording menu and then press the MENU button again to exit the recording menu.
Important
Note
•Even with the same subject, colors may vary due to the weather conditions and light source.
How to cancel the mode
Perform the same operations and use step e to select Auto white balance.
Note • In auto mode, subjects lacking in white tones may not achieve an appropriate white balance. When shooting such subjects, add a white object to the composition.
• White balance modes can only be set in recording mode and not in playback mode.
• The flash will not fire in the following white balance modes: daylight, fluorescent light, tungsten light and cloudy (overcast) mode.
• Enable the keep settings mode to save the white balance mode setting.
60
See “Keep Settings” (p.104).