Peaking
What can be done?
Peaking improves the contours in an projected image.
How to set up?
To change the peaking setting, perform the following:
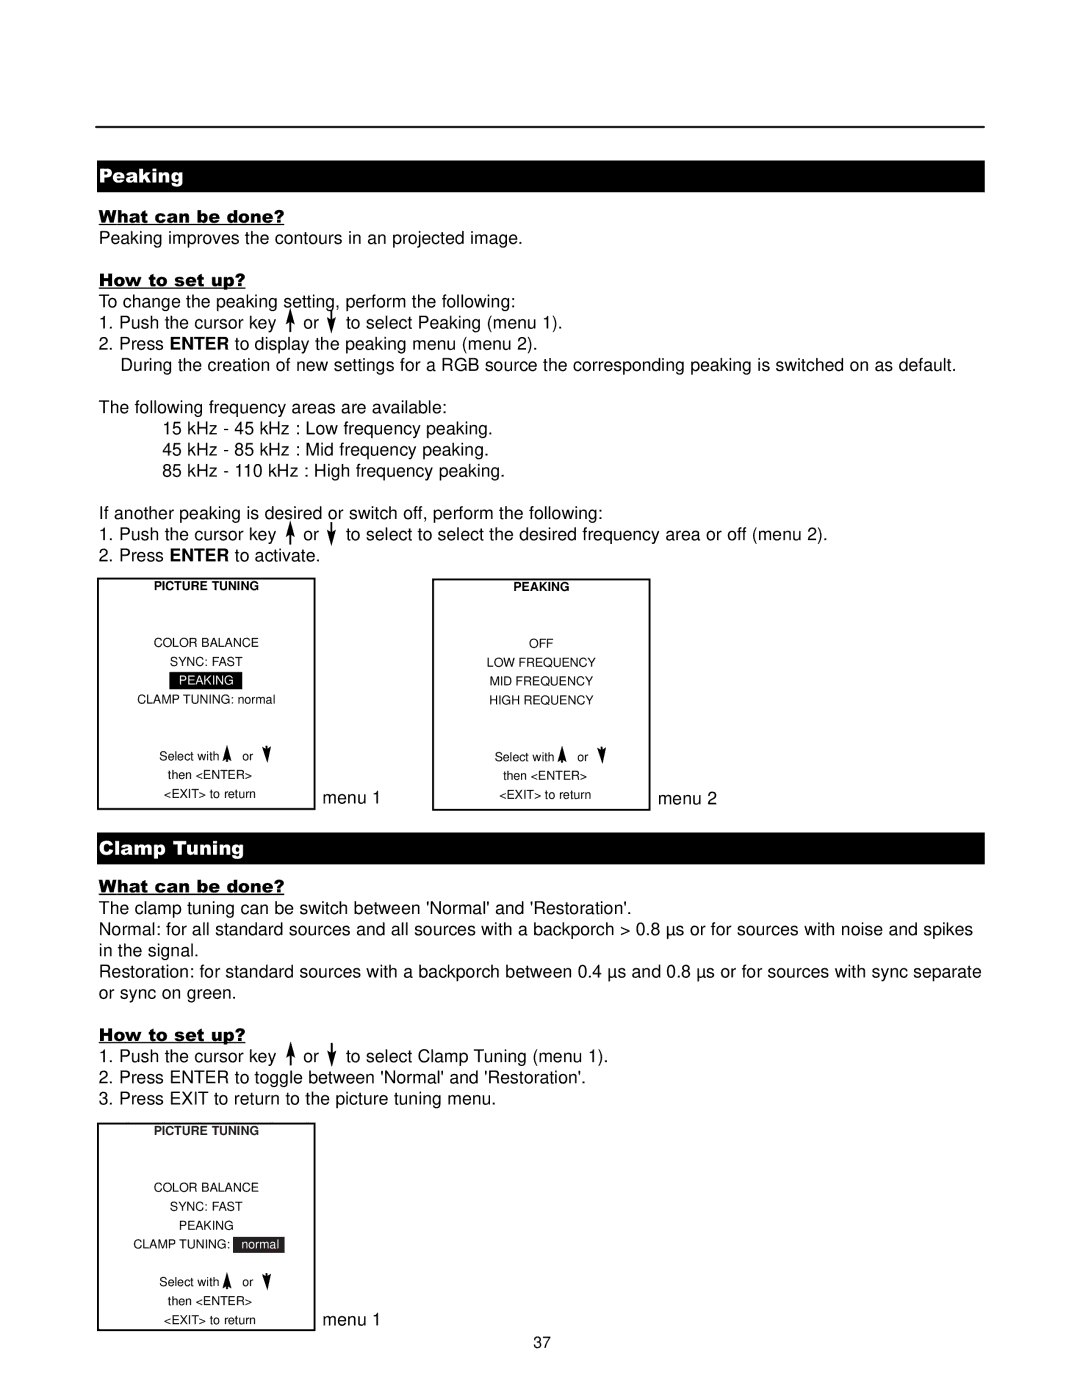
1.Push the cursor key or ![]() to select Peaking (menu 1).
to select Peaking (menu 1).
2.Press ENTER to display the peaking menu (menu 2).
During the creation of new settings for a RGB source the corresponding peaking is switched on as default.
The following frequency areas are available:
15 kHz - 45 kHz : Low frequency peaking.
45 kHz - 85 kHz : Mid frequency peaking.
85 kHz - 110 kHz : High frequency peaking.
If another peaking is desired or switch off, perform the following:
1.Push the cursor key or ![]() to select to select the desired frequency area or off (menu 2).
to select to select the desired frequency area or off (menu 2).
2.Press ENTER to activate.
PICTURE TUNING
PICTURE TUNING
COLOR BALANCE
SYNC: FAST
PEAKING
CLAMP TUNING: normal
Select with or |
|
then <ENTER> |
|
<EXIT> to return | menu 1 |
PEAKING
PICTURE TUNING
OFF
LOW FREQUENCY
MID FREQUENCY
HIGH REQUENCY
Select with or |
|
then <ENTER> |
|
<EXIT> to return | menu 2 |
Clamp Tuning
What can be done?
The clamp tuning can be switch between 'Normal' and 'Restoration'.
Normal: for all standard sources and all sources with a backporch > 0.8 µs or for sources with noise and spikes in the signal.
Restoration: for standard sources with a backporch between 0.4 µs and 0.8 µs or for sources with sync separate or sync on green.
How to set up?
1.Push the cursor key or ![]() to select Clamp Tuning (menu 1).
to select Clamp Tuning (menu 1).
2.Press ENTER to toggle between 'Normal' and 'Restoration'.
3.Press EXIT to return to the picture tuning menu.
PICTURE TUNING
PITURE TUNING
COLOR BALANCE
SYNC: FAST
PEAKING
CLAMP TUNING: normal
Select with ![]() or then <ENTER> <EXIT> to return
or then <ENTER> <EXIT> to return
menu 1
37
