Flyback Turnover Point
What can be done?
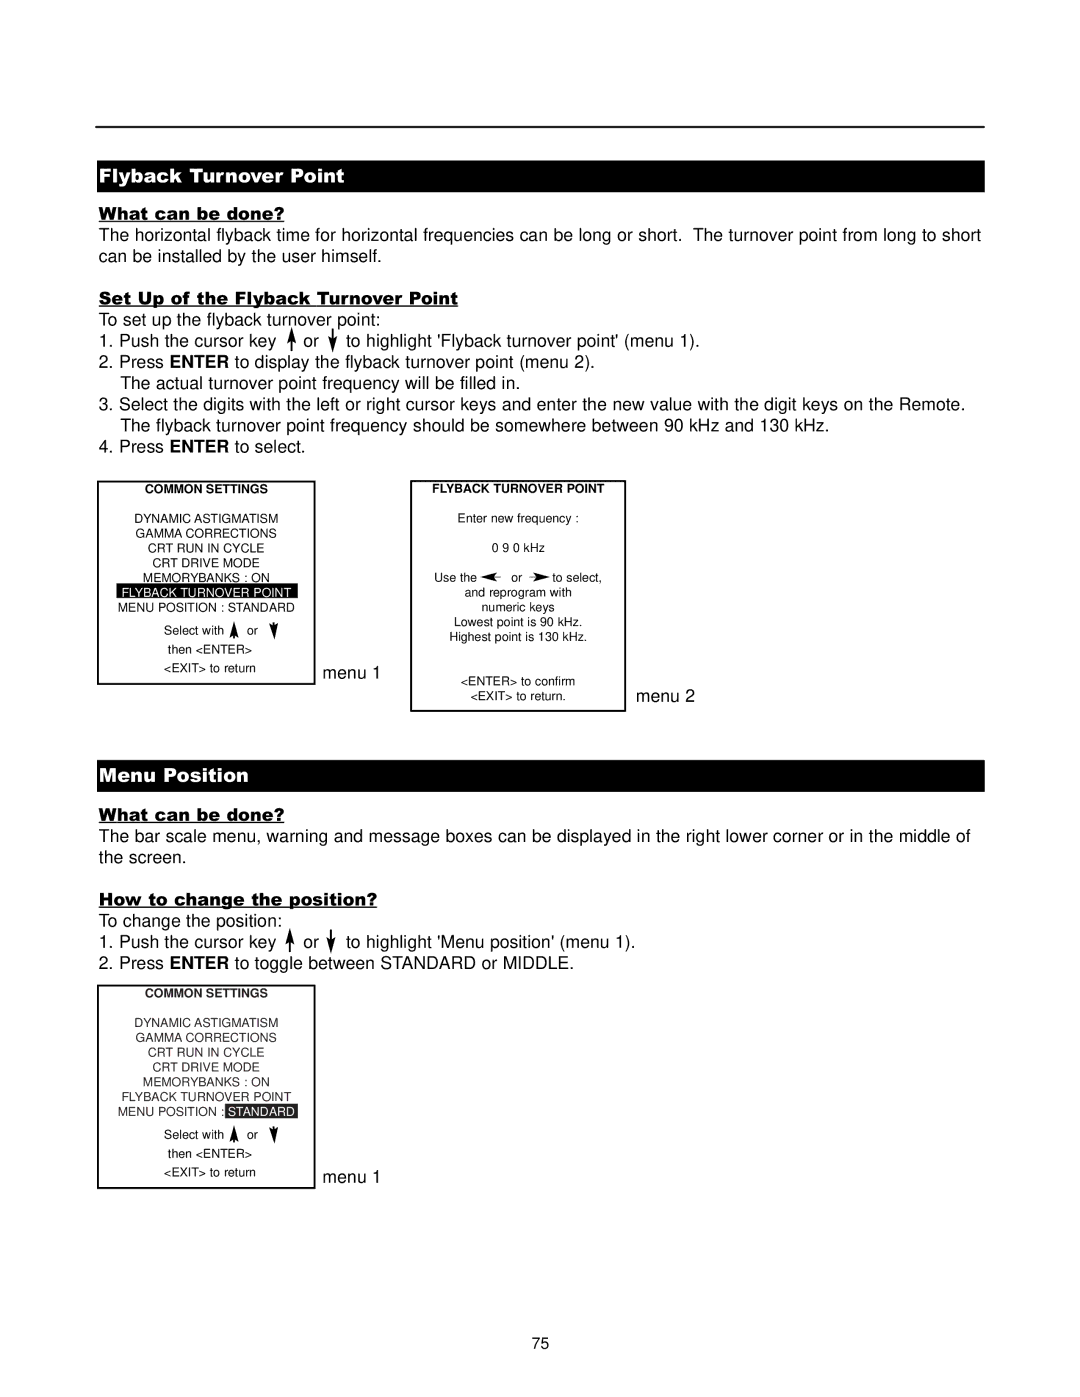
The horizontal flyback time for horizontal frequencies can be long or short. The turnover point from long to short can be installed by the user himself.
Set Up of the Flyback Turnover Point
To set up the flyback turnover point:
1.Push the cursor key or ![]() to highlight 'Flyback turnover point' (menu 1).
to highlight 'Flyback turnover point' (menu 1).
2.Press ENTER to display the flyback turnover point (menu 2). The actual turnover point frequency will be filled in.
3.Select the digits with the left or right cursor keys and enter the new value with the digit keys on the Remote. The flyback turnover point frequency should be somewhere between 90 kHz and 130 kHz.
4.Press ENTER to select.
COMMON SETTINGS |
|
DYNAMIC ASTIGMATISM |
|
GAMMA CORRECTIONS |
|
CRT RUN IN CYCLE |
|
CRT DRIVE MODE |
|
MEMORYBANKS : ON |
|
FLYBACK TURNOVER POINT |
|
MENU POSITION : STANDARD |
|
Select with or |
|
then <ENTER> |
|
<EXIT> to return | menu 1 |
|
FLYBACK TURNOVER POINT |
| ||||||
Enter new frequency : |
| ||||||
| 0 9 0 kHz |
|
| ||||
Use the |
|
| or |
|
| to select, |
|
|
|
| |||||
and reprogram with |
| ||||||
| numeric keys |
| |||||
Lowest point is 90 kHz. |
| ||||||
Highest point is 130 kHz. |
| ||||||
<ENTER> to confirm | menu 2 | ||||||
<EXIT> to return. | |||||||
|
|
|
|
|
|
|
|
Menu Position
What can be done?
The bar scale menu, warning and message boxes can be displayed in the right lower corner or in the middle of the screen.
How to change the position?
To change the position:
1.Push the cursor key or ![]() to highlight 'Menu position' (menu 1).
to highlight 'Menu position' (menu 1).
2.Press ENTER to toggle between STANDARD or MIDDLE.
COMMON SETTINGS |
|
DYNAMIC ASTIGMATISM |
|
GAMMA CORRECTIONS |
|
CRT RUN IN CYCLE |
|
CRT DRIVE MODE |
|
MEMORYBANKS : ON |
|
FLYBACK TURNOVER POINT |
|
MENU POSITION : STANDARD |
|
Select with or |
|
then <ENTER> |
|
<EXIT> to return | menu 1 |
|
75
