I/O time setup
Output Setup for Level 4 IDs Accessing READER #2
1.Press the F6 SETUP MENU button.
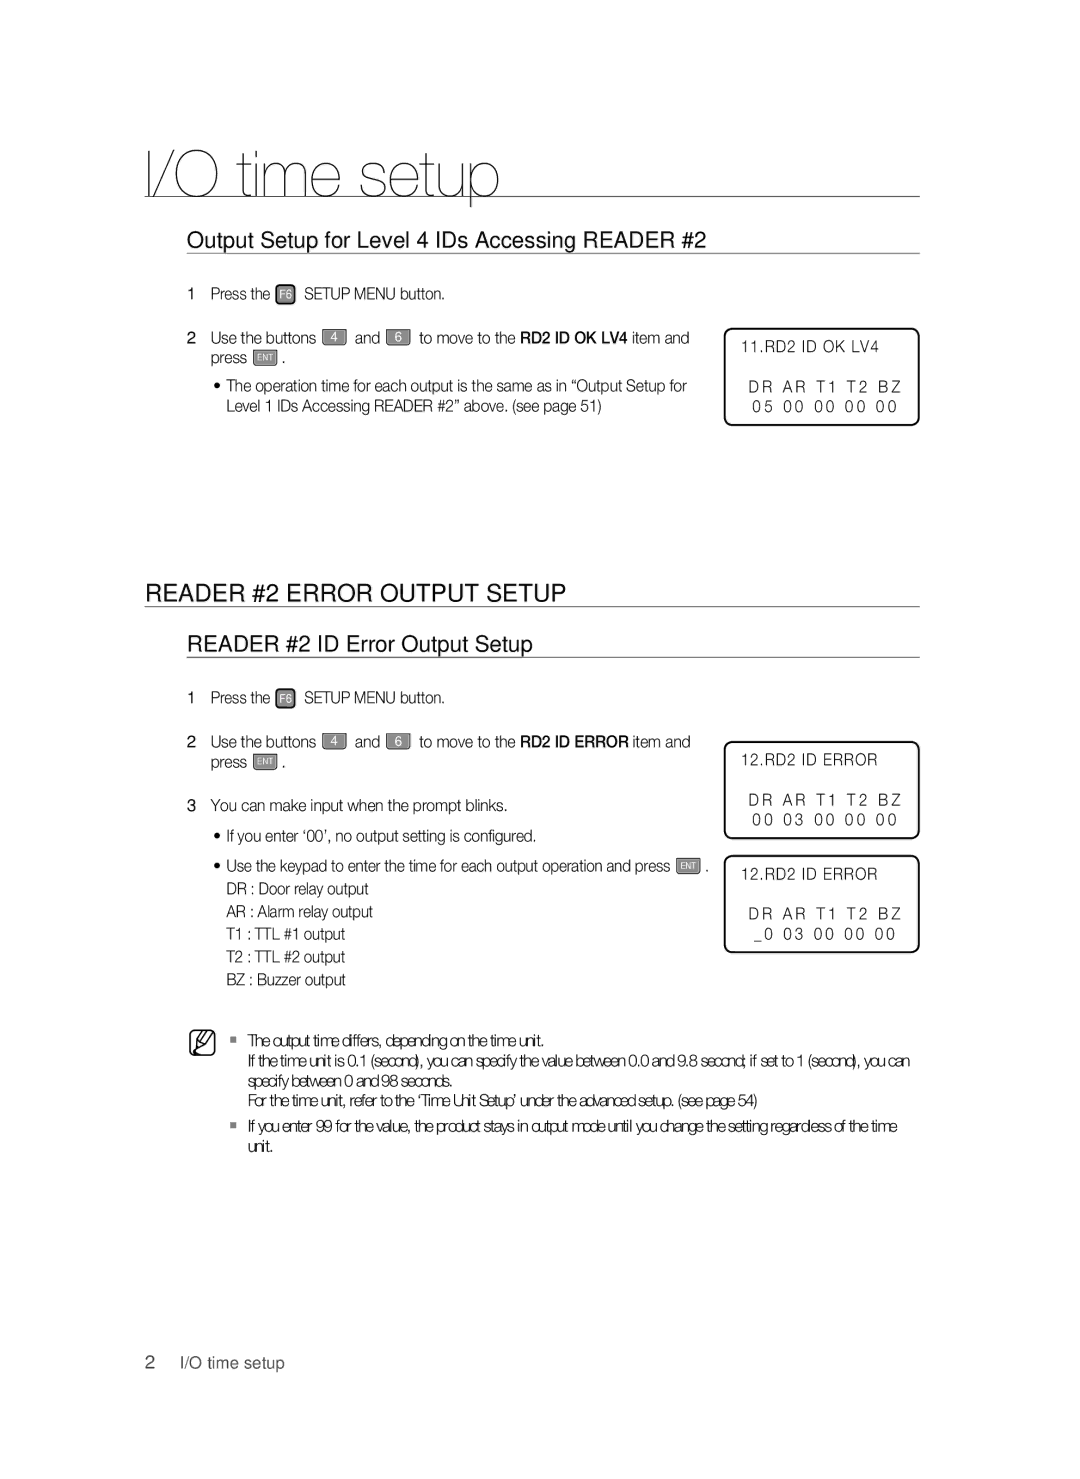
2. Use the buttons 4 and 6 to move to the RD2 ID OK LV4 item and press ENT .
•The operation time for each output is the same as in “Output Setup for Level 1 IDs Accessing READER #2” above. (see page 51)
11.RD2 ID OK LV4
D R | A R | T 1 | T 2 | B Z |
0 5 | 0 0 | 0 0 | 0 0 | 0 0 |
READER #2 ERROR OUTPUT SETUP
READER #2 ID Error Output Setup
1.Press the F6 SETUP MENU button.
2. Use the buttons 4 and 6 to move to the RD2 ID ERROR item and press ENT .
3.You can make input when the prompt blinks.
•If you enter ‘00’, no output setting is configured.
•Use the keypad to enter the time for each output operation and press ENT . DR : Door relay output
AR : Alarm relay output
T1 : TTL #1 output
T2 : TTL #2 output
BZ : Buzzer output
12.RD2 ID ERROR
D R | A R | T 1 | T 2 | B Z |
0 0 | 0 3 | 0 0 | 0 0 | 0 0 |
12.RD2 ID ERROR | ||||
D R | A R | T 1 | T 2 | B Z |
_ 0 | 0 3 | 0 0 | 0 0 | 0 0 |
M | The output time differs, depending on the time unit. |
| If the time unit is 0.1 (second), you can specify the value between 0.0 and 9.8 second; if set to 1 (second), you can |
| specify between 0 and 98 seconds. |
| For the time unit, refer to the ‘Time Unit Setup’ under the advanced setup. (see page 54) |
| If you enter 99 for the value, the product stays in output mode until you change the setting regardless of the time |
| unit. |
52_ I/O time setup
