Alignment and Adjustment
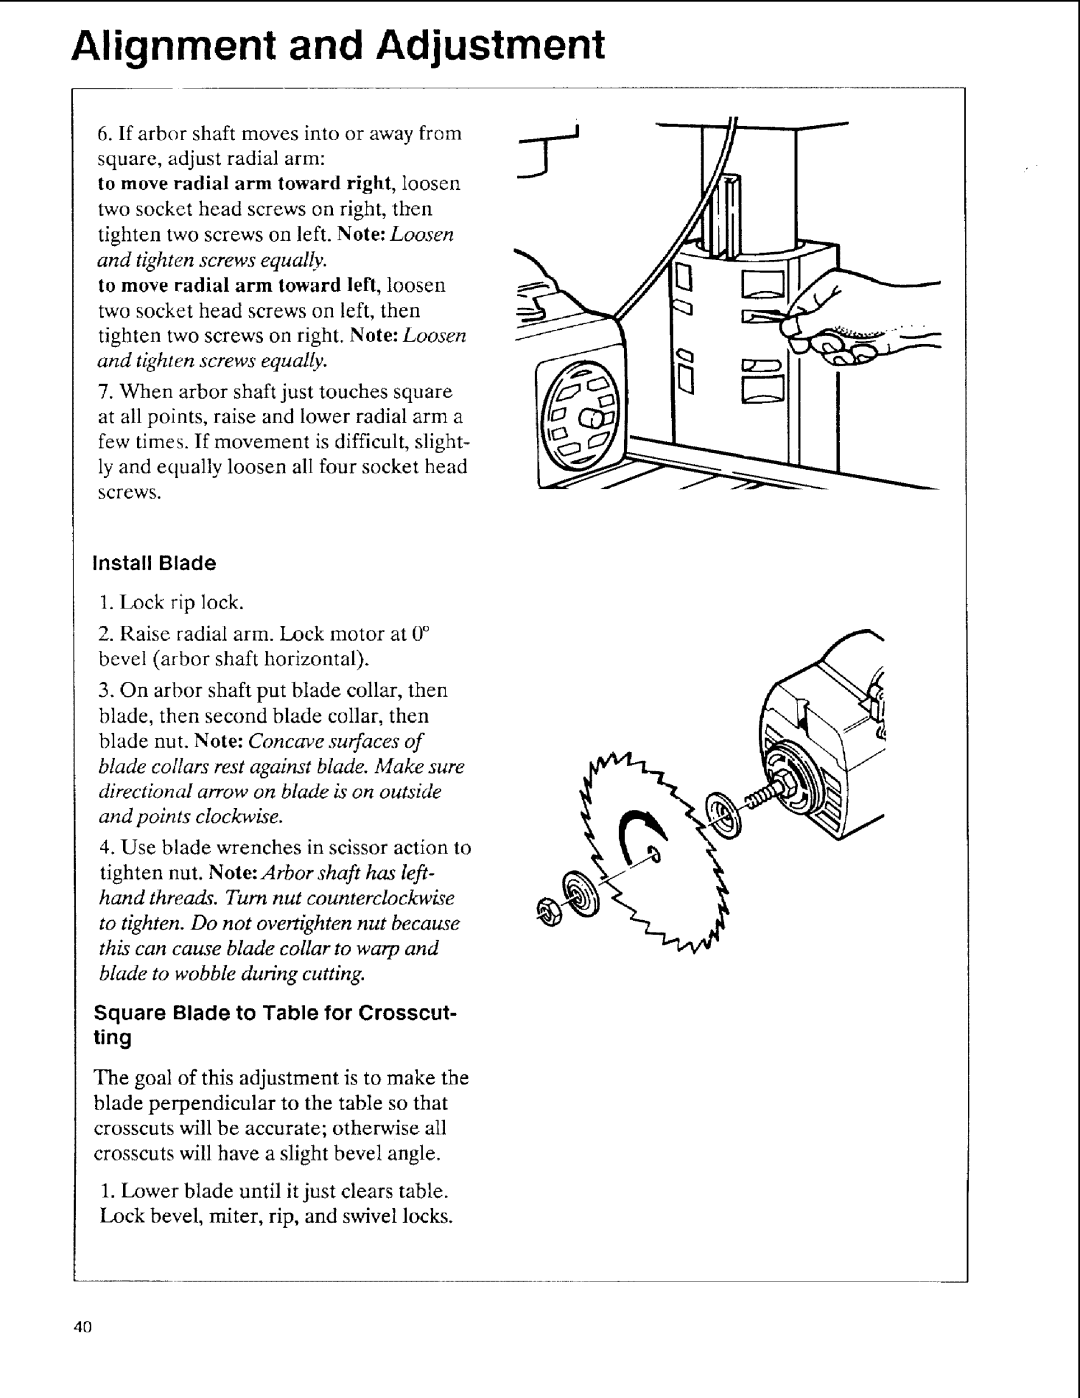
6.If arbor shaft moves into or away from
square, adjust radial arm:
to move radial arm toward right, loosen two socket head screws on right, then
tighten two screws on left. Note: Loosen and tighten screws equally.
to move radial arm toward left, loosen two socket head screws on left, then
tighten two screws on right. Note: Loosen and tighten screws equally.
7. When arbor shaft just touches square
at all points, raise and lower radial arm a
few times. If movement is difficult, slight-
ly and equally loosen all four socket head
screws.
Install Blade
1.Lock rip lock.
2.Raise radial arm. Lock motor at 0 ° bevel (arbor shaft horizontal).
3.On arbor shaft put blade collar, then blade, then second blade collar, then blade nut. Note: Concave surfaces of
blade collars rest against blade. Make sure directional arrow on blade is on outside
and points clockwise.
4. Use blade wrenches in scissor action to
tighten nut. Note: Arbor shaft has left- hand threads. Turn nut counterclockwise
to tighten. Do not overtighten nut because this can cause blade collar to warp and blade to wobble during cutting.
Square Blade to Table for Crosscut- ting
The goal of this adjustment is to make the
blade perpendicular to the table so that crosscuts will be accurate; otherwise all crosscuts will have a slight bevel angle.
1.I_wer blade until it just clears table. Lock bevel, miter, rip, and swivel locks.
4O
