Electrical Connections
_k WARNING
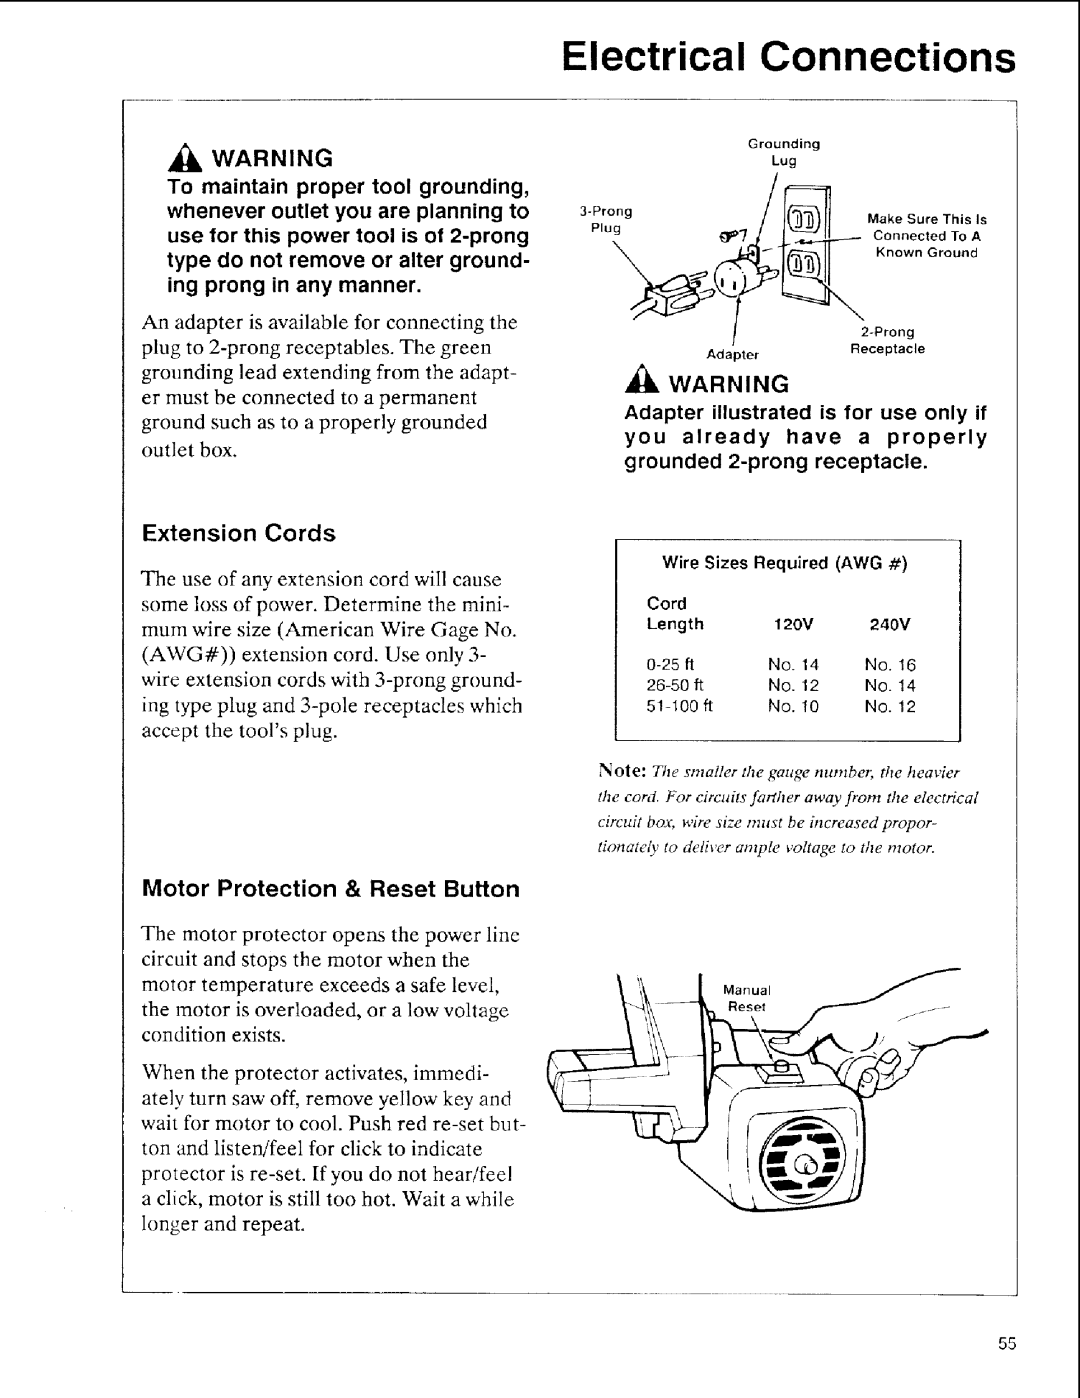
To maintain proper tool grounding, whenever outlet you are planning to use for this power tool is of
An adapter is available for connecting the
plug to
Grounding
Lug
/ | _ | Make Sure This Is | ||
Plug | \ | _W7 / | 1_ | Gonnec_d To A, |
| a2T ll | Koown rou°o | ||
AdapterReceptacle
,_ WARNING
Adapter illustrated is for use only if
you already have a properly grounded
Extension Cords
The use of any extension cord will cause
some loss of power. Determine the mini-
mum wire size (American Wire Gage No.
(AWG#)) extension cord. Use only 3- wire extension cords with
ing type plug and
Motor Protection & Reset Button
The motor protector opens the power line circuit and stops the motor when the
motor temperature exceeds a safe level,
the motor is overloaded, or a low voltage condition exists.
When the protector activates, immedi-
ately turn saw off, remove yellow key and wait for motor to cool. Push red
ton and listen/feel for click to indicate protector is
Wire Sizes Required (AWG #)
Cord |
|
|
|
|
|
Length | 120V | 240V | |||
| No. | 14 | No. | 16 | |
ft | No. | 12 | No. | 14 | |
ft | No. | 10 | No. | 12 | |
Note: The smafler the gauge number, ttre heavier the cord. For circuits farther away from the electrical circuit box, wire size must be h_creased propor- tionately to deliver ample voltage to the motor.
Manual
Reset
55