MAKING COPIES
INTERRUPTING A COPY RUN
INTERRUPT is used to interrupt a long copy run so that another job can be done. ●
●
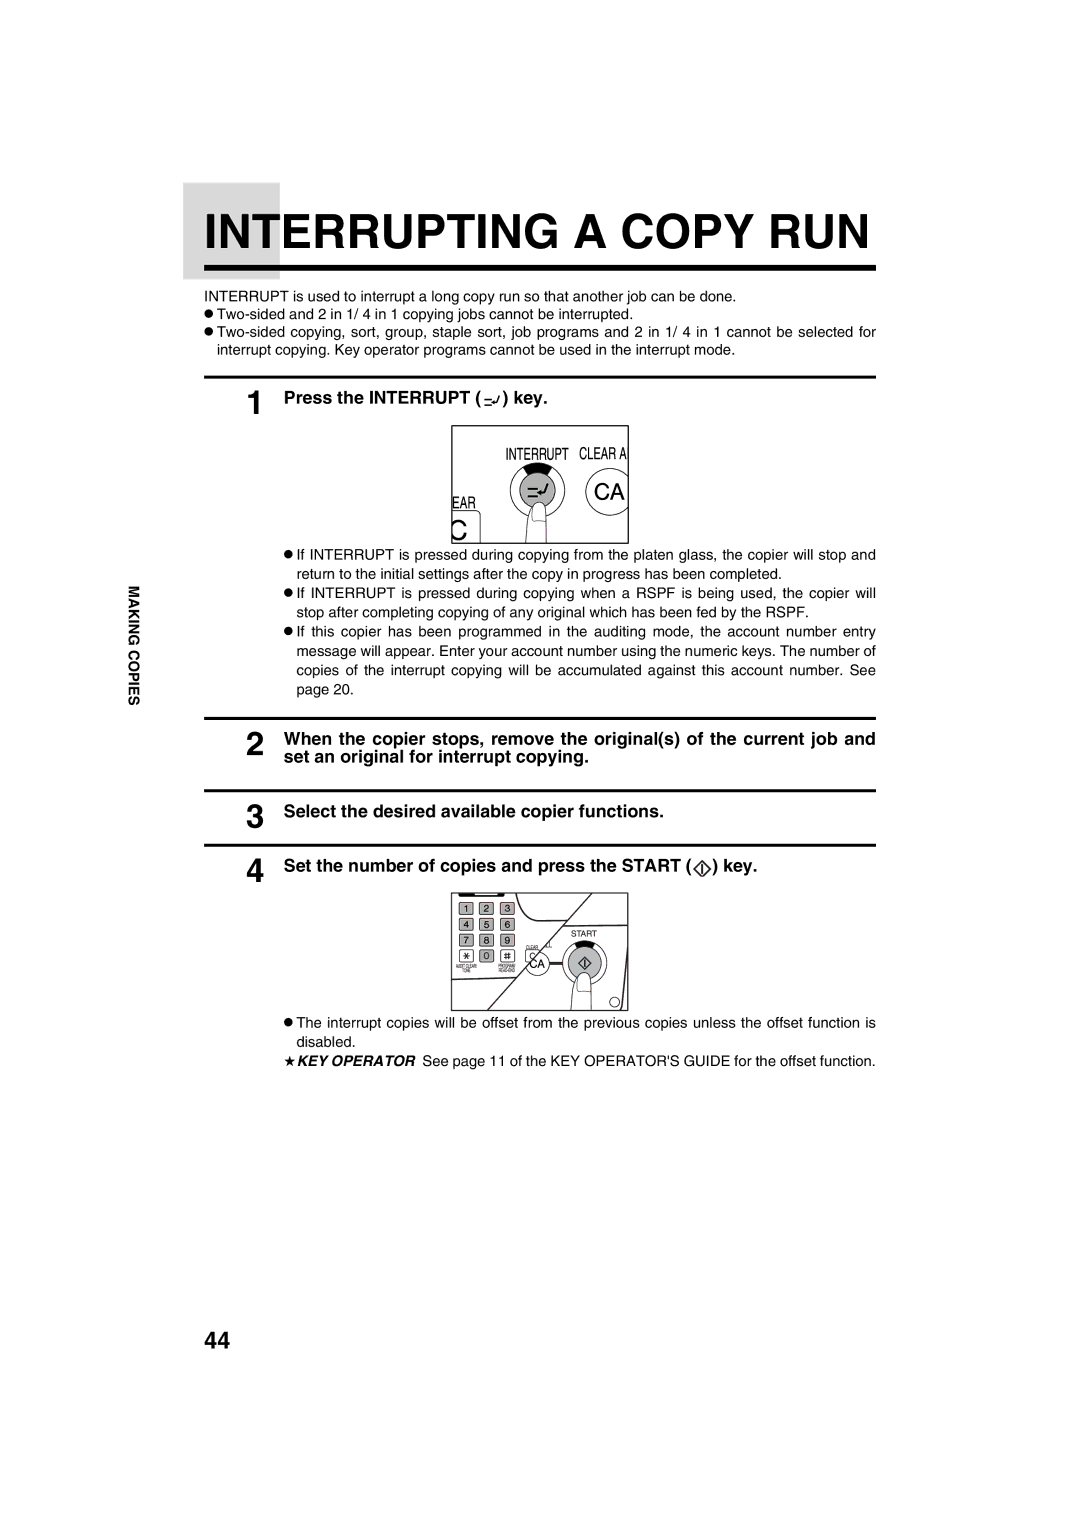
1 Press the INTERRUPT (  ) key.
● If INTERRUPT is pressed during copying from the platen glass, the copier will stop and return to the initial settings after the copy in progress has been completed.
● If INTERRUPT is pressed during copying when a RSPF is being used, the copier will stop after completing copying of any original which has been fed by the RSPF.
| ● If this copier has been programmed in the auditing mode, the account number entry | ||||||||
| message will appear. Enter your account number using the numeric keys. The number of | ||||||||
| copies of the interrupt copying will be accumulated against this account number. See | ||||||||
| page 20. | ||||||||
|
|
|
|
|
|
|
|
|
|
2 | When the copier stops, remove the original(s) of the current job and | ||||||||
set an original for interrupt copying. | |||||||||
|
|
|
|
|
|
|
|
|
|
3 | Select the desired available copier functions. | ||||||||
|
|
|
|
|
|
|
|
|
|
4 | Set the number of copies and press the START ( |
| ) key. | ||||||
| |||||||||
| |||||||||
|
|
|
|
|
|
|
|
|
|
|
|
|
|
|
|
|
|
|
|
|
|
|
|
|
|
|
|
|
|
●The interrupt copies will be offset from the previous copies unless the offset function is
disabled.
★KEY OPERATOR See page 11 of the KEY OPERATOR'S GUIDE for the offset function.
44