GETTING STARTED
AR-M208
DIGITAL MULTIFUNCTIONAL SYSTEM
OPERATION MANUAL
copier’s serial number located on the back of the unit
Service Department Number
FOR YOUR RECORDS
To protect against loss or theft, record and retain for reference the
3. SPECIAL FUNCTIONS
OUTLINE OF THIS MANUAL
1. GETTING STARTED
2. MAKING COPIES
Two-sided copies from one-sided originals
CONTENTS
Page
About reversing single pass feeder RSPF
CHAPTER 6 OPTIONAL EQUIPMENT
CONTENTS
CHAPTER 4 COPIER TROUBLE?
CHAPTER 5 GENERAL INFORMATION
CONTENTS
GETTING STARTED
CHAPTER
KEY OPERATOR
INTRODUCTION
About the operation manuals
Conventions used in this manual
CAUTIONS
Do not install your copier in areas that are
COPIER INSTALLATION
COPIER INSTALLATION
2 High-quality digital image
MAIN FEATURES
3 Substantial copying features
1 High-speed laser copying
7 Environmentally friendly design
5 Printer features
6 Optional features
4 Scan once/ Print many
Exterior
PART NAMES AND FUNCTIONS
Interior
PART NAMES AND FUNCTIONS
Operation panel
100%
PART NAMES AND FUNCTIONS
Ready to copy
Dehumidification heater switch DH POWER
POWER ON AND OFF
Power on
Power off
Auto power shut-off mode
Initial settings
Power save modes
Preheat mode
One-sided to two-sided copying Two-sided to two-sided copying
FUNCTION ICONS
Sort mode Staple sort mode
Group mode
2 Use the and keys to select a function
FUNCTION REVIEW
FUNCTION REVIEW DUAL PAGE COPY
1 Press the JOB STATUS key
COPIES MADE000,000
How to copy in the auditing mode
1 Enter your account number using the numeric keys
AUDITING ACCOUNTS
2 When copying is completed, press the AUDIT CLEAR key
AUDITING ACCOUNTS
Please see your key operator for assistance
GETTING STARTED
CHAPTER
MAKING COPIES
Place an original face down on the platen glass and align it with the
COPYING FROM THE PLATEN GLASS
INCH
SPECIAL MODES
100%
4 Set the number of copies using the numeric keys
3 Ensure that the desired paper tray is selected
5 Press the START key
About reversing single pass feeder RSPF
Using the RSPF
Adjust the original guides to the size of the originals
COPYING FROM THE RSPF
100%
4 Ensure that the one-sided to one-sided copying mode is selected
3 Set the originals face up in the document feeder tray
5 Set the number of copies and press the START key
Two-sided copies from one-sided originals
COPY MODE
Using the RSPF
TWO-SIDED COPYING
2 22 to BINDING CHANGE OFF
COPY MODE 1 to
Using the platen glass
1 21 to
1 to
COPY MODE
COPY MODE 1 to
1 to
START
Only when a RSPF is being used
Two-sided copies from two-sided originals
Place the second original face down on the platen glass and press the
Use the and keys to select two-sided to two-sided copying and
COPY MODE 1 to 1 21 to
One-sided copies from two-sided originals
2 22 to
3 Use the and keys to select two-sided to one-sided copying
COPY MODE 1 21 to 2 22 to
2 12 to
BINDING CHANGE OFF
Auto
EXPOSURE ADJUSTMENT
EXPOSURE
TEXT TEXT/PHOTO
4 Press the OK key
3 Use the and keys to adjust the copy density as desired
TEXT
TEXT/PHOTO
Use the PAPER SELECT key to select the paper tray with the desired
REDUCTION ENLARGEMENT/ZOOM
Automatic selection
1 Place an original on the platen glass and close the platen cover
3 Press the AUTO IMAGE key
4 Enter the number of copies and press the START key
REDUCTION/ENLARGEMENT/ZOOM
2 Press the COPY RATIO key
Use the and keys to select a preset copy ratio or use the and
Manual selection
100%
REDUCTION/ENLARGEMENT/ZOOM
4 Press the OK key
5 Ensure that the desired paper tray is selected
6 Set the number of copies and press the START key
3 Press the AUTO IMAGE key
ROTATION COPYING
Place an original on the platen glass and close the platen cover
Use the PAPER SELECT key to select the desired tray
1 Unfold the bypass tray
BYPASS FEED special paper
Acceptable paper for copying from the bypass tray
Copying from the bypass tray
inch
EXTRA IMAGE ADJ
0.5~+0.5
REAR
5 Set the number of copies and press the START key
BYPASS FEED special paper
Copy of first original Second original
set an original for interrupt copying
When the copier stops, remove the originals of the current job and
INTERRUPTING A COPY RUN
1 Press the INTERRUPT key
Replace the originals for the interrupted job and press the START
When all INTERRUPT copies are finished, press the INTERRUPT
key again to cancel the INTERRUPT mode, and remove the original
used for interrupt copying
MAKING COPIES
INTERRUPTING A COPY RUN
CHAPTER
SPECIAL FUNCTIONS
SORT/GROUP
Copying in the sort or group mode
Sort mode
Group mode
2 Press the OUTPUT key
Use the and keys to select the desired output mode and press the
SORT
111 GROUP
Offset stack
6 After all originals have been scanned, press the READ-END key
SORT/GROUP
MARGIN SHIFT
DUAL PAGE COPY OKADJUST
MARGIN SHIFT
SPECIAL MODES
3 Press the OK key
MARGIN SHIFT OFF DOWN
RIGHT
1/2 inch1/4~1
EDGE
ERASE
A B
ERASE OFF
7 Makekey. all other desired copier selections and press the START
4 Use the and keys to select the desired erase mode
5 Use the and keys to adjust the amount of erase if needed
6 Press the OK key
MARGIN SHIFT
DUAL PAGE COPY
DUAL PAGE COPY OKADJUST
SPECIAL MODES
3 Usekey. the and keys to select DUAL PAGE COPY and press the OK
SPECIAL MODES MARGIN SHIFT ERASE
DUAL PAGE COPY
OKOFF ON
2 IN 1 OR 4 IN
Use the PAPER SELECT key to select the paper tray with the desired
paper size
OKCHANGE
2in1/4in1 OFF
2in1
4in1
9 Makekey. all other desired copier selections and press the START
BORDER
7 Use the and keys to select a type of border line
8 Press the OK key
3 Use the and keys to select B/W REVERSE and press the OK key
B/W REVERSE
XY ZOOM
B/W REVERSE
B/W REVERSE
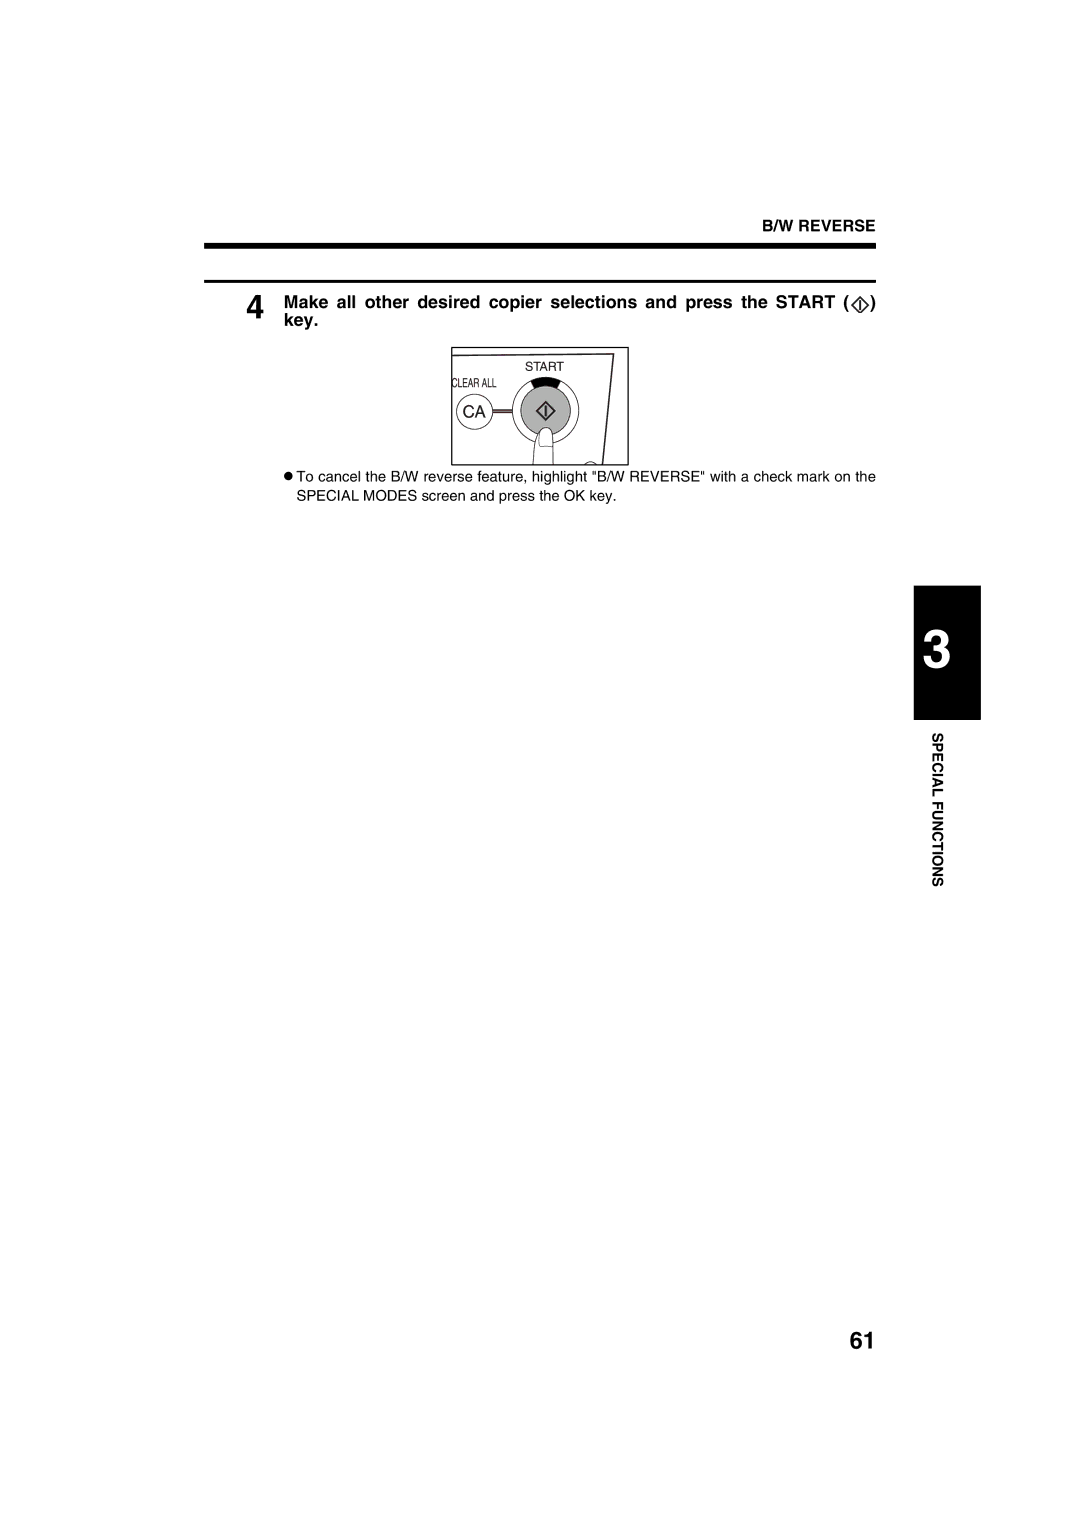
4 Makekey. all other desired copier selections and press the START
MARGIN SHIFT
XY ZOOM
DUAL PAGE COPY OKADJUST
SPECIAL MODES
3 Use the and keys to select XY ZOOM and press the OK key
XY ZOOM 121% ZOOM
100% X 100%
95% Y 100% X Y
8 Ensure that the desired paper tray is selected
81 11R
X121% Y 99%
7 Press the OK key
3 Usekey. the and keys to select TRANSPARENCY and press the OK
TRANSPARENCY
SPECIAL MODES XY ZOOM B/W REVERSE
TRANSPARENCY
4 Load transparency film into the bypass tray
5 Makekey. all other desired copier selections and press the START
TRANSPARENCY
STORE
JOB MEMORY
Storing a job program
RECALL
STORE DELETE
4 Select a program number from 1 to 9 using the numeric keys
Deleting a job program
JOB PROGRAMS
2 Press the OK key
3 Select a program number from 1 to 9 using the numeric keys
Recalling a job program
RECALL JOB PROGRAM
3 Select a program number from 1 to 9 using the numeric keys
The numbers with a check mark are program numbers which contain job programs. If a checked number is entered, the settings for that job program will be recalled and the display will return to the basic screen
JOB MEMORY
CHAPTER
COPIER TROUBLE?
Remedy
STATUS MESSAGES
COPIER TROUBLE?
Message
1 Remove the misfed originals
MISFEED REMOVAL
Misfeed in the RSPF
First confirm the misfeed locations
MISFEED REMOVAL
and press the START
2 Open and close the side cover to cancel the misfeed display
Misfeed in the bypass tray
Return the indicated number of originals to the document feeder tray
2 Gently open the front cover
Misfeed in the copier
A. Misfeed in the paper feed area
1 Open the bypass tray and the side cover
B. Misfeed in the fusing area
direction of the arrow to assist in removing it
4 Close the front cover and the side cover
5 Close the front cover and the side cover
3 Turn the roller rotating knob in the direction of the arrow
3 Close the side cover
Misfeed in the center tray
C. Misfeed in the transport area
open and remove the misfed paper
1 Pull out the upper paper tray and remove the misfed paper
3 Open and close the side cover to cancel the misfeed display
Misfeed in the upper paper tray
Misfeed in the lower paper tray
Close the paper tray
Misfeed in the upper exit area
2 Remove the misfed paper
and remove the misfed paper
MISFEED REMOVAL
2 Gently pull the misfed paper out 3 Close the upper exit area cover
TROUBLESHOOTING
COPIER TROUBLE?
TROUBLESHOOTING
Problem
Solution
GENERAL INFORMATION
CHAPTER
CHECKING THE TONER QUANTITY AND
1 Pull out the paper tray until it stops
PAPER
Types and sizes of copy paper
Loading copy paper
PAPER
3 Move the left guide to the appropriate slot as marked on the tray
4 Fan the copy paper and insert it into the tray
5 Push the paper tray firmly back into the copier
ORIG. SIZE ENTER PAPER SIZE SET DISPLAY CONTRAST
Changing the copy paper size in the tray
SPECIAL FUNCTION
SPECIAL MODES
7 Press the OK key
5 Use the and keys to select the paper size that has been set
A confirmation message for paper size setting will appear
6 Press the OK key
TONER CARTRIDGE REPLACEMENT
1 Gently open the front cover
at the green label portion
Remove the tape from the shutter. Pull the shutter out of the toner
Remove the new toner cartridge from the bag. Grasp the cartridge on
both sides and shake it horizontally approximately 20 times. After
shaking the cartridge, remove the tape
CHECKING THE TONER QUANTITY AND TOTAL OUTPUT COUNT
About the toner indicator
TONER REMAINING%
1 Press and hold the COPY key during standby or warm-up
CLEANING THE PLATEN GLASS AND RSPF
Paper feed roller
CLEANING THE BYPASS TRAY PAPER FEED ROLLER
Use the and keys to select DISPLAY CONTRAST and press the
DISPLAY CONTRAST ADJUSTMENT
3 Use the and keys to adjust the contrast
DISPLAY CONTRAST
2 Store copy paper in the wrapper and lying flat
STORAGE OF SUPPLIES
Proper storage
1 Store the supplies in a location that is
GENERAL INFORMATION
SPECIFICATIONS
Printer specifications
Reversing single pass feeder RSPF specifications
SPECIFICATIONS
OPTIONAL EQUIPMENT
CHAPTER
500-SHEET PAPER FEED UNIT AR-D11
OPTIONAL EQUIPMENT
SYSTEM CONFIGURATION
Part names
FINISHER AR-FN5 N
Specifications
Supplies
FINISHER AR-FN5 N
Sort mode
Staple sort mode
Non-sort mode
Finisher functions
1 Set the originals in the document feeder tray
Staple sort
OUTPUT
STAPLE SORT EXIT CENTER
Using the platen glass
3 Use the and keys to select STAPLE SORT and press the OK key
Set an original face down on the platen glass with the corner to be
stapled to the upper right position
3 Use the and keys to select STAPLE SORT and press the OK key
OUTPUT
STAPLE SORT EXIT CENTER
2 Press the OUTPUT key
from the stapler
Staple cartridge replacement
1 Open the stapler cover
Grasp the green portion of the staple box and remove the staple box
1 Open the stapler cover
Staple jam removal
5 Remove the tape from the cartridge
7 Close the stapler cover
6 Close the stapler cover
Raise the lever at the end of the staple box and remove the jammed
staples
4 Return the lever to its original position
If staple sort copying is being done, open the paper guide and remove
Misfeed removal
1 Pull the handle of the stapler compiler cover and open the cover
2 Remove any misfed paper from the transport area
FINISHER AR-FN5 N
4 Close the stapler compiler cover
If the top tray is being used, open the top cover, remove any misfed
paper, and close the top cover
AR-D11
500-SHEET PAPER FEED UNIT AR-D11/2x500-SHEET PAPER FEED UNIT AR-D12
Specifications
Part names
Changing the copy paper size in the tray
Open the side cover of the paper tray which was in use and remove
the misfed paper
Loading copy paper
Close the paper tray
Pull out the paper tray which was in use
Remove any misfed paper
Close the side cover
INDEX
INDEX
3. HAZARDS IDENTIFICATION
MATERIAL SAFETY DATA SHEET
1. PRODUCT AND COMPANY IDENTIFICATION
2. COMPOSITION/INFORMATION ON INGREDIENTS
8. EXPOSURE CONTROL/PERSONAL PROTECTION
5. FIRE -FIGHTING MEASURES
6. ACCIDENTAL RELEASE MEASURES
7. HANDLING AND STORAGE
13. DISPOSAL CONSIDERATION
10. STABILITY AND REACTIVITY
11. TOXICOLOGICAL INFORMATION
12. ECOLOGICAL INFORMATION
15. REGULATORY INFORMATION
16. OTHER INFORMATION
WHMIS Legislation Canada
4. FIRST-AID MEASURES
1. PRODUCT AND COMPANY IDENTIFICATION
2. COMPOSITION/INFORMATION ON INGREDIENTS
3. HAZARDS IDENTIFICATION
8. EXPOSURE CONTROL/PERSONAL PROTECTION
5. FIRE -FIGHTING MEASURES
6. ACCIDENTAL RELEASE MEASURES
7. HANDLING AND STORAGE
13. DISPOSAL CONSIDERATION
10. STABILITY AND REACTIVITY
11. TOXICOLOGICAL INFORMATION
12. ECOLOGICAL INFORMATION
16. OTHER INFORMATION
15. REGULATORY INFORMATION
AR-M208 Digital Multifunctional system
SHARP CORPORATION
SHARP ELECTRONICS CORPORATION
Sharp Plaza, Mahwah, New Jersey
AR-M208