MISFEED REMOVAL
C. Misfeed in the transport area
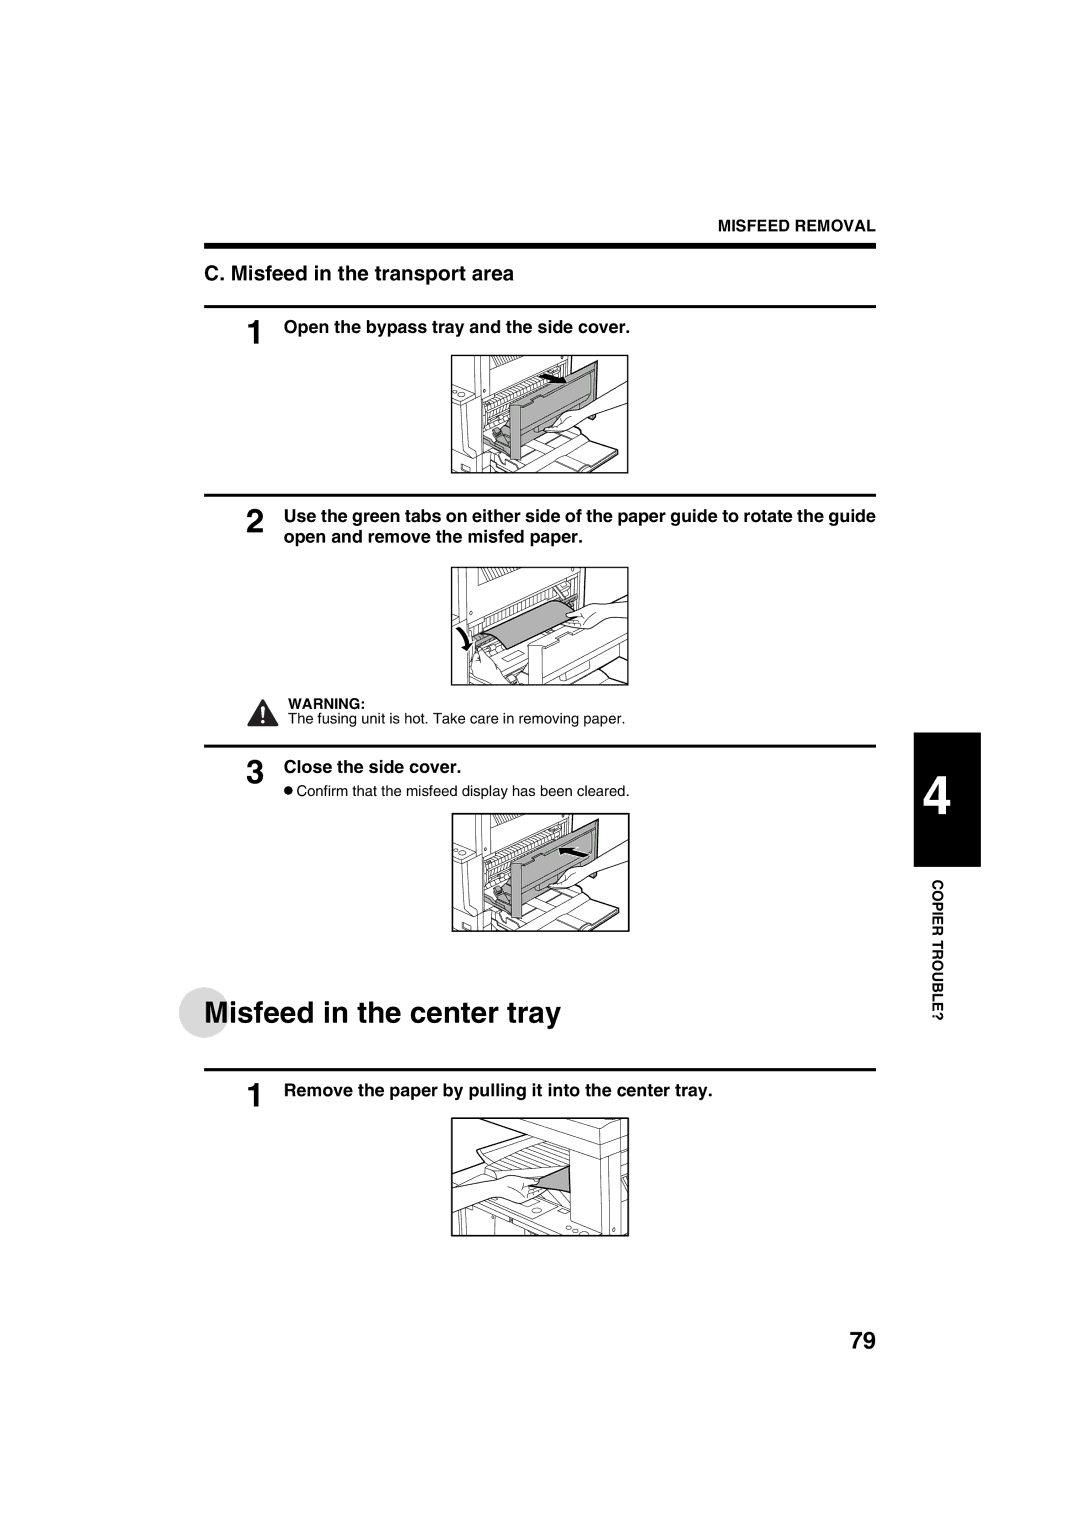
1 Open the bypass tray and the side cover.
2 | Use the green tabs on either side of the paper guide to rotate the guide | ||
| open and remove the misfed paper. | ||
|
|
|
|
|
|
|
|
WARNING:
The fusing unit is hot. Take care in removing paper.
3 Close the side cover.
●Confirm that the misfeed display has been cleared.
Misfeed in the center tray
1 Remove the paper by pulling it into the center tray.
4
COPIER TROUBLE?
79