Figure 2.7 Survey start/end date error message
Enter the TC spool offset and click on the “Add Record” button to add the record. Clicking on the “Cancel” button will cancel the add process and bring the user back to the “Load Survey Data” dialog box. If the add was successful, a message box will be displayed (figure 2.8).
Figure 2.8 Record Add successful message
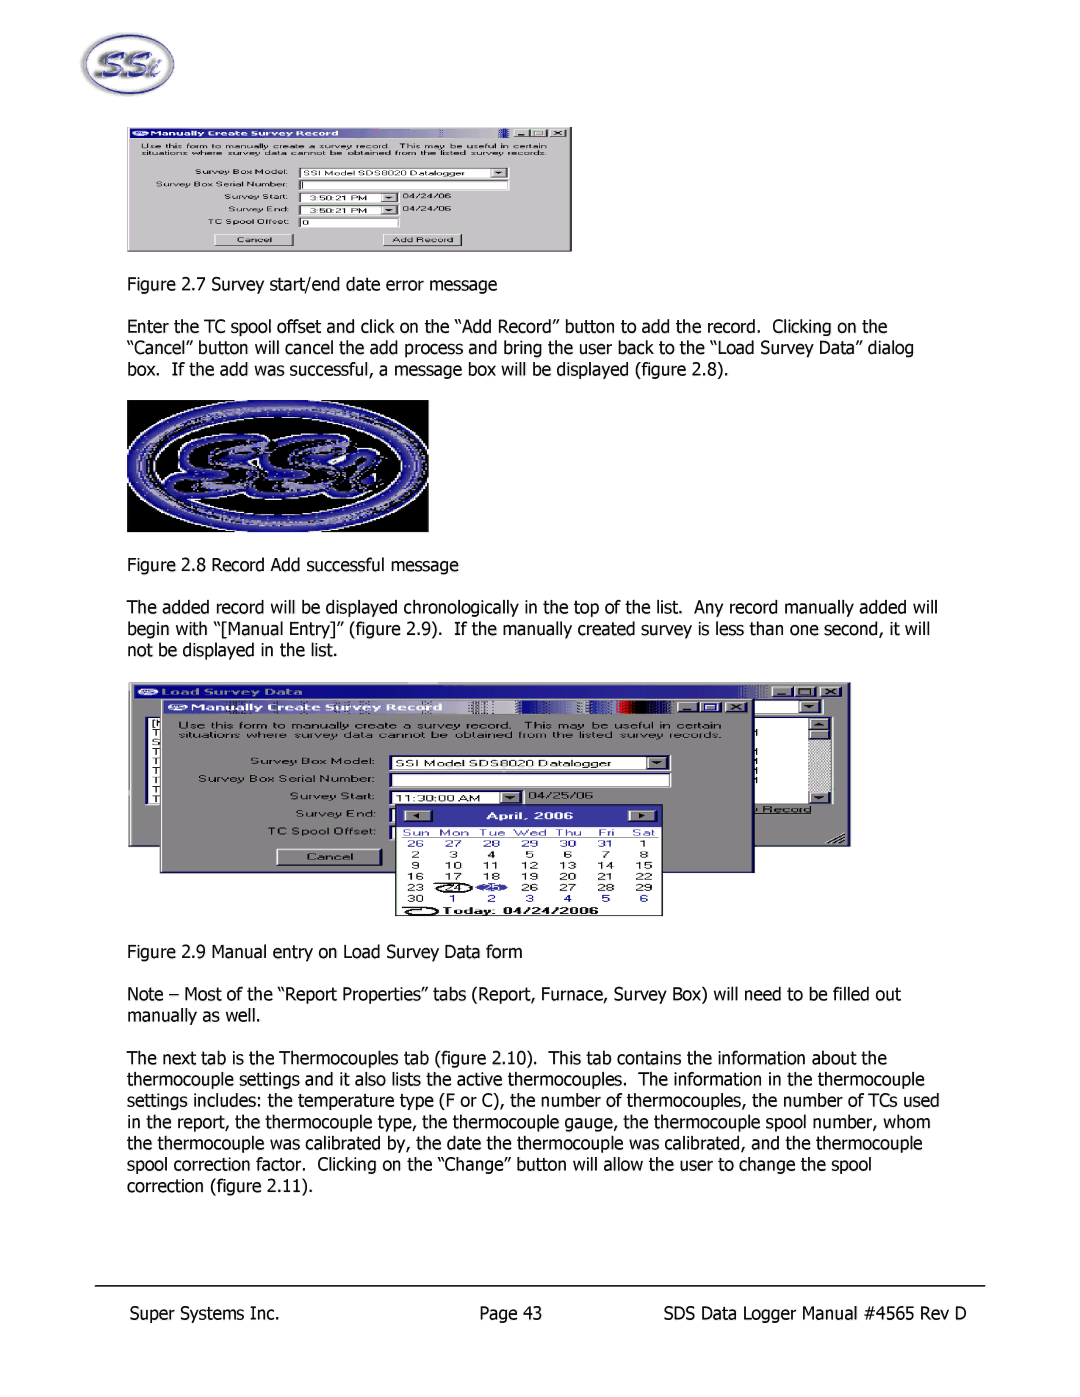
The added record will be displayed chronologically in the top of the list. Any record manually added will begin with “[Manual Entry]” (figure 2.9). If the manually created survey is less than one second, it will not be displayed in the list.
Figure 2.9 Manual entry on Load Survey Data form
Note – Most of the “Report Properties” tabs (Report, Furnace, Survey Box) will need to be filled out manually as well.
The next tab is the Thermocouples tab (figure 2.10). This tab contains the information about the thermocouple settings and it also lists the active thermocouples. The information in the thermocouple settings includes: the temperature type (F or C), the number of thermocouples, the number of TCs used in the report, the thermocouple type, the thermocouple gauge, the thermocouple spool number, whom the thermocouple was calibrated by, the date the thermocouple was calibrated, and the thermocouple spool correction factor. Clicking on the “Change” button will allow the user to change the spool correction (figure 2.11).
Super Systems Inc. | Page 43 | SDS Data Logger Manual #4565 Rev D |
