Phaser 3100MFP/X
Cover page
The cover page is part of a fax document automatically generated by your machine containing information concerning the sender, the recipient, the date, the time sent, comments, etc...
This page may be sent alone or in front of a fax document, but always at the same time as the document. A document may be sent with a cover page from the machine or from your desktop. In the latter case, some of the information in the cover page may be provided by yourself when making the send request. It is necessary to create model cover pages before sending a document using them. On the other hand, once the cover page is created, a model cover page may be used for all documents sent.
Your machine offers the possibility of creating and customizing some model cover pages which you can choose when sending a fax.
Creating a cover page template
Creating a cover page creates a template which fields (fax number, comment, subject and so on) will be automatically filled by the Fax Application depending on the information provided for each recipient of a document.
To create this cover page template, there are two major steps:
•First step: Create a background image with the logos and the layout that you wish.
•Second step: Add the field that you want to be
displayed in the cover page: fax number, comment, subject and so on. As mentioned before, these fields will be filled by Fax application at emission time.
For the first step, there are two methods to create the background image.
You can either
•Option (A): Draw this background image in your preferred application (such as Word, Excel,...),
OR
•Option (B): Scan a sheet of paper containing the layout of the cover page.
Details about Option A and B:
•Option (A): Open the application that you want to use to edit the background (Word, Wordpad...). Draw the background image then print this document in the printer named "Companion Suite Fax". At that point the MFSendFax dialog is displayed:
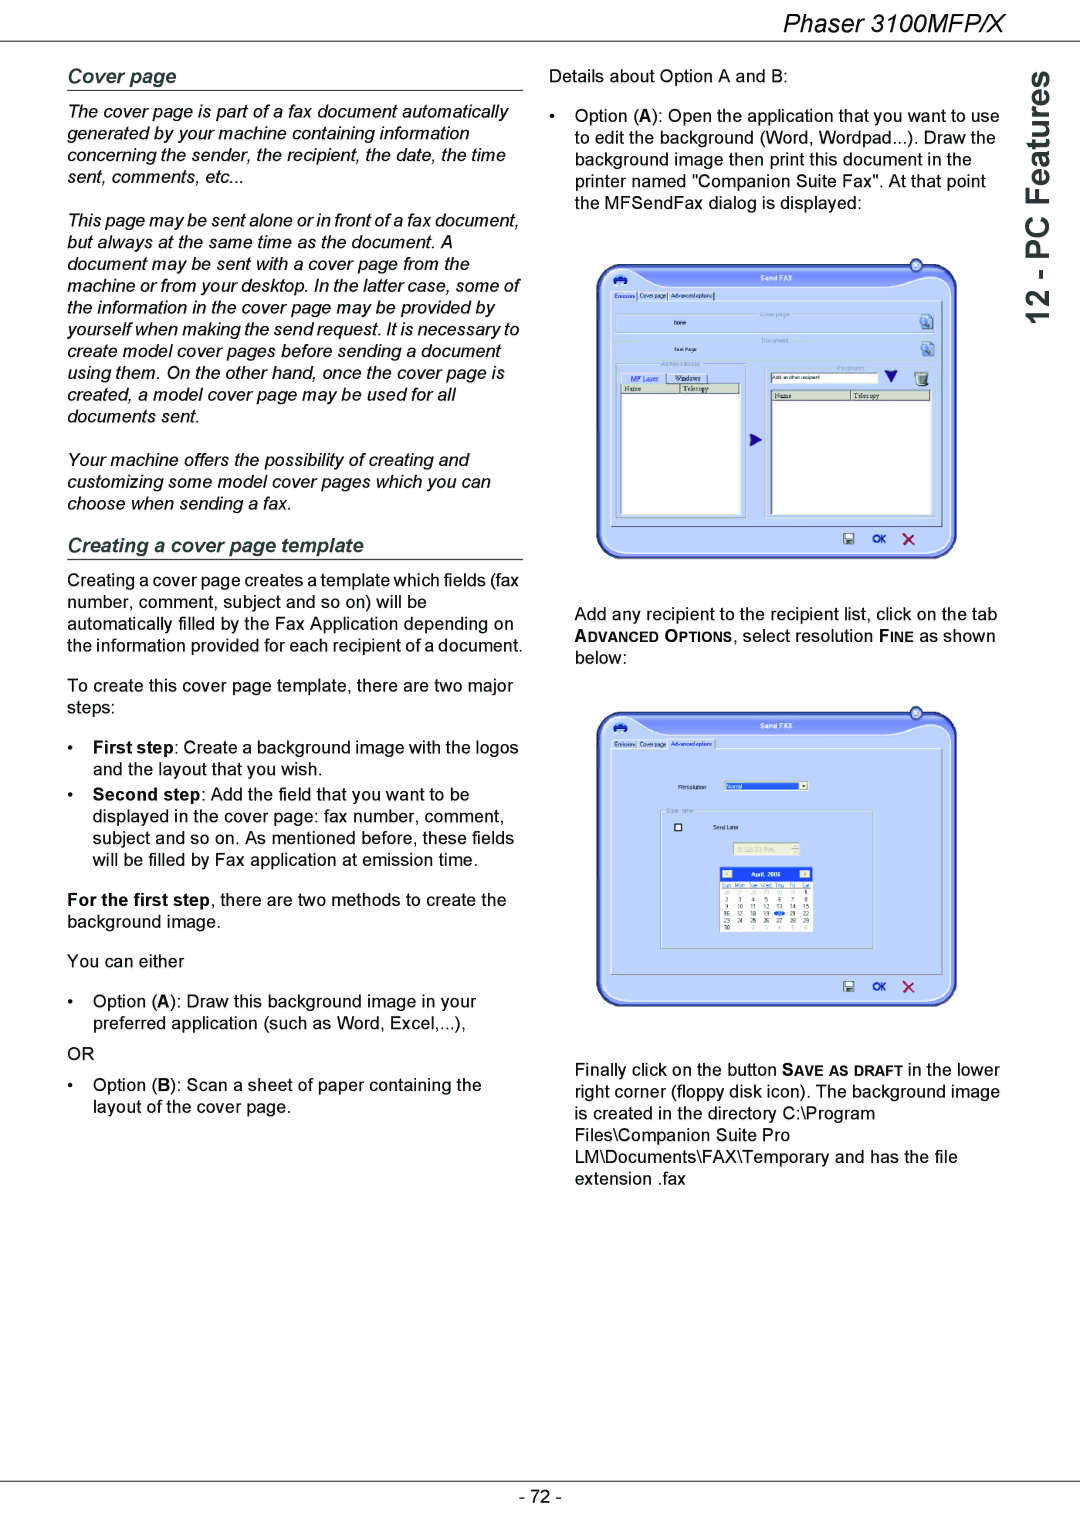
Add any recipient to the recipient list, click on the tab ADVANCED OPTIONS, select resolution FINE as shown below:
Finally click on the button SAVE AS DRAFT in the lower right corner (floppy disk icon). The background image is created in the directory C:\Program Files\Companion Suite Pro LM\Documents\FAX\Temporary and has the file extension .fax
12 - PC Features
- 72 -