Phaser 3100MFP/X
•Option (B): Launch MFMANAGER, select NEW FAX, select the scanner source as shown below:
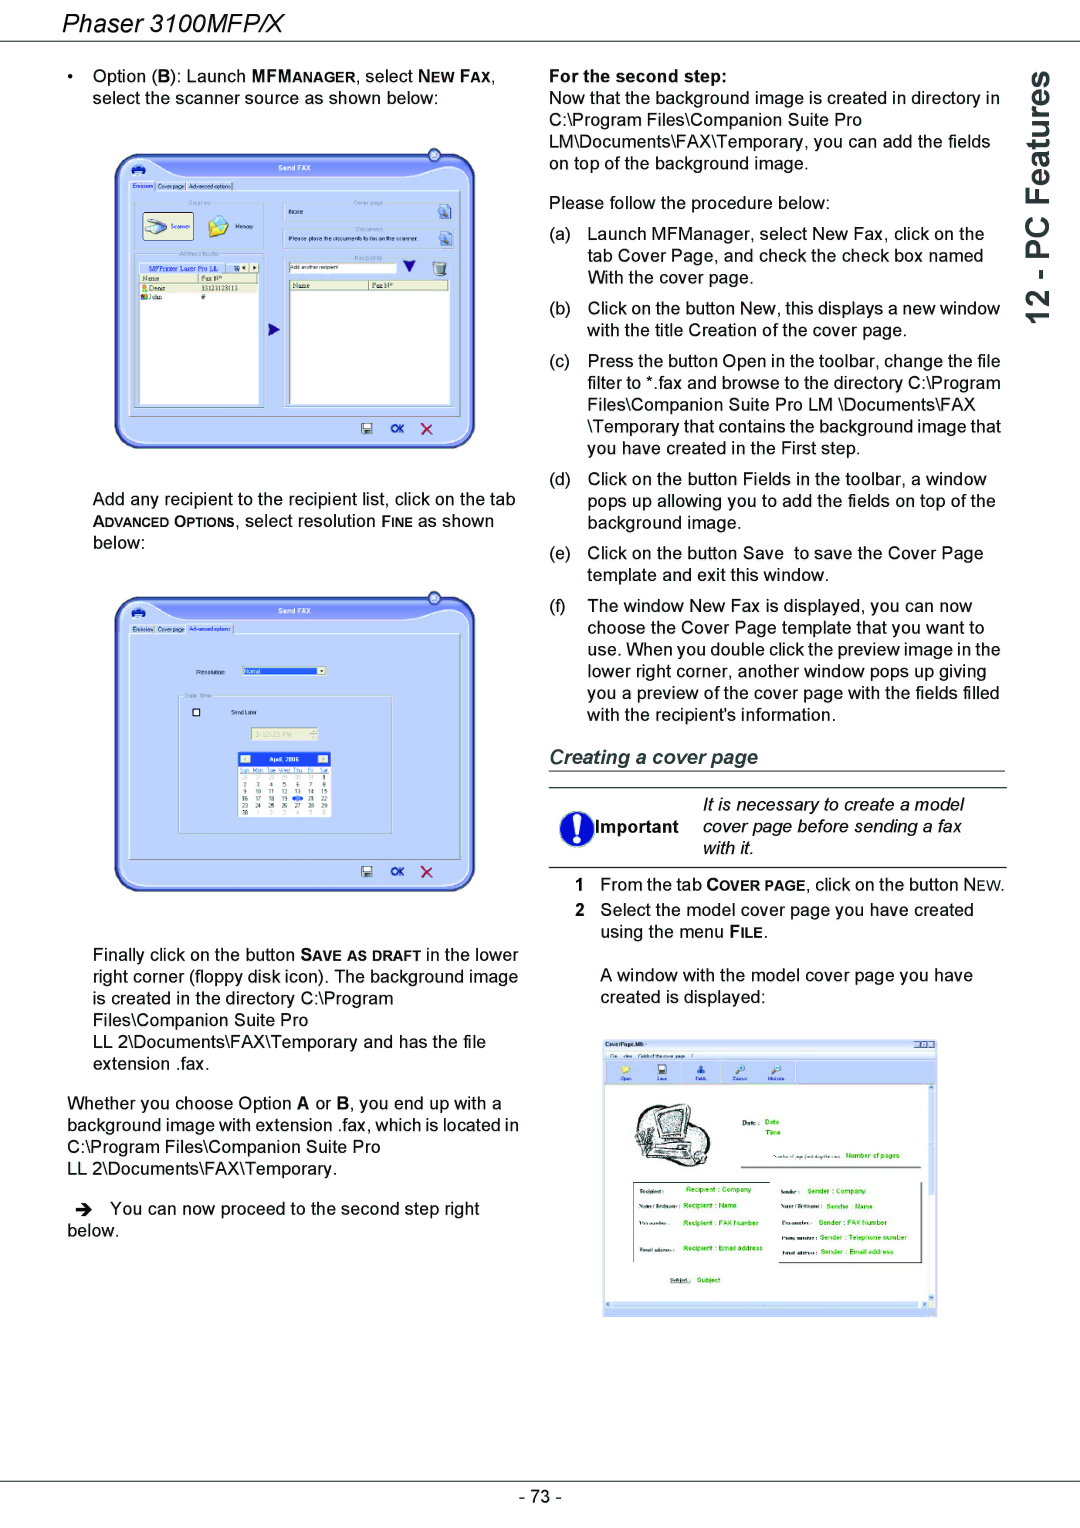
Add any recipient to the recipient list, click on the tab ADVANCED OPTIONS, select resolution FINE as shown below:
Finally click on the button SAVE AS DRAFT in the lower right corner (floppy disk icon). The background image is created in the directory C:\Program Files\Companion Suite Pro
LL2\Documents\FAX\Temporary and has the file extension .fax.
Whether you choose Option A or B, you end up with a background image with extension .fax, which is located in C:\Program Files\Companion Suite Pro
LL2\Documents\FAX\Temporary.
ÎYou can now proceed to the second step right below.
For the second step: | Features | ||
Now that the background image is created in directory in | |||
| |||
C:\Program Files\Companion Suite Pro |
| ||
LM\Documents\FAX\Temporary, you can add the fields |
| ||
on top of the background image. |
| ||
Please follow the procedure below: | PC | ||
(a) | Launch MFManager, select New Fax, click on the | ||
| |||
| tab Cover Page, and check the check box named | - | |
| With the cover page. | ||
(b) | Click on the button New, this displays a new window | 12 | |
| |||
| with the title Creation of the cover page. |
| |
(c) | Press the button Open in the toolbar, change the file |
| |
| filter to *.fax and browse to the directory C:\Program |
| |
| Files\Companion Suite Pro LM \Documents\FAX |
| |
| \Temporary that contains the background image that |
| |
| you have created in the First step. |
| |
(d) | Click on the button Fields in the toolbar, a window |
| |
| pops up allowing you to add the fields on top of the |
| |
| background image. |
| |
(e) | Click on the button Save to save the Cover Page |
| |
| template and exit this window. |
| |
(f) | The window New Fax is displayed, you can now |
| |
| choose the Cover Page template that you want to |
| |
| use. When you double click the preview image in the |
| |
| lower right corner, another window pops up giving |
| |
you a preview of the cover page with the fields filled with the recipient's information.
Creating a cover page
It is necessary to create a model Important cover page before sending a fax
with it.
1From the tab COVER PAGE, click on the button NEW.
2Select the model cover page you have created using the menu FILE.
A window with the model cover page you have created is displayed:
- 73 -