Make this the first region – select this option to set the region number to 1. This option is not available if the region you right-clicked on is already at position 1. After selecting this option, all other regions will have their number update automatically as appropriate.
Make this region a lower number – select this option to move the region number up one in the processing order. This option is not available if the region you right-clicked on is already at position 1. After selecting this option, all other regions will have their number update automatically as appropriate.
Make this region a higher number – select this option to move the region number down one in the processing order. This option is not available if the region you right-clicked on is already the last region in the processing order. After selecting this option, all other regions will have their number update automatically as appropriate.
Make this the last region – select this option to set the region number to the last number in the processing order. This option is not available if the region you right-clicked on is already at the last position in the processing order. After selecting this option, all other regions will have their number update automatically as appropriate.
Clear All Regions
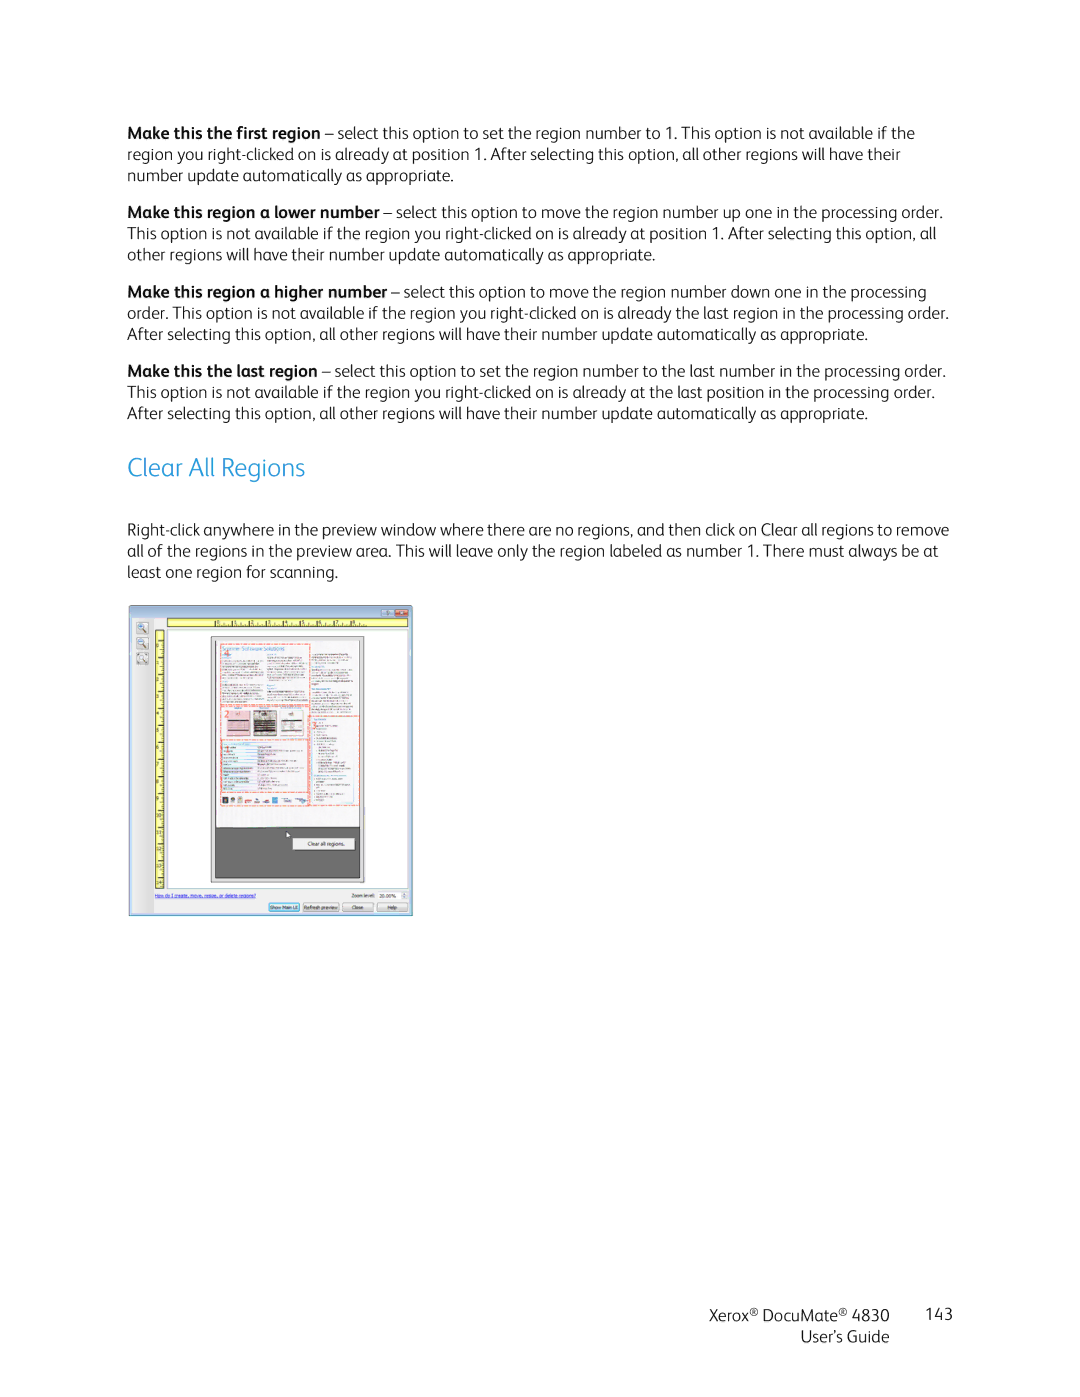
Right-click anywhere in the preview window where there are no regions, and then click on Clear all regions to remove all of the regions in the preview area. This will leave only the region labeled as number 1. There must always be at least one region for scanning.
Xerox® DocuMate® 4830 | 143 |
User’s Guide | |

