When Visioneer Acuity is installed, you can create multiple scan regions for each image scanned. The maximum number of scan regions you can create when Visioneer Acuity is installed may vary between scanner models. When creating scan regions and you reach the maximum number of allowable scan regions, you will not be able to continue creating scan regions until you remove a region you have already created.
Move, Resize, or Delete Regions
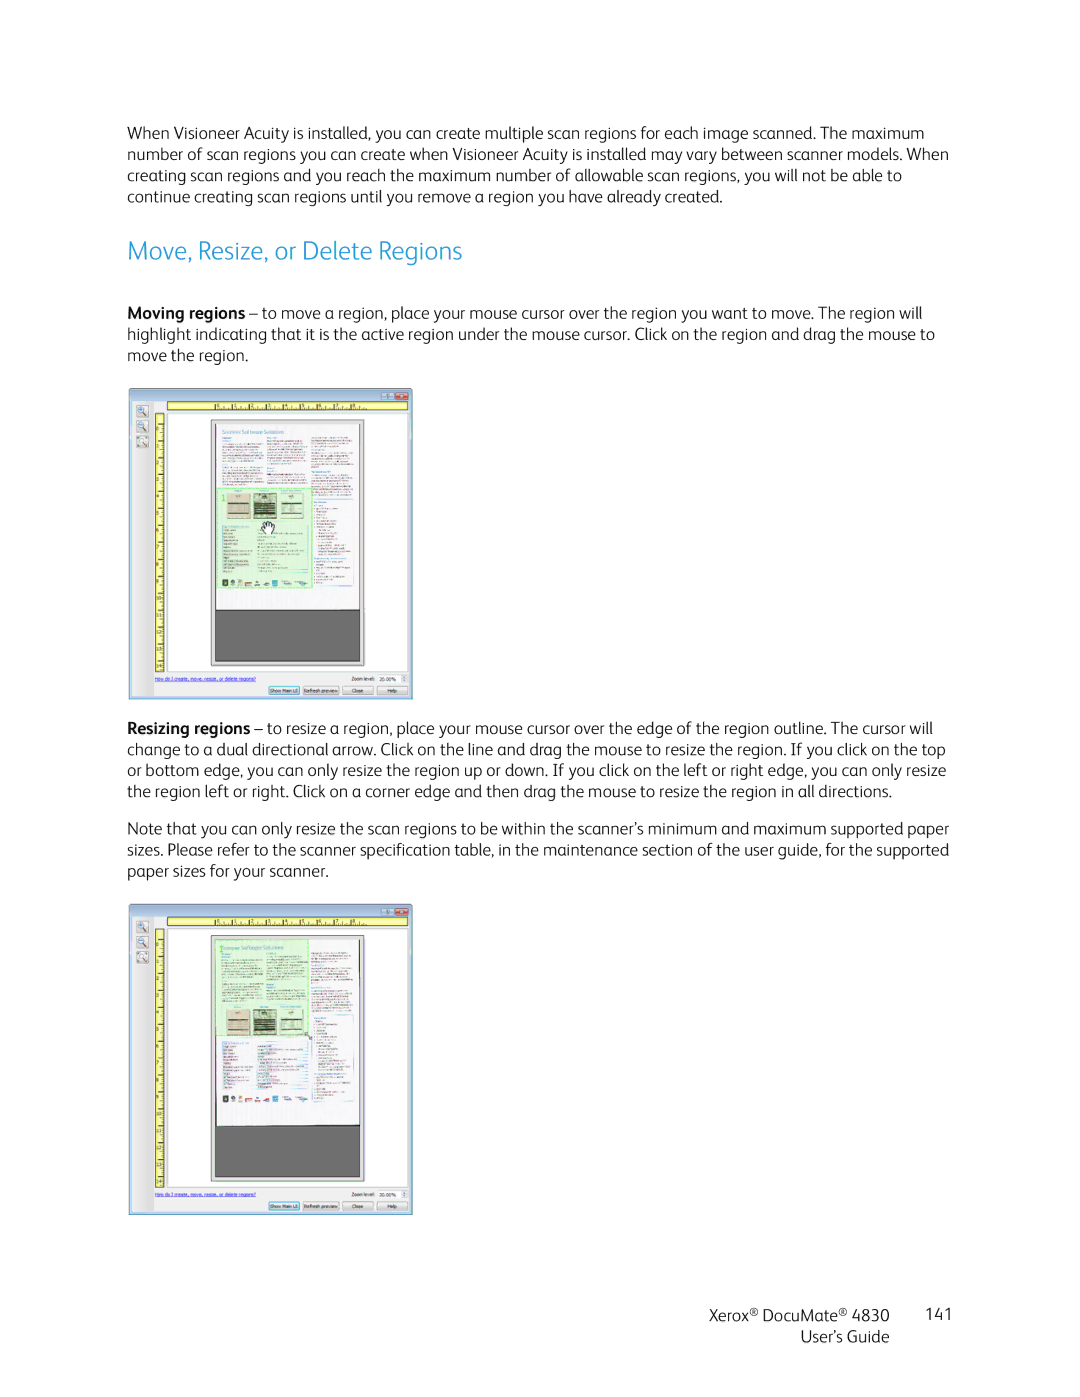
Moving regions – to move a region, place your mouse cursor over the region you want to move. The region will highlight indicating that it is the active region under the mouse cursor. Click on the region and drag the mouse to move the region.
Resizing regions – to resize a region, place your mouse cursor over the edge of the region outline. The cursor will change to a dual directional arrow. Click on the line and drag the mouse to resize the region. If you click on the top or bottom edge, you can only resize the region up or down. If you click on the left or right edge, you can only resize the region left or right. Click on a corner edge and then drag the mouse to resize the region in all directions.
Note that you can only resize the scan regions to be within the scanner’s minimum and maximum supported paper sizes. Please refer to the scanner specification table, in the maintenance section of the user guide, for the supported paper sizes for your scanner.
Xerox® DocuMate® 4830 | 141 |
User’s Guide |
|
