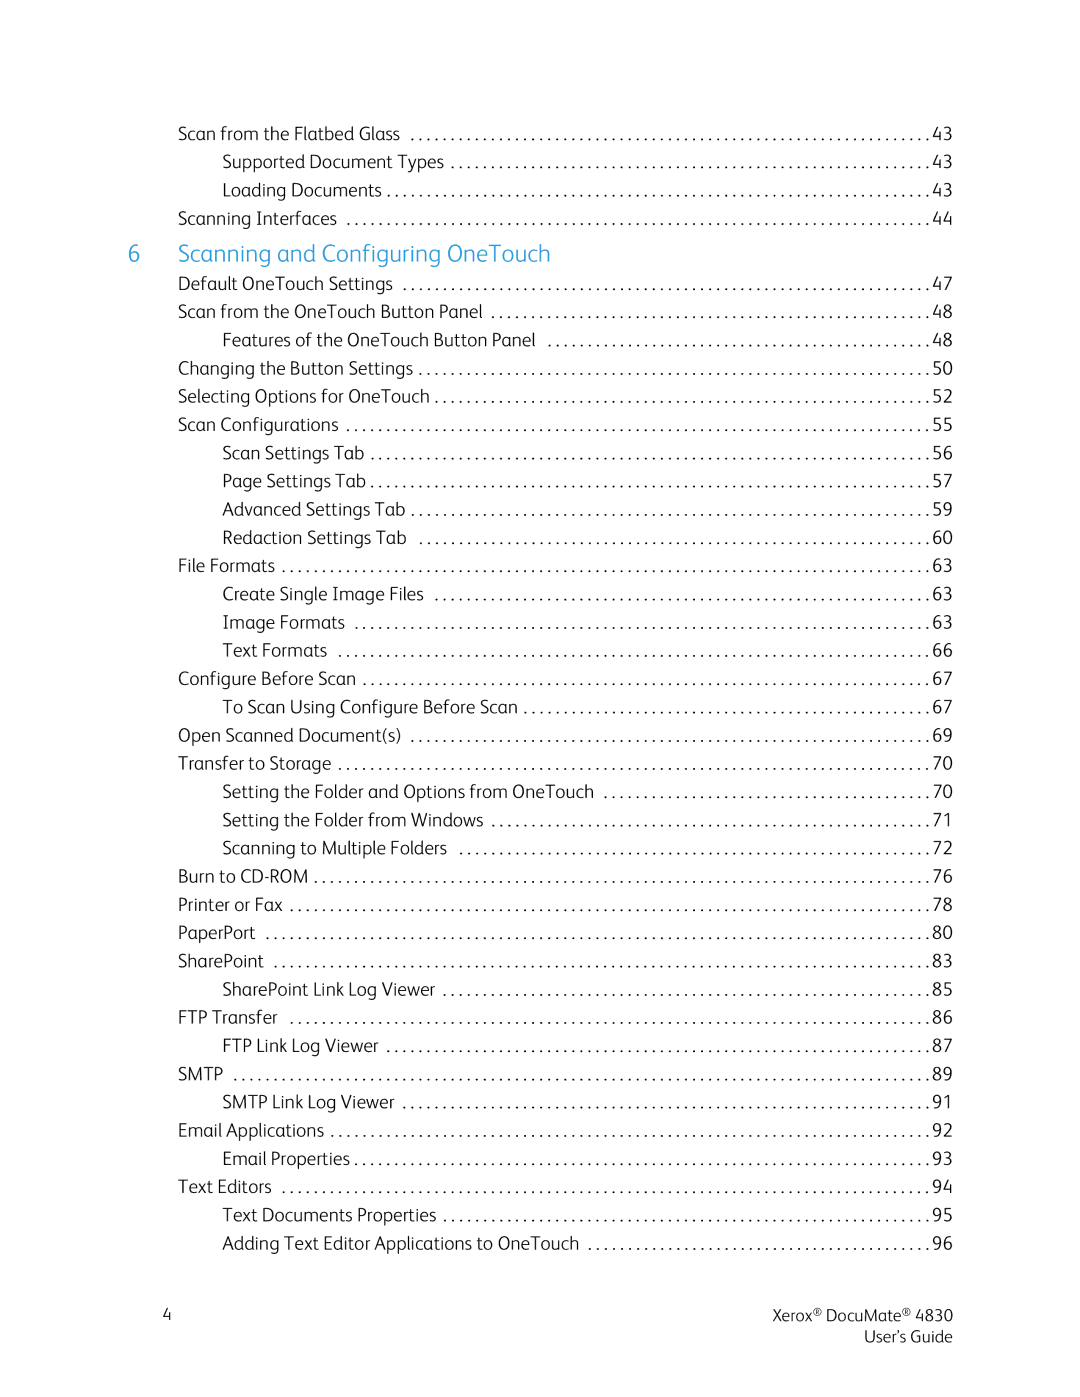
| Scan from the Flatbed Glass | 43 |
| Supported Document Types | 43 |
| Loading Documents | 43 |
| Scanning Interfaces | 44 |
6 | Scanning and Configuring OneTouch |
|
| Default OneTouch Settings | 47 |
| Scan from the OneTouch Button Panel | 48 |
| Features of the OneTouch Button Panel | 48 |
| Changing the Button Settings | 50 |
| Selecting Options for OneTouch | 52 |
| Scan Configurations | 55 |
| Scan Settings Tab | 56 |
| Page Settings Tab | 57 |
| Advanced Settings Tab | 59 |
| Redaction Settings Tab | 60 |
| File Formats | 63 |
| Create Single Image Files | 63 |
| Image Formats | 63 |
| Text Formats | 66 |
| Configure Before Scan | 67 |
| To Scan Using Configure Before Scan | 67 |
| Open Scanned Document(s) | 69 |
| Transfer to Storage | 70 |
| Setting the Folder and Options from OneTouch | 70 |
| Setting the Folder from Windows | 71 |
| Scanning to Multiple Folders | 72 |
| Burn to | 76 |
| Printer or Fax | 78 |
| PaperPort | 80 |
| SharePoint | 83 |
| SharePoint Link Log Viewer | 85 |
| FTP Transfer | 86 |
| FTP Link Log Viewer | 87 |
| SMTP | 89 |
| SMTP Link Log Viewer | 91 |
| Email Applications | 92 |
| Email Properties | 93 |
| Text Editors | 94 |
| Text Documents Properties | 95 |
| Adding Text Editor Applications to OneTouch | 96 |
4 | Xerox® DocuMate® 4830 |
| User’s Guide |
