SIP IP Phone
Page
Software License Agreement
Page
Contents
Contents
Chapter Operational Features
Chapter Advanced Operational Features
Chapter Troubleshooting
Appendix B Configuration Server Setup
Appendix C Configuring the IP Phone At the Asterisk IP PBX
Limited Warranty
Audience
About this guide
Introduction
Other Documentation
Chapters and appendixes in this guide
For Go to
Page
Topic
About this chapter
Topics
IP Phone Models
Description
References
480i 480i CT Softkeys, 9 Lines
Firmware Installation Information
Installation Considerations
Installation Requirements
Configuration Server Requirement
Reference
Firmware and Configuration Files
IP Phone Associated Model Firmware
Configuration File Precedence
Configuration Methods
Installing the Firmware/Configuration Files
Step Action
Configuration Interface Methods
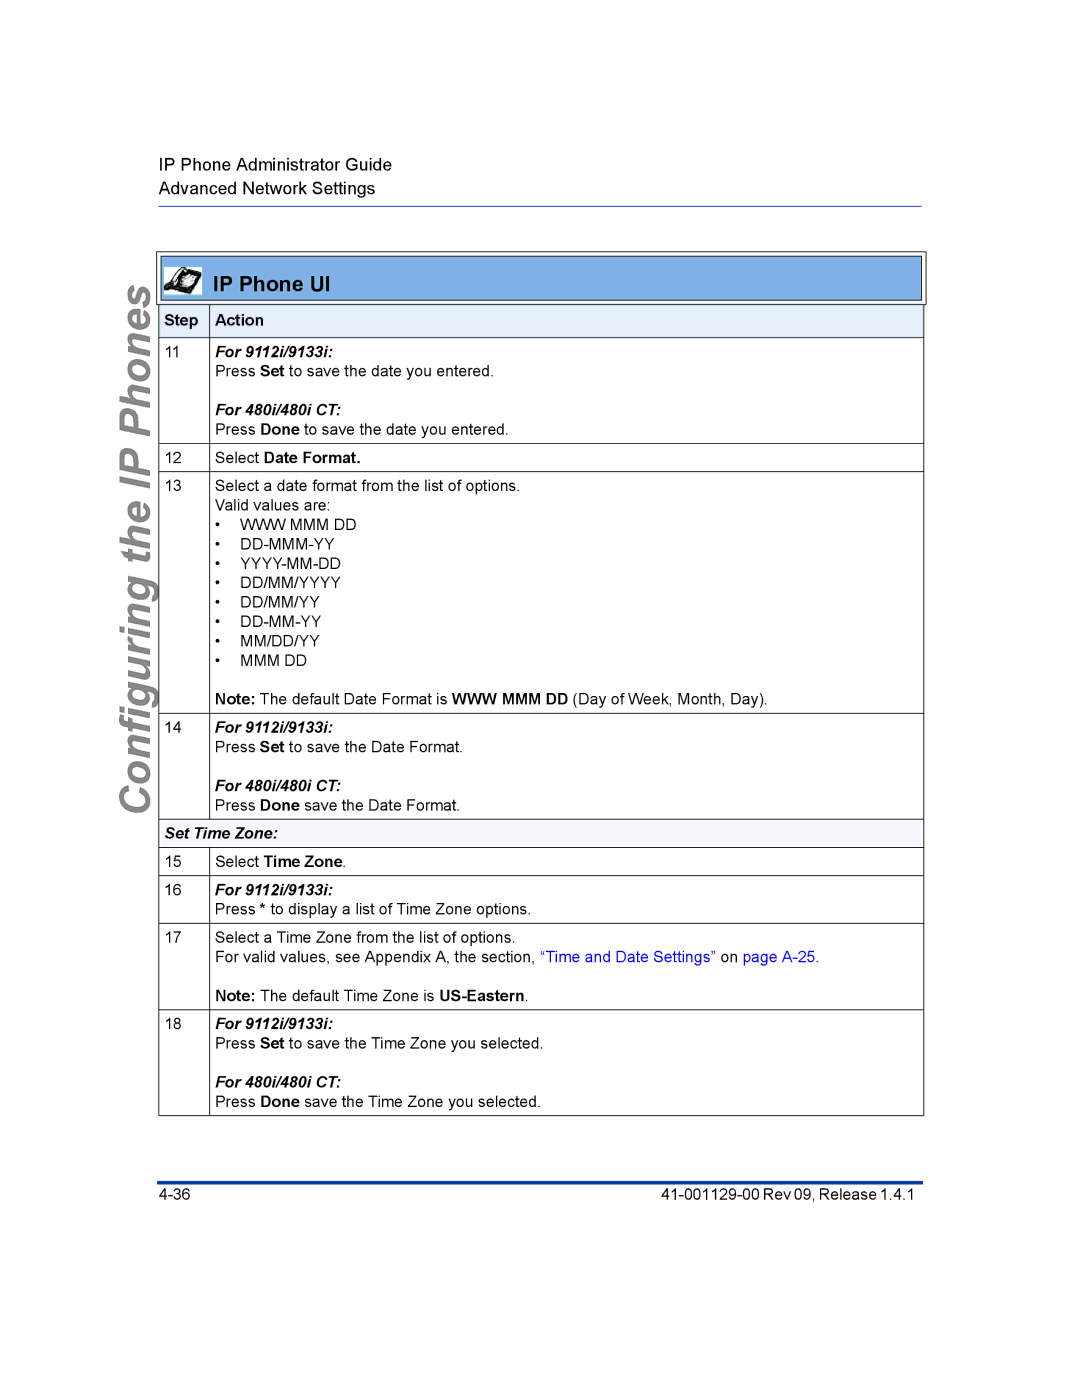
IP Phone UI
Options Key
9112i Options Key
9133i
Options Key
480i/480i CT
Using the Options Key
From the 480i/480iCT
From the 480i CT handset
From the 9112i
Accessing the Aastra Web UI
Aastra Web UI
Status
Basic Settings
Operation
Advanced Settings
To disable the Aastra Web UI
Enabling/Disabling the Aastra Web UI
Page
Administrator Options
IP Phone Administrator Guide About this chapter
IP Phone UI Options
Administrator Level Options
Phone Status-Factory Default Network SIP Settings Reference
Aastra Web UI Options
Configuration File Options
Restore to Factory Defaults
Using the Configuration Files
Phone Status
Phone Status via IP Phone UI
9112i
9133ii
480i/480i CT
Network Port 9112i only
Network Port 1 and Port 2 9133i only
Firmware Version
Phone Status via Aastra Web UI
Factory Default admin only
All Defaults Config Only
Factory Default Feature
Network Satus
Hardware Information
Firmware Information
Basic Preferences Aastra Web UI
Key Mapping
Priority Alerting
Directed Call Pickup
References
Basic Network Settings
Network
IP Address
Subnet Mask
Advanced Network Settings
Type of Service ToS, Dscp
SIP Settings
Basic SIP Authentication Settings
Basic SIP Network Settings
Advanced SIP Settings
Session Timer
Timer 1 and Timer
Transaction timer The amount of time,
Registration Retry Timer
RTP Settings
BLF Subscription Period
RTP Port
Force RFC2833 Out-of-Band Dtmf
Silence Suppression
Line Settings
Dtmf Method
XML
Configuration Server Settings
XML Push Server List
Firmware Update Features
Time 24-hour
Configuring the IP Phones
Network Time Servers
Overview
Basic Network Settings
Dhcp
Configuring Dhcp
Select Network Settings For 480i/480i CT Select Network
For 9112i/9133i
For 480i/480i CT
Aastra Web UI
Configuring Network Settings Manually
Select DNS and enter a Primary and/or Secondary DNS server
Configuring the IP Phones
Configuration Server Protocol
Configuring the Configuration Server Protocol
Configuration Server Protocol
Select FTP Password
Select Primary Tftp
Select FTP Server
Select FTP Username
Step Action Click on Advanced Settings-Configuration Server
Select Operation-Reset and click
Advanced Network Settings
Network Address Translation NAT
NAT router configuration
Nortel Proxy/Registrar
SBC or ALG proxy/registrar
Other proxy/registrars
Configuring Nortel NAT optional
Select SIP Settings
Select NAT Enabled
Nortel Networks NAT
Configuring the IP Phones
Configuring NAT Address and Port optional
Select NAT Settings
Phones
Virtual LAN optional
Configuring the IP Phones
Dscp Range/VLAN Priority Mapping
Configuring Type of Service ToS/DSCP optional
Dscp Range/VLAN Priority
Select Network Select Type of Service
Select Phone Status
ConfiguringtheIPPhones
Configuring Vlan optional
Select Network
Select Priority
To set Vlan ID and priority for Port
To set Vlan ID and priority for Port 1 passthrough port
Select Passthrough
Step Action Click on Advanced Settings-Network-VLAN
Click To save your changes
Select Time and Date Select Time Server
Configuring NTP Servers optional
Network Time Servers
Step Action For 9112i/9133i
Setting Time/Date on IP Phones
Feature Method of configuration
Set Time and Time Format
Select Time and Date Select Set Time
Select Time Format
Set Date and Date Format
Select Time Zone
Select Date Format
Set Time Zone
Set Daylight Savings Time
Select Daylight Savings
Session Initiation Protocol SIP Settings
Configuration File Parameters Aastra Web UI Parameters
SIP Global Authentication Parameters
SIP Global Parameters
SIP Per-Line Authentication Parameters
SIP Per-Line Parameters
SIP Precedence Example
SIP Server SRV Lookup
Backup Proxy/Registrar Support
How it Works
Configuring Basic SIP Settings optonal
Configuring
Configuring the IP Phones
To configure SIP authentication settings
To configure SIP network settings
Configuring Advanced SIP Settings optional
Configuring the IP Phones
Configuring
Step
Basic Codecs
Real-time Transport Protocol RTP Settings
RTP Port
Default Codec Settings
Bit Rate Algorithm Packetizatio Silence Time Suppression
Attribute Value
Customized Codec Settings
Customized Codec Preference List
Silence Suppression
Out-of-Band Dtmf
Dtmf Method
Configuring RTP Features
Enter an RTP Port Base in the RTP Port field. Default is
Phones
Line N
Operational Features
Features
Operational Features
Feature Description Last Call Return lcr
Missed Calls Indicator
XML Customized Services
Adjustments
Feature Description Call Waiting Tone
Language
Select User Password
User Passwords
Procedures
Click on Operation-User Password
Administrator Passwords
Procedure
Enabling/Disabling Redial, Xfer, and Conf Keys
Redial disabled Conference disabled Call transfer disabled
Hard Keys
Setting Redial and Conf Keys as Speedials
Using Redial Key for Last Number Redial
Click on Basic Settings-Preferences
Click on Operation-Reset
Softkeys/Programmable Keys
State-Based Softkeys 480i/480i CT only
SoftkeyN states
Configuration Example
Softkey Idle Connected
480i 480i CT 9112i 9133i
Click on Operation-Softkeys and XML
Configuring Softkeys and Programmable Keys
For the 480i/480i CT
For the 9112i/9133i
Restart Phone field click To restart the IP phone
480i Cordless CT Feature Keys
Feature Key Programming Guidelines
Error ** Session expired, Please reload
Programming Feature Keys
Click on Operation-Handset Keys
List
Configuring Suppression of Dtmf Playback
Suppressing Dtmf Playback
Click on Basic Settings-Preferences-General
BLF Setting For use with Asterisk
Example
BLF\List Setting
Reference
Asterisk BLF Configuration
BroadSoft BLF Configuration
Configuring BLFs
On the 480i/480iCT
Click on Operation-Programmable Keys
Operational Features
Directed Call Pickup BLF Call Interception
480i/480i CT/9133i
Configuring Directed Call Pickup
Click on Operation-Reset
Configuring BLF Subscription Period
BLF Subscription Period 480i/480i CT/9133i
FeaturesOperational
Configuring DND
Do Not Disturb DND
Click on Operation-Programmable Keys
Bridged Line Appearance BLA 480i/480i CT/9133i only
Configuring BLA
Line Mode Phone Number BLA Number
Global BLA
IP Phone Model Possible # of BLA Lines
Per-Line BLA
For Sylantro Server
Configuring Global BLA
For global configuration of BLA
For per-line configuration of BLA
Click on Advanced Settings-Line N
Using a BLA Line on the IP Phone
Park Calls/Pick Up Parked Calls
Park/Pickup Static Configuration 480i/480i CT only
Park/Pickup Call Server Configuration Values
Server Park Values Pickup Values Aasterisk
Sylantro BroadWorks
Configuring Park /Pickup using Static Configuration
480i/480i CT only
Park/Pickup Programmable Configuration
On 480i/480i CT
On 9112i/9133i
Model 480i/480 CT Examples
Programmable Configuration Using Configuration Files
Server Park Configuration Pickup Configuration
Model 9133i Examples
Model 9112i Examples
Programmable Configuration Using the Aastra Web UI
Server Configuration Values on
Aastra Web UI
For the 480i CT Handset
Click on Operation-Programmable Keys i Screen
For
Picking up a Parked Call
Using the Park Call/Pickup Parked Call Feature
Parking a Call
How it works
Configuring Last Call Return
Last Call Return lcr Sylantro Servers only
Operational Features
For the 480i CT Handset
Pick a hard key to configure for Last Call Return
Operational Features
Call Forwarding
IP Phone Model Available Lines for Call Forwarding
Enabling/Disabling the Ability to Configure Call Forwarding
Call forward disabled
Configuration Method for Call Forwarding
Configuring Call Forwarding
For global configuration of call fowarding For 9112i/9133i
Select Call Foward
Features
Click on Basic Settings-Call Forward i/480i CT/9133i Screens
For global configuration of call fowarding
Forwarded Valid values are 1 to Click To save your changes
Callers List
Enabling/Disabling Callers List
Callers list disabled
Using the Callers List
For the 9112i/9133i
Downloading the Callers List
Click on Operation-Directory
Missed calls indicator disabled
Missed Calls Indicator
Enabling/Disabling Missed Calls Indicator
Accessing and Clearing Missed Calls
Directory List
Directory disabled
Enabling/Disabling Directory List
Server to IP Phone Download
Character Description
Directory List Limitations
Server to IP Phone Download Behavior
Directory List Limitations
Using the Directory List
For the 480i CT
To exit the Directory List, press the Quit softkey
Downloading from the Server to the IP Phone
Downloading from the IP Phone to the Server
Features
Configuring Voicemail 480i/480i CT only
Sip lineN vmail
Sip line1 vmail *97 Sip line2 vmail *95
Using Voicemail 480i480i CT only
XML Customized Services
Creating Customized XML Services on the IP Phones
Enabling/Disabling a Beep for Status Message Displays
Scroll Delay Option for Status Messages
Status Scroll Delay seconds via the Aastra Web UI
XML Object Requests from IP Phone
Xml application URI Xml application title
XML Push Requests
Example XML Configuration
Configuring for XML on the IP Phone
Aastra Web UI
Restart Phone field click
Click on Operation-Programmable Keys i Screen 9133i Screen
Applicable field
Using the XML Customized Service
Select Custom Features
XML Action URIs
You dial out the number 5551212, the phone executes a GET on
Configuring XML Action URIs
Click on Advanced Settings-Action URI
Http//10.50.10.140/startup
Http//10.50.10.140/outgoing.php?number=$$REMOTENUMBER$$
XML Softkey URI
Configuring XML Softkey URIs
Aastra
Http//10.50.10.140/script.pl?name=$$SIPUSERNAME$$
Rev 09, Release 105
Operational Features
Symbol Description
SIP Local Dial Plan
Dial Plan Example
Prefix Dialing
Example
SIP Dial Plan Terminator
Configuring the SIP Local Dial Plan
Optional for all models
Incoming Intercom Calls
Incoming/Outgoing Intercom with Auto-Answer
Outgoing Intercom Calls
Configuring Intercom Calls and Auto-Answer
Outgoing intercom settings
Incoming intercom settings
Rev 09, Release 115
Audio Transmit and Receive Gain Adjustments
Parameter Description Headset tx gain
Headset sidetone gain
Handset tx gain
Configuring Audio Transmit and Receive Gain Adjustments
Audio mode
Parameter Description
Handsfree tx gain
Ring Tone Settings Table
Ring Tones and Tone Sets
Ring Tones
IP Phone UI
Aastra Web UI
Ring Tone Sets
Configuring Ring Tones and Tone Sets
For global configuration only For 9112i/9133i
Select Set Ring Tone
For 9112i/9133i Press Set For 480i/480i CT Press Done
For global configuration
For per-line configuration
Asterisk/Broadworks Sesrver Ring Tone Keywords
Priority Alerting
How Priority Alerting Works
Call Criteria Bellcore Tones
Ring Tone Patterns
Sylantro Sesrver Ring Tone Keywords
Ring Tone Pattern Sylantro Servers
Call criteria Bellcore tones for each call criteria
Minimum Nominal Maximum
Duration Bellcore Tone Pattern Cadence Standard
Bellcore-dr2
Bellcore-dr3
Call Waiting Tones
Configuring Priority Alerting
For Sylantro Servers
Select a ring tone pattern for each of the following fields
Configuring Stuttered Dial Tone
Stuttered Dial Tone
Restart Phone field click to restart the IP phone 132
Configuring Call Waiting Tone
Call Waiting Tone
Restart Phone field click to restart the IP phone 134
Language language to set
Configuring Language
Language
Press Enter and then press Set to confirm the change
Advanced Operational Features
Advanced Operational Features
Sip send mac Sip send line
Configuring the MAC address/Line Number in Register Message
MAC Address/Line Number in Register Messages
Advanced
Configuring SIP Message Sequence for Blind Transfer
SIP Message Sequence for Blind Transfer
Configuring Update Caller ID During a Call
Update Caller ID During a Call
Sip update callerid
Boot Sequence Recovery Mode
Force web recovery mode disabled
Max boot count
Configuring Boot Sequence Recovery Mode
Auto-discovery Using mDNS
Configuring Single Call Restriction
Single Call Restriction 480i CT only
FeaturesOperational
Encryption and the IP Phone
Configuration File Encryption Method
Encryption and the IP Phone
Procedure to Encrypt/Decrypt Configuration Files
To encrypt the IP phone configuration files
Example
\ anacrypt
Page
Firmware Upgrade
Manual Firmware Update Tftp only
Upgrading the Firmware
Step Action Click on Advanced Settings-Firmware Update
Manual Firmware and Configuration File Update
Select Phone Status Select Restart Phone
Step Action Click on Operation-Reset
Auto-resync mode Auto-resync time
Automatic Update auto-resync
Mode Time
Configuring Automatic Update
Select the auto-resync mode from the Mode field
Reference
Page
Troubleshooting
Troubleshooting
Log Settings
Advanced Settings-Troubleshooting-Log Settings
Support Information
To set log settings
Performing Troubleshooting Tasks
Step Action Click on Advanced Settings-Troubleshooting
To perform support tasks
Local.cfg field
Get server.cfg field
Show Task Stack Status field
Troubleshooting Solutions
Why does my phone display Application missing?
Why does my phone display the No Service message?
Why does my phone display Bad Encrypted Config?
Reason
Fix
Troubleshooting
How do I restart the IP phone?
Click Click OK at the confirmation prompt
How do I set the IP phone to factory default?
Select Restore Defaults
Select Factory Default
To restore all factory defaults
Restore to Factory Defaults field, click
Remove Local Configuration Settings field, click
How to reset a user’s password?
Step Action Click on Operation-User Password
Troubleshooting
Page
Appendix a
About this appendix
IP Phone Administrator Guide About this appendix
Topic
Setting Parameters in Configuration Files
Network Settings
Default Value Range Example
Operational, Basic, and Advanced Parameters
Parameter IP phone UI
Subnet mask
Default gateway
Password Settings
Parameter Configuration Files
Default Value Range
Aastra Web UI Settings
Parameter Configuration Filesaastra.cfg, mac.cfg
Tftp server
Use alternative tftp server
Ftp username
Description Format Default Value Range Example IP phone UI
Parameter http path
Parameter Aastra Web UI
Description Format Default Value Range Example Aastra Web UI
Parameter auto resync time
Type of Service ToS/DSCP Settings
Virtual Local Area Network Vlan Settings
Dscp Priority
Priority non-ip
Network Address Translation NAT Settings
Sip nortel nat timer
Time Server Settings
Parameter time server2
Time and Date Settings
Parameter dst config
Time Zone Name/Time Zone Code Table
Time Zone Name Time Zone Code
NST
HKS
PES
VA-Vatican
SIP Local Dial Plan Settings
Range For 480i/480i CT
Parameter sip dial plan
1X+#,9
Sip dial plan terminator
SIP Basic, Global Settings
SIP Global Authentication Settings
Parameter sip display name
Sip bla number
SIP Global Network Settings
Sip backup proxy ip
Sip outbound proxy port
Sip registrar port
Sip backup registrar port
SIP Basic, Per-Line Settings
SIP Per-Line Authentication Settings
Sip lineN display name
Sip lineN password
Parameter
Sip lineN mode
SIP Per-Line Network Settings
Sip linex backup proxy ip
Sip lineN outbound proxy port
Sip lineN registrar port
Sip linex backup registrar port
Advanced SIP Settings
Range Example
Parameter sip session timer
Description Format Default Value Range Example
Sip T2 timer
Sip transport protocol Transport Protocol
Sip registration timeout retry
RTP, Codec, Dtmf Global Settings
Payload
Silsupp
Dtmf Per-Line Settings
Parameter sip dtmf method
Silence Suppression Settings
Voicemail Settings
Directory Settings
Callers List Settings
Call Forward Settings
Missed Calls Indicator Settings
XML Settings
Xml application post list
Xml status scroll delay
Action URI Settings
Parameter action uri incoming
$$REMOTENUMBER$$ $$SIPUSERNAME$$
Action uri offhook
Ring Tone and Tone Set Global Settings
Range Aastra Web UI & IP Phone UI
Ring Tone Per-Line Settings
Stuttered Dial Tone Setting
Call Waiting Tone Setting
Priority Alert Settings
For Sylantro Server only
Parameter alert community
Alert community
Parameter alert external
Alert group
Language Settings
Parameter language IP Phone UI
Suppress Dtmf Playback Settings
Intercom and Auto-Answer Settings
Outgoing Intercom Settings 480i/480i CT only
Default Value For Aastra Web UI
For Configuration Files
Sip intercom prefix code
Incoming Intercom Settings
Audio Transmit and Receive Gain Adjustment Settings
Handset sidetone gain
Handsfree tx gain
Directed Call Pickup BLF Call Interception Settings
BLF Subscription Period Settings
Hard Key Parameters
Hard Key Parameters
Parameter map conf key to
Softkey/Programmable Key Parameters
Softkey Settings for 480i and 480i CT
Line
Parameter softkeyN label
BLF XML
SoftkeyN value
Format Default Value Range Example Aastra Web UI
For softkey type Flash
For softkey type Park
Incoming
Outgoing
Programmable Key Settings for 9112i
PrgkeyN value
Parameter
Description
Advanced Operational Parameters
MAC Address/Line Number
Blind Transfer Setting
Update Caller ID Setting
Appendix
Single Call Restriction
Troubleshooting Parameters
IP Phone Administrator Guide Troubleshooting Parameters
Rev 09, Release 109
Time Zone Name Time Zone Code
NST
HKS
PES
VA-Vatican
Appendix B
Configuration Server Protocol Setup
Tftp Server Set-up
Configuration Server Protocol Setup
Page
Appendix C
IP Phone at the Asterisk IP PBX
Phone1/phone1192.168.1.1D 255.255.255.255 5060 Unmonitored
Exten 1234,1,DialSIP/phone1,20
Name/username Host Mask Port
Page
Appendix D
Sample Configuration Files
480i Sample Configuration File
Sample Configuration Files
# Time Server Settings ## =====================
# Configuration Server Settings
## = = = = = = = = = = = = = = =
Previous expression
# General SIP Settings # = = = = = = = = = = =
# Per-line SIP Settings # ======================
Appendix D
# Speed Dials
480i CT Sample Configuration File
# Phone Model 480iCT
# Dhcp Setting # ============
# Network Settings # ================
# Time Server Settings # ====================
# =============================
Appendix
Previous expression
# General SIP Settings # ====================
# Per-line SIP Settings
# Softkey Settings
Softkey1 type speeddial Softkey1 label Ext Pickup
# DND Key softkey4 type dnd softkey4 label DND
#Takes an
Appendix D
Appendix D
Appendix D
Appendix D
9112i Sample Configuration File
# Dhcp Setting # ============
# NAT Settings #=============
#sip rtp port 3000 # Eg. RTP packets are sent to port
# Dial Plan Settings
# SIP User Settings # ========================
# Programmable Key Settings # =========================
9133i Sample Configuration File
Appendix D
# Dhcp Setting # =============
# Time Server Settings # =====================
Appendix D
# Additional Network Settings # ============================
Appendix D
# Dial Plan Settings
Appendix D
Previous expression
# General SIP Settings # ======================
# Per-line SIP Settings # =======================
# Programmable Key Settings # ===========================
L3 hard
Page
Appendix E
Sample BLF Softkey Settings
480i and 480i CT Configuration Parameters for Asterisk BLF
9133i Configuration Parameters for Asterisk BLF
Asterisk BLF
9133i Configuration Parameters for Broadsoft BroadWorks BLF
BroadSoft BroadWorks BLF
Page
Appendix F
Multiple Proxy Server Configuration
Multiple Proxy Server Configuration
Page
Appendix G
How to Create an XML Application
XML format
Creating XML Objects
Character Description Escape Sequence
Select Exit Dial Submit Backspace Nextspace Dot ChangeMode
Creating Custom Softkeys
Existing Text Menu Input Action Keys
Text Menu Object Menu Screens
Text Menu Object Implementation
XML Screen Example
Text Screen Object Message Screens
Text Screen Object Implementation
UserInput Object User Input Screens
UserInput Object Implementation IP Addresss
Appendix G
Proxy Server Server IP Backspace Dot Cancel Done
Proxy Port Backspace Cancel Done
UserInput Object Implementation Number
UserInput Object Implementation String
Directory Object Directory List Screen 480i only
Directory Object Implementation
Appendix G
Status Message Object Idle Screen
AastraIPPhoneStatus Structure
Examples
Beep Option
AastraIPPhoneExecute Object Structure
Execute Commands Object for executing XML commands
Using the Reset Command
Using the NoOp Command
Http Post
Post / HTTP/1.1
Appendix G
Refresh Setting Format
Http Refresh Header
XML Schema File
XML Schema
Appendix G
Appendix G
Limited Warranty
Exclusions
Warranty Repair Services
After Warranty Service
Index
Index-2 Rev 09, Release
Rev 09, Release Index-3
Index-4
Rev 09, Release Index-5
Page
Page
SIP IP Phone Administrator Guide


 IP Phone UI