Installation | LAN Integration |
|
|
corresponding query if this is the case. Select the Ethernet adapter to be used for the VoIP communication in the LAN.
You may check the LAN connection selected at any time and alter it as necessary. Access the Web console of the Aastra 800 communications system to do so.
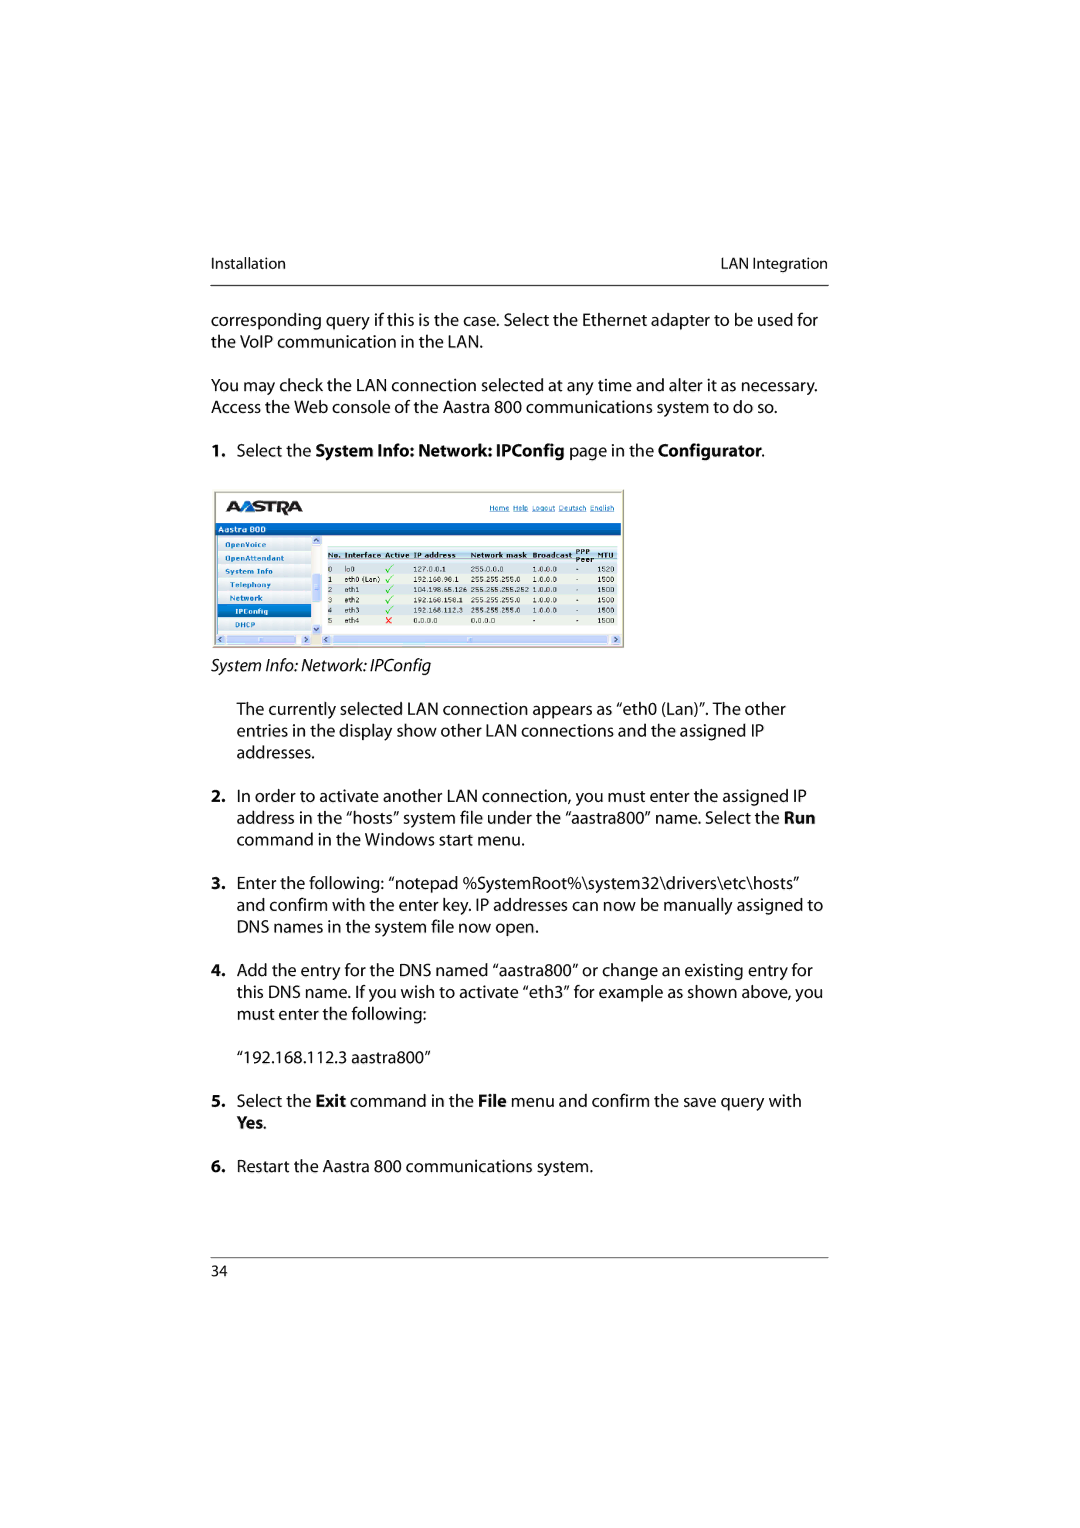
1. Select the System Info: Network: IPConfig page in the Configurator.
System Info: Network: IPConfig
The currently selected LAN connection appears as “eth0 (Lan)”. The other entries in the display show other LAN connections and the assigned IP addresses.
2.In order to activate another LAN connection, you must enter the assigned IP address in the “hosts” system file under the “aastra800” name. Select the Run command in the Windows start menu.
3.Enter the following: “notepad %SystemRoot%\system32\drivers\etc\hosts” and confirm with the enter key. IP addresses can now be manually assigned to DNS names in the system file now open.
4.Add the entry for the DNS named “aastra800” or change an existing entry for this DNS name. If you wish to activate “eth3” for example as shown above, you must enter the following:
“192.168.112.3 aastra800”
5.Select the Exit command in the File menu and confirm the save query with Yes.
6.Restart the Aastra 800 communications system.
34
