4 - |
|
|
6. Depress the Meter key followed by | 1 50 W | The display shows the computed input |
the scroll key. |
| power for the selected channel. |
7.Repeat steps 3 through 6 for any other modules in the mainframe.
8.Turn off electronic load, disconnect power supply and continue with rear panel connections.
NOTE: If the Err annunciator on the display is on, press the Shift key followed by the Error key to see the error number. See Table
In Case of Trouble
Error Messages
Electronic load failure may occur during
Selftest Errors
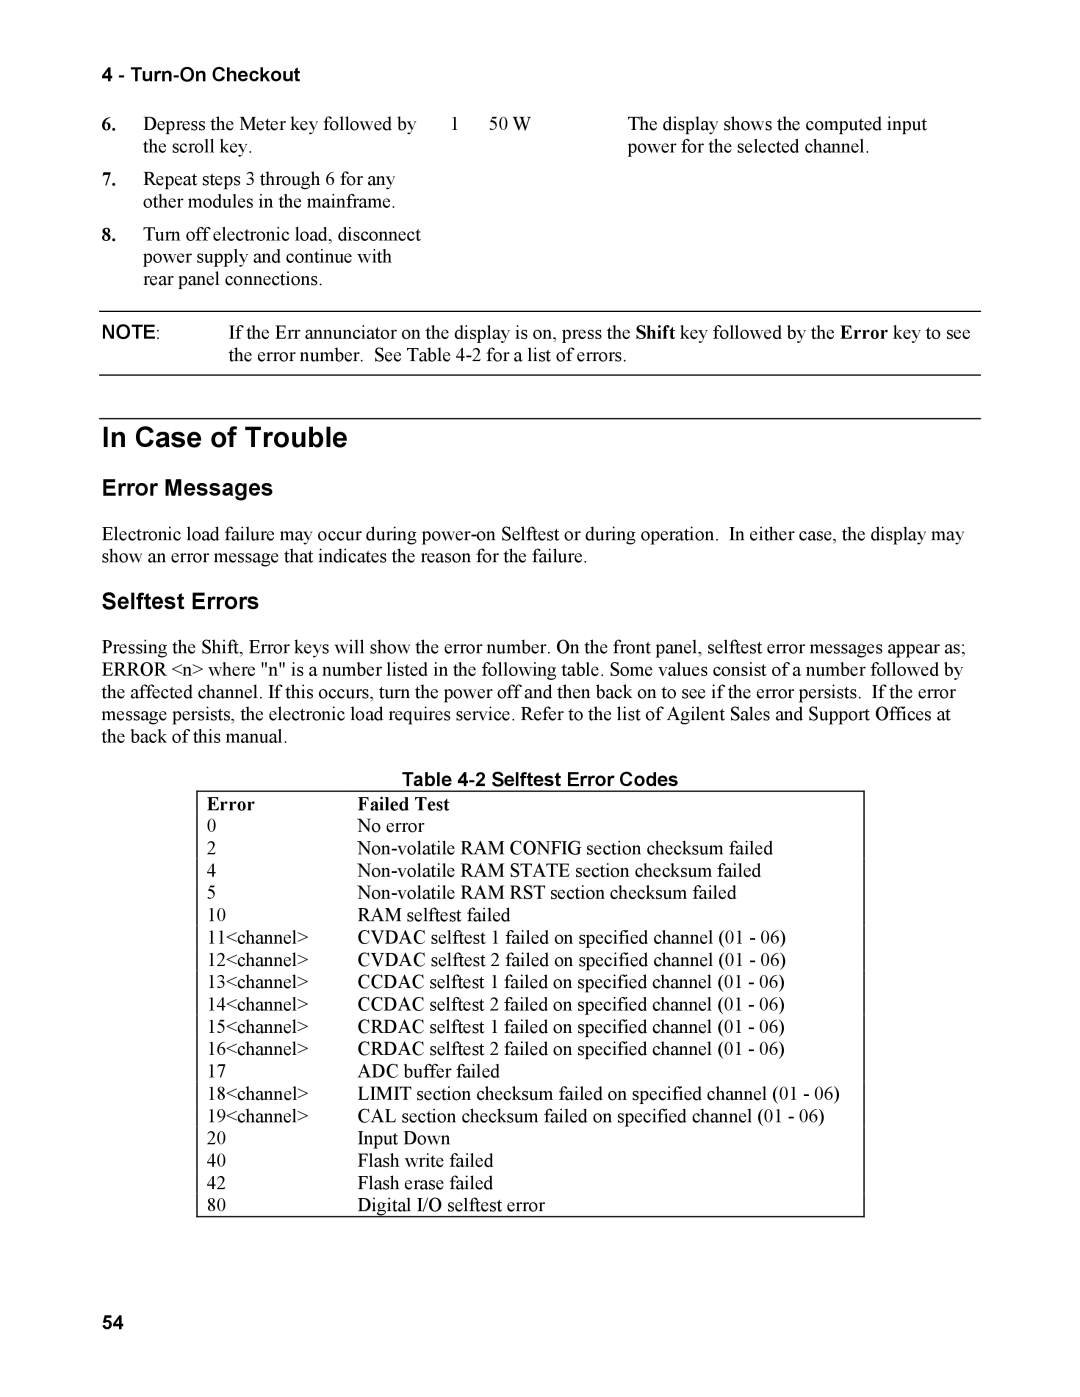
Pressing the Shift, Error keys will show the error number. On the front panel, selftest error messages appear as; ERROR <n> where "n" is a number listed in the following table. Some values consist of a number followed by the affected channel. If this occurs, turn the power off and then back on to see if the error persists. If the error message persists, the electronic load requires service. Refer to the list of Agilent Sales and Support Offices at the back of this manual.
| Table |
Error | Failed Test |
0 | No error |
2 | |
4 | |
5 | |
10 | RAM selftest failed |
11<channel> | CVDAC selftest 1 failed on specified channel (01 - 06) |
12<channel> | CVDAC selftest 2 failed on specified channel (01 - 06) |
13<channel> | CCDAC selftest 1 failed on specified channel (01 - 06) |
14<channel> | CCDAC selftest 2 failed on specified channel (01 - 06) |
15<channel> | CRDAC selftest 1 failed on specified channel (01 - 06) |
16<channel> | CRDAC selftest 2 failed on specified channel (01 - 06) |
17 | ADC buffer failed |
18<channel> | LIMIT section checksum failed on specified channel (01 - 06) |
19<channel> | CAL section checksum failed on specified channel (01 - 06) |
20 | Input Down |
40 | Flash write failed |
42 | Flash erase failed |
80 | Digital I/O selftest error |
54
