Color LaserWriter 12/600PS
Apple Computer, Inc
Contents Overview
Using Fonts With the Printer
Maintenance
227
237
Detailed Contents
Setting Up the Printer for Macintosh Users
Contents
Setting Up the Printer for Windows and NetWare Users
Setting Up the Printer for Unix Users
129
Macintosh Users
Windows and DOS Users
173
203
Maintenance
215
201
243
Troubleshooting
267 Supplies 268
257
277
About ColorSync 292 How ColorSync works Using ColorSync 293
Problem that ColorSync solves
Diagnosing Problems for Service
Working With ColorSync
Radio and television interference
FCC statement
Vcci statement
DOC statement
How Much of This Book Do I Have to Read?
Printer administrators and users Who does what
Getting new users started
What the printer administrator should know
Chapter Computer Network interface and cable
Set up the hardware and connect the printer
Which chapters should I read?
Chapter Computer Utility name
Set additional printer parameters
Add any hardware options
Help new users get started
Solving problems
User’s computer Where to find information
Unix Users
Chapter Setting Up the Printer for
Chapter Installing Options
Page
Main features of the Color LaserWriter 12/600 PS
Setting Up the Color LaserWriter 12/600 PS
Front view
Anatomy of the printer
Allow space to open the top for clearing paper jams
Choosing a place for the printer
Important safety instructions
Setting Up the Color LaserWriter 12/600 PS
If possible, get another person to help you
Unpacking the printer
Remove the packing tape from the outside of the printer
Chapter
Installing the quick reference booklet
Installing the fuser oil bottle
Close the cover over the fuser oil bottle
Install the oil bottle
Push the transfer drum lever down and to the right
This releases a locking mechanism
Open the disposal box cover
Page
Setting Up the Color LaserWriter 12/600 PS
Chapter
Slide the toner disposal box into place
Now go on to install the toner cartridges
Installing the toner cartridges
Press the knob firmly
Cartridge carousel cycle
Turn gently until the carousel locks into a new position
Distribute the toner powder
Insert the toner cartridge into the carousel
Process is essentially the same for each cartridge
Wait to install the printer options
Paper cassette holds up to 250 sheets
Loading paper into the paper cassette
Slide the stack into the cassette
Slide the paper cassette out of the printer
Prepare a stack of paper
Page
Slide the cassette into the printer
Port Network interface Computer
Connecting the printer
Connecting to an Ethernet network
Setting Up the Color LaserWriter 12/600 PS
Obtain a LocalTalk connecting kit
Connecting to a LocalTalk network
What to do after connecting to an Ethernet network
Connect the printer to the network in one of these two ways
What to do after connecting to a LocalTalk network
Use this method to connect a single Macintosh to the printer
Connecting directly to a single Macintosh
Obtain a parallel interface cable like this one
Connecting to an IBM PC or compatible with a parallel cable
What to do after connecting to a single Macintosh
Parallel interface cable
Plug in the printer
Connecting the power and turning on the printer
Make sure the printer is turned off
Press the power switch to turn the printer on
Check the status lights
Saving energy
Standard factory default settings for the parallel port
Adjusting communication settings
Standard factory default settings for the other ports
Port Mode Data Protocol Parallel AutoSelect
How to customize communication settings
Why customize communication settings?
Custom settings for the parallel port
Custom settings for the other ports
What to do next
How to return to the default settings
Setting Up the Printer for Macintosh Users
Before you begin, make sure you have
Initial AppleTalk setup
Before you begin
Make sure the printer software disks are locked
Installing the software the printer administrator needs
Installer dialog box, click the Install button
More information about the Installer program
Close the Chooser
Choosing the printer on the administrator’s computer
Click Print
Making sure everything is working
What to do next
Changing printer settings with the Apple Printer Utility
Chapter
Opening the Apple Printer Utility
Printer features window appears
Double-click the Apple Printer Utility
Click Open Printer
Quitting the Apple Printer Utility
Naming the printer
Viewing printer information
You see a list of printer information
You see a list of preferences
Identifying the printer’s physical location
To send the new name setting to the printer, click Send
You can type a description of the printer’s location
Panel that appears, type a new name
Fonts panel appears
Sending fonts to the printer
Open the Fonts category
Click Add
Fonts you add are gathered here until you click Send
Printing font samples
Removing fonts
Click Remove
Choose Print Font Samples from the File menu
Click Initialize to proceed
Initializing a hard disk connected to the printer
Turning the startup pages on or off
To send the startup page setting to the printer, click Send
Conserving energy
Open the Job Defaults category
Setting paper-handling options
You see a list of job default categories
You see a list of network options
Setting up job handling
You see a list of communication settings options
Setting the printer’s error timeout
Open the Communication Configuration category
To send the settings to the printer, click Send
To send the zone setting to the printer, click Send
Setting the printer’s network zones
Open the Ethernet Address category
You can view the printer’s Ethernet address when needed
Viewing the Ethernet address
Working with a NetWare network
Open the NetWare Configuration category
To send the changes to the printer, click Send
Drag the slider to change the printer’s subnet mask
Changing TCP/IP configurations
To send the changes to the printer, click Send
Open the Port Configuration category
Viewing and changing communication settings
You cannot change LocalTalk setting
Panel that appears, you can change settings if you need to
Choose Restart Printer from the Utilities menu
Sending PostScript files to the printer
Restarting the printer
Software for users
Getting Macintosh users started using the printer
Instructions for users
Drag the Printer Disk 1 icon onto the icon of the folder
Preparing a server so users can install over a network
Click the Restart button
Installing the printer software from the server
Dialog box opens to describe the installation
What to do next
System requirements
NetWare Users
Start Windows
Installing the software the printer administrator needs
Adobe Printers control panel appears
Click Express Installation
Click Continue
Select the Color LaserWriter 12/600 PS and click OK
Choose how to proceed
Another message tells you that installation is complete
Click OK to clear the message
Click Restart Windows to have the changes take effect
Using Apple Print Monitor
Installing software for Windows NT
Options window that appears, make the selections you want
Initial Apple Print Monitor for Windows setup
Button appears on the right side of the window
Initial Novell NetWare setup
Choosing an operating mode
What to do next
Command key Description
Using Pconsole
Utility starts
Specifying a print server
Log in to a file server from DOS on a client computer
At the DOS prompt, type Pconsole and press Enter
Example
Assigning the operating mode
If available, a list of print servers appears
Defined Printers list appears
Printer Configuration menu for your printer appears
Printer type list appears
Ethernet falls into the Other/Unknown category
Turn the printer off and then back on
Press Ins to view a list of available queue servers
Press Esc until Pconsole quits
Setting Up the Printer for Windows and NetWare Users
Log in to a file server from a DOS client PC
If available, a list of available print servers appears
Configuration window appears for the selected printer
Configuration window for the selected printer appears
Print Server Information menu appears
Menu of printer types appears
Creating a print queue
Associating a print server with the print queue
Window appears, showing the printer configuration
Select the printer you defined earlier and press Enter
Select Print Queues Assigned and press Enter
Type load pserver printserver and press Enter Example
List of print servers appears
Assigning a password for the print server optional
Retype the password and press Enter
Setting up client computers for network printing
Setting up the PostScript printer driver for NetWare
Setting Up the Printer for Windows and NetWare Users
Opening and quitting the Apple Printer Utility
Installing the Apple Printer Utility for Windows
Giving the printer an AppleTalk name
Selecting the printer
You can view information about your printer
Printer preferences list appears
Click on the triangle for the Printer Preferences category
An X in a checkbox means the printer is set to print
Click the triangle for the Printer Preferences category
Open the Energy Saving Delay category
Printer’s Ethernet address appears
For the NetWare Pserver setup
For the NetWare Rprinter setup
106 Chapter
107
Dialog box appears
Installing Type 1 fonts
Installed Type 1 fonts and Adobe Type Manager
Banner pages and NetWare
To add Type 1 fonts to your system
Turning ATM off or on
Removing Type 1 fonts
Changing the size of the ATM font cache
Set up the printer as described in , remembering to
Setting Up the Printer for Unix Users
Will these instructions work for my flavor of UNIX?
Initial TCP/IP setup
Background information
Security
Assigning an IP address to the printer
Obtaining an IP address for the printer
PrinterIPaddress printerIPname
Printer IP name is the same name you used in steps 3
Ping printerIPname
116 Chapter
Preparing your own workstation for printing
Printing a test
Cleaning up the printcap file after testing the printer
Getting Unix users started using the printer
Configuring the printer
Make an entry to each user’s /etc/printcap file
Configuring HP-UX version
Leave SAM Start the LP request scheduler by typing
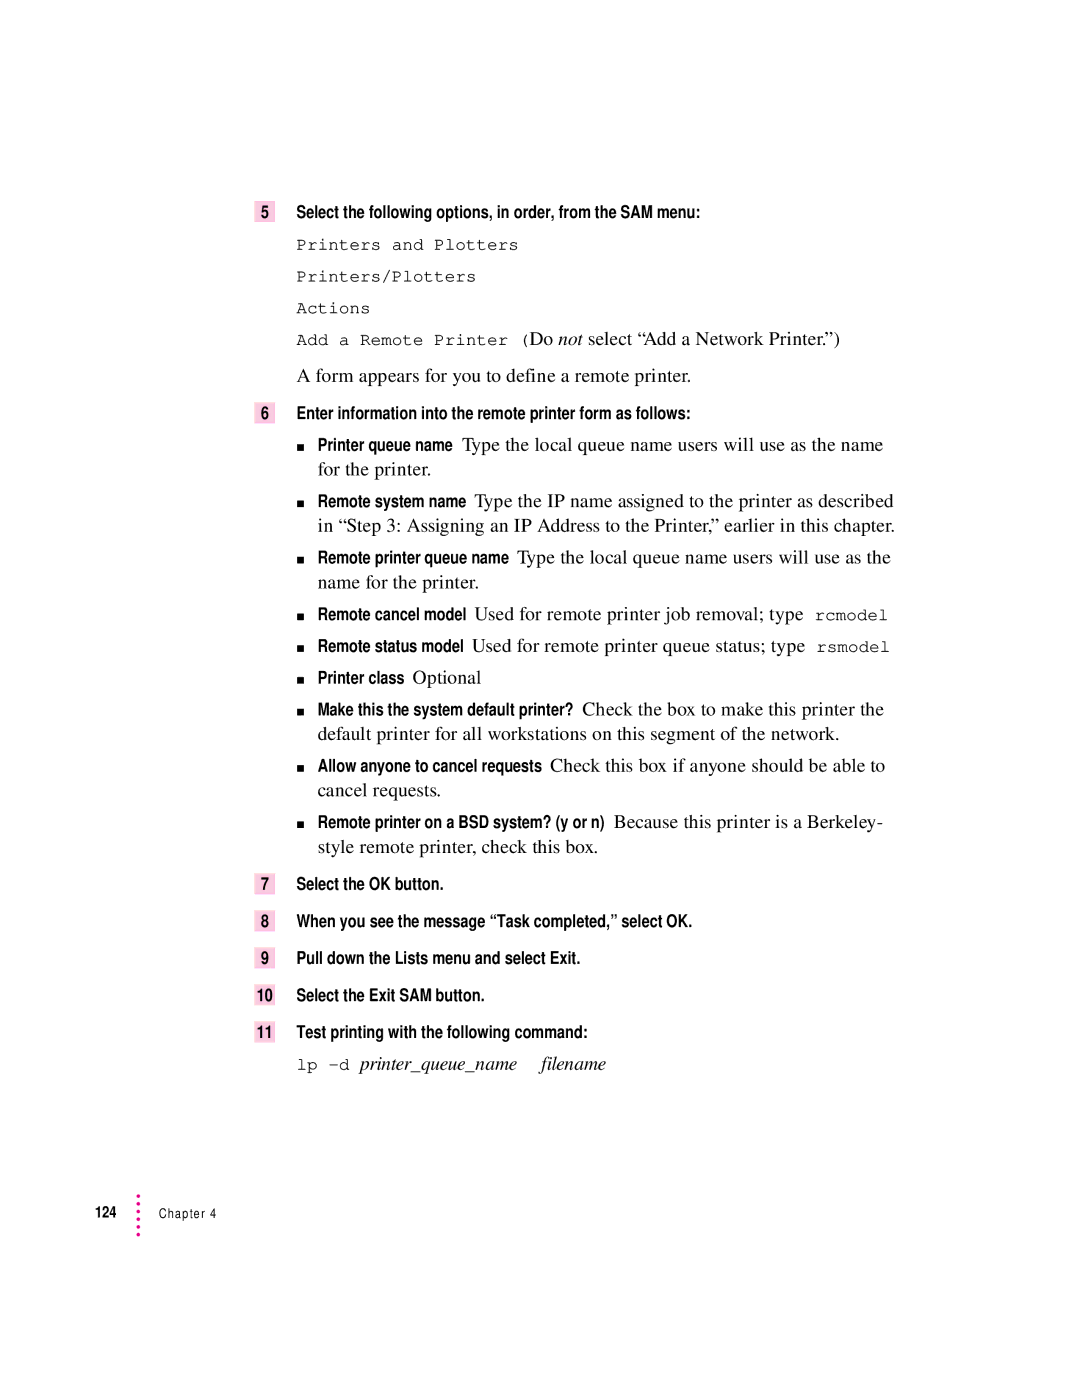
Enter information into the remote printer form, as follows
If the test print doesn’t work
Repeat the steps in Configuring HP-UX Version
If the test document doesn’t print, follow these steps
Run the SAM utility by typing sam at the Unix prompt
Printer class Optional
Enter information into the remote printer form as follows
Configuring IBM AIX version
Form appears for you to define a remote printer
Ps aux grep lpd
128 Chapter
Installing Options
Turn off and unplug the printer
Installing the optional 250-sheet feeder
Remove the paper cassette from the printer
You don’t need to fill the cassette with paper at this time
Remove the universal paper cassette from the feeder
132 Chapter
Insert the locking connectors
Locking connectors secure the printer to the feeder
134 Chapter
For instructions, see Chapter
Adjusting the side margin
Installing the 250-sheet universal cassette
Adding hard disks
Connecting a previously used hard disk
Connecting external hard disks
Setting the Scsi ID number
Turn off the printer and all hard disks connected to it
Connecting a single external hard disk
Connecting multiple external hard disks
Adding an internal hard disk
Copper-foil end Metal surface
Attach the cable here
Initializing hard disks
Increasing the printer RAM
Installing RAM
Amount of memory Slot J10 Slot J11 Megabytes
147
J10
Paper Out and Paper Jam lights blinking
Configuring the Macintosh printer software
Configuring your software for new printer options
Chooser dialog box appears
Choose the Chooser from the File menu
Click Configure
Printer Setup dialog box appears
Setup dialog box, click the Features button
Configuring the printer from an IBM PC or compatible
Features dialog box appears
Chapter Unix Users Loading Paper
Troubleshooting
Chapter Macintosh Users
Page
Macintosh Users
Installing the printer software
Printer software
More information about the Installer program
Selecting and setting up the printer
Stopped icon indicates you have stopped the print queue
Determining the status of a printer by looking at its icon
Click the icon of the desktop printer you want to use
Switching between printers
Select the printer using its desktop printer icon
Selecting page setup options
Select a new printer using the Chooser
Setup dialog box appears
Choose Page Setup from the File menu
When you’ve made your choices, click OK
Printing documents
Print dialog box appears
Printing a cover page automatically
Cover page will print each time you print your document
Choose Print from the File menu
Printing color and grayscale documents
Click OK Click Print in the Print dialog box
Reporting printing errors
Choose On, Off, or Printer’s Default
Turning tray switching on or off
Printing transparencies
Changing the Print Quality mode
Printing while using the computer for other work
Choose what you’d like to do
Monitoring and controlling background printing
Double-click the desktop printer icon you’re interested
Using the Apple Printer Utility
Windows and DOS Users
Installing the Windows printer software
175
Exit from the installer
177
Select the options you want and click Print
Setting printer driver options
Printing from Windows applications
Opening the printer setup dialog box from your application
Opening the printer Setup dialog box from the Control Panel
Opening the printer Setup dialog box from the Print Manager
This command usually displays the Print Setup dialog box
Selecting printer options in the Setup dialog box
Additional printer options
PostScript
183
Fonts
185
Features
Job Control
Watermark
Edit Watermark
Downloading fonts
Printers dialog box appears
Downloading fonts manually to RAM or to the hard disk
Font Downloader dialog box appears
You are returned to the Setup dialog box
Click Device Installer
Using a hard disk
Adding a hard disk to the device list
Dialog box opens
Another dialog box opens
You return to the Device Installer dialog box
If it’s an internal hard disk, the Scsi number is
Click Add New
Click Other
Initializing the hard disk
Click the Fonts tab Click Font Downloader
Printing to a PostScript file
Changing your printer setup to print to a PostScript file
Using the driver to print to a PostScript file
Driver Setup dialog box appears
Connect dialog box appears
Printing to a PostScript file
Restoring your printer setup options
Your program’s Print dialog box appears
Dialog box appears that asks you to name the file
Capturing a print queue for DOS printing
Using the Apple Printer Utility for Windows
DOS notes
Unix Users
Example for lpr
Printing from a Unix workstation to the printer
Loading Paper
Automatic or manual printing with the printer
Choosing paper
Using the standard paper cassette
Opening the multipurpose tray
Using the multipurpose tray
Placing paper and transparencies in the multipurpose tray
Loading three-hole punched paper in the multipurpose tray
Tips for avoiding problems
Loading letterhead paper in the multipurpose tray
Loading transparencies in the multipurpose tray
Use only transparencies recommended
Set the length guide to match your paper’s length
Loading the optional 250-sheet universal cassette
Insert your paper within the guides
Set the size guide on the front to match your paper’s size
Maintenance
Safety first
Precautions during maintenance
Low toner
Regular maintenance
Low fuser oil
Toner disposal box is full
Photoconductor cartridge is wearing out
Cleaning the exterior
Fuser needs replacement
Cleaning the density sensor and separation discharger wire
224 Chapter
Maintenance
Cleaning the paper pickup area
Clearing Paper jams
Checking the indicator lights for paper jams
Checking for and clearing paper jams
Gently remove the jammed paper
Clearing paper from the paper pickup area
231
Any paper that is misaligned
Push this lever
Clearing paper from the transfer drum
If it’s open, close the face-up output tray
Clearing paper from the fuser
Close the fuser access door and resume printing
Open the fuser access door Remove the jammed paper
Clearing paper from the optional feeder
Print is faded
Fixing Image Problems
General print quality problems
Vertical lines black or blank appear on consecutive pages
Spots or blotches appear on printed pages
Spots, blotches, or blank areas appear on consecutive pages
Blank areas appear in an area that should be printed
Some printed segments in a page appear faded
Prints completely black
Prints completely blank
Flakes of toner come off the printed
Stains appear on the back of a printed
Horizontal bands appear on the printed
Color print quality problems
You cannot get smooth color gradients in printed pages
White gap appears between adjacent color
Drop-outs appear on legal-size paper
Text or objects on the page are blurry
Problems covered in other places
Troubleshooting
Can’t close the printer’s door
Can’t communicate with the printer
Can’t turn the toner carousel
Macintosh troubleshooting
Chooser does not appear in the Apple K menu
Can’t find the printer driver icon in the Chooser
An X appears over the desktop printer icon
Background printing is disabled
An out of memory message appears when you try to print
Apple Printer Utility can’t find an external hard disk
Options don’t appear in the Print dialog box
Message on the screen says the printer can’t print
Nothing is printed no paper comes out of the printer
Sometimes printing the first page takes longer than I expect
IBM PC or compatible troubleshooting
My printer driver settings are ignored
Novell NetWare troubleshooting
Unix troubleshooting
Can’t ping the printer by IP name or IP address
Rarp server is not responding
Bootp server is not responding
These changes affect all print jobs from now on
Density control panel
III
Page
Marking engine
Specifications
Appendix a Technical Information and Printer Supplies
Controller
Printer fonts
True 600 dpi printer
60,000 pages
10,000 pages
Height Width Depth
Dimensions
Paper sizes and capacity
Suggested paper brands
Acoustic noise
Environmental information
Wait times
Approximately 110 lb kg
About PostScript Printer Description PPD files
Power consumption
Voltage requirements
Approximately 42 W meets EPA Energy Star
Appendix a
Simm dimensions
RAM upgrade specifications
Simm sizes and speeds Size Configuration Speed
Ozone emission
Right switch position
Communication settings
These are the factory default settings
Part number
Accessories
Following list includes both standard and optional parts
Reorder number
Supplies
Appendix B Setting Up the Printer As an Atps Remote Printer
Configuring Atps for the first time on a NetWare 4 server
Window appears, displaying the file’s contents
NetWare for Macintosh Configuration screen appears
Select the Perform Lookup option and press Enter
Insert the following line after the load afp statement
List of configuration files appears
Configuring Atps for the first time on a NetWare 3.x server
Prompt appears, asking if you want to create a new file
Type y and press Enter
Prompt appears, asking if you want to save your changes
List of configuration files reappears
Press Esc to quit editing
Select the SYS\SYSTEM\AUTOEXEC.NCF file and press Enter
List of configuration files appears
New configuration is immediately available
Kinds of fonts
Appendix C Using Fonts With the Printer
Bitmapped fonts
PostScript fonts
TrueType fonts
TrueType and bitmapped fonts
How TrueType fonts work with other kinds of fonts
QuickDraw GX imaging technology
Keeping two font versions available
TrueType and PostScript fonts
How the Macintosh looks for fonts
Where fonts are stored
Suitcases
Appendix C
Styled fonts
Common questions about fonts
Why don’t all of my fonts appear in the Fonts menu?
Here are some questions that often come up about fonts
What kind of fonts should I buy?
What does the term Apple classic fonts mean?
What’s a downloadable font?
What is font substitution?
Appendix D Working With ColorSync
Problem that ColorSync solves
How ColorSync works
About ColorSync
Using ColorSync
Appendix E Packing and Moving the Printer
Move the transfer drum lever to the right
Plug prevents loose toner from leaking out of the box
Remove the photoconductor cartridge
Remove the fuser oil bottle
Remove all the fuser oil from inside the printer
Insert the shipping screw into the printer
Appendix F Replacing the Fuser
Turn off the printer and unplug it
Replacing the fuser
Important Wait 10-15 minutes to let the fuser cool down
305
Screws do not come off
307
Appendix F
With the screwdriver, tighten the two locking screws
Reattach the fuser access door Reattach the fuser door strap
Replacing the transfer drum cleaning unit
Pull the paper pickup unit out Remove the connector cover
313
Appendix F
315
Appendix F
Remove the cover Unlock and remove the used air filter
Replacing the air and ozone filters
Insert the new air filter and lock it in place
319
Replacing the separation discharger unit
321
Appendix F
Appendix G Diagnosing Problems for Service
Normal power-on status panel behavior
Paper Out and Paper Jam lights both flash
Two hardware problems you may be able to fix
Out of paper
Paper jams
Regular maintenance
329
Toner disposal box is full
331
Fuser needs replacement
Problem with internal random-access memory RAM
Problem with the toner carousel
Appendix H Removing the Macintosh Desktop Printing Software
Appendix H
When you finish, click the close box
See also fonts
Index
Index
Index
Index
Index
Index
Index
Index
Index
Index
Index
Index
Index
Index
Index
Index
Index
Unix
Index
Apple Publishing System